I took this concept a step further and printed this DSP in black on Crumb Cake paper. My dear, sweet, amazing hubby bought me a 12x12 printer/scanner a couple of years ago for Mother's day, I think... and I have made very good use of this machine :) Now, instead of getting packs of DSP that I would wish I had more of a few of the patterns, and some I won't use at all, I just buy the MDS versions and print what I need and never have to worry about "running" out of my favorites. I just keep a good stock of 12x12 Whisper White on hand.
This DSP is the Back to Black pack, and this is not even my favorite pattern, bit it sure looks great on Crumb Cake!
Here is how I created this card, after printing out the Back to Black pattern on the Crumb Cake cardstock.
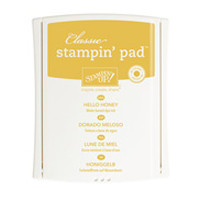
- Cut a panel of DSP to 4"x5¼". Ink up the wavy lines image from Chalk Lines in Hello Honey. Stamp at the top of the panel, move down and stamp again without reinking. Clean your stamp and repeat this process with Mossy Meadow and Tangelo Twist until the entire panel is stamped.
- Let the ink dry. Really.
- Stamp "thank you" from Something to Say in Whisper White over the center fruit image. Some of the ink from the wavy lines will show through, but I like the effect.
- Outline the panel with Signo white gel pen. Adhere panel to a Whisper White card front
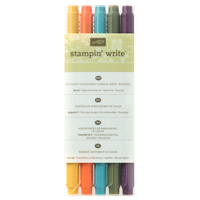
- For the inside, use your Hello Honey, Tangelo Twist, and Mellow Moss markers to ink up the phrase from Something to Say and stamp in the lower right corner. Ink up the wavy lines image with the markers also and stamp above the phrase. Marvel at how easy that is to do with Photopolymer stamps :)
You can get any of the supplies you need for this project by clicking on the links below. I like to send a thank you to anyone who orders from me, and I have no intentions of being a pest :) If you chose "No contact" on your order, I can't send you a thank you... just sayin'.


No comments:
Post a Comment
Thank you so much for taking the time to comment. It makes my day to hear from my readers!