I used a Mojo Monday sketch for this card and I think it achieved an interesting look. It did get manly approval too :)
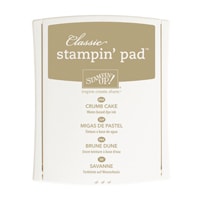
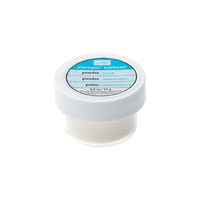
- I started with a piece of watercolor paper and made a couple areas of cherry cobbler wash with an Aquapainter. Then I added some Crumb Cake to one of then, and layered on the 2 colors, drying with a heat tool between layers. On the other area, I spattered some Cherry Cobbler on. After these were very dry, I heat stamped the images with Versafine Onyx Black ink, sprinkled with Clear embossing powder, and heated with a heat tool
- I dug out my MFT Stitched Circle dies and cut the 2 images out, both with the same sized circle.
- I then cut a piece of DSP to 3¾"x5" and embossed with Happy Hearts, then sanded the raised areas a bit. Matted this on a 4"x5¼" Cherry Cobbler panel and stitched it down. Applied dimensionals to the back of the panel and adhered to a PTI Vintage Cream card base.
- Take a ¼" scrap of vellum, stamp XOXO in Cherry Cobbler, sprinkle with clear embossing powder, and heat. Dovetail one end.
- Apply dimensionals to the back of the globe circle and adhere to upper left of the card.
- Apply Tear and Tape to the back of the heart circle and adhere to the lower right of the card, trimming off the over hang. Tuck the vellum sentiment under the circle while adhering.
- Stick a black Candy Dot on the heart circle like it is holding the vellum tag.
- Take a ¼" scrap of the DSP and glued it inside the card. Then I stamped the XOXO and hearts just above the DSP, used a blender pen and Cherry Cobbler ink to color the hearts.
- All done!
Cute-ish, right! Now I need to think of what I am going to write in there!!
And the side shot. Do you like to side shot? Should I continue to do the side shot? Or is it just an extra photo?
I actually used the Stacked With Love DSP stack for the DSP, but if you don't have that, I linked a couple of other great alternatives in the supplies below.
As always, if you have seen something you need for your crafting life, just click the image and it will take you to my store! If your order is less than $150, please use this month's Host Code: PCUN2KHD Product List


No comments:
Post a Comment
Thank you so much for taking the time to comment. It makes my day to hear from my readers!