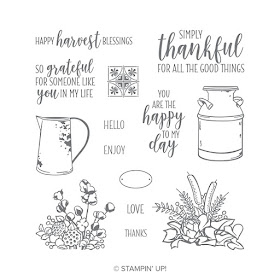
What is the Stamp Review Crew, you ask? We are an international group of Stampin' Up! demonstrators that gets together to do a blog hop on the first and third (and sometimes on a fifth) Monday of each month. For each hop we chose a single stamp set for us all to use, and then we let our creativity loose! We have a blog with all of the hops archived, so you can hop through any of the hops any time. Click here to go to the blog to see all of the hops! To go to the specific post for this hop, click here, or on the banner above.
If you are following along in order, then you have just arrived from Lauren Alarid's blog, and I am certain that her project was stunning!
OK, I will be the first to admit that this is a time consuming card to make. There are layers and layers of techniques and fiddling. But I love it!! And I would absolutely make this card again. Because it was fun. And that is what this craft is all about for me. And probably you too.
I started this with a 4¼"x5¾" panel of white cardstock, and stamped the botanical image four times. I left a section about 1¼" wide open in the center for the sentiment.
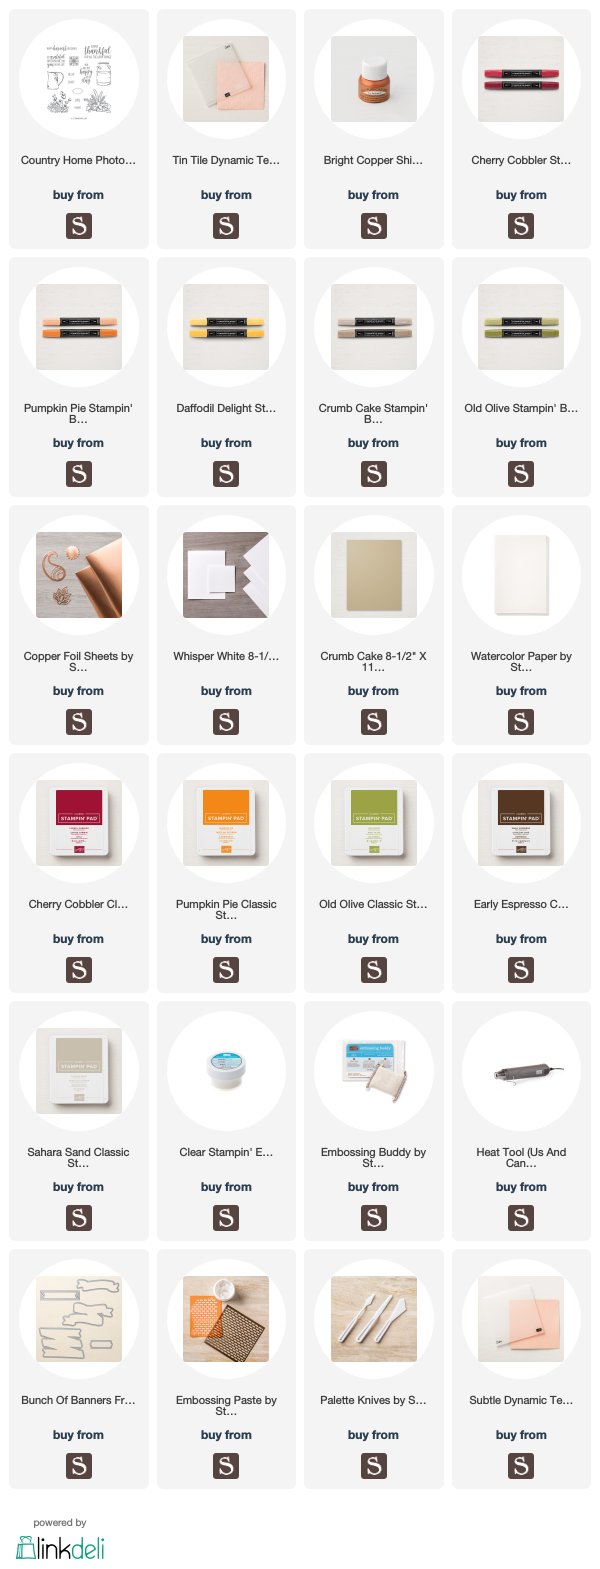
The botanical arrangements were colored with Stampin' Blends in Cherry Cobbler, Old Olive, Pumpkin Pie, Crumb Cake, and Daffodil Delight. I also used some of the Bright Copper shimmer paint to add color to the berries with a watercolor brush.
And yes. I did fussy cut this. I have been doing it more lately, and I have to say, I really don't mind it anymore. I will still buy dies if they are available, but I won't shy away for the fussy cutting anymore.
(disclaimer: I still have the first version of the Stampin' Blends and only have 3 sets of the new ones, so the colors may be slightly different if you use the newest version. But equally lovely, I am sure!)
The sentiment strip started as white cardstock, and was sponged with Pumpkin Pie and Cherry Cobbler, then spritzed, and Copper Heat embossed with the sentiment.
The background was created by applying a wass of Crumb Cake and watered down Bright Copper shimmer paint onto a watercolor paper panel. This was dried with a heat tool (because I am always in a hurry), then spattered with the shimmer paint. And then it was embossed with the Tin Tile embossing folder (on my top five list for this catalog!).
Isn't that Bright Copper shimmer paint stunning on the Crumb Cake?! I adore this stuff!!
This card started with white cardstock covered with watered down Bright Copper shimmer paint. When it was dry, Texture Paste was applied through a Pattern Party mask. I was going for something a little more simple this time. I am not sure I succeeded. 😏
The botanical image and the milk can were stamped individually on watercolor paper with Versafine Onyx Black ink, the clear heat embossed. The images with watercolored with ink from the lids of various ink pads, and the berries are again the Bright Copper shimmer paint.
The images were then fussy cut and adhered together.
There is also a 1/8" strip of Copper foil paper along the edge of the textured panel.
The shimmer on this background is awesome in real life. LOVE. I think I will be using the shimmer paints loads and loads this season.
Were did I get the little sentiment diecut? From Bunch of Banners! I love it when I find something in my stash that works perfectly!
You maybe can't see it in these photos, but the back white panel is embossed with the Subtle embossing folder.
I love how crisp the black sentiment looks on the Crumb Cake!
Tell me what your favorite thing about these cards was in the comments, I would love to know!
Next up is Linda Callahan, and I can't wait to see what she makes with this set. I am sure it will be gorgeous!


Total wow cards! So much to see! Love the layers and details.....and all that fussy cutting....oh my! Beautifully done!
ReplyDeleteDynamic duo of cards, Tanya! I too love all those layers and the watercoloring on the first one. The stenciled background on the second card is such a fun place for that milk can!
ReplyDeleteBeautiful, rich colors! Wow, wow, that shimmer paint/embossing paint background is subtle and so much depth. I really, really love that!!
ReplyDeleteTanya, both of your cards are beautiful, but the rust orange belly band had me at hello. That card is so intensely fall (my favorite time of year, btw) and the bouquets of fall flowers surrounding that gorgeous belly band is breathtaking!
ReplyDeleteWow, wow, WOW!! Love both of these cards! But the first one is simply stunning! Love the bold color and the details!!
ReplyDeleteStunner alert! Tanya these are both just so lush. I love all the techniques you used. Ps I'm coming around to fussy cutting too...... some days!
ReplyDeleteSuch rich and beautiful, Tanya! Amazing details and elegant look! Wonderful job!
ReplyDeleteHoly cow, that’s a lot of fussy cutting, girlfriend! Definitely worth all the work because both of these are stunning!
ReplyDeleteOh my these are both showstoppers! They are beautiful and vibrant! Your background techniques are always so inventive too!
ReplyDeleteWow awesome cards! You did an awesome job with the layers and your always amazing at the coloring too. Beautifully done!
ReplyDelete