Wednesday, September 24, 2014

Bold & Bright Blendas

Who loves the Blendabilities? I sure do! They look so rich and vibrant, and lay down such a fabulous layer of color! I am not exactly a coloring pro, but these markers sure make me look good :)

I made this card in July I believe, again shortly after I got my order from the new catty. I just had to get some ink on this gorgeous new hostess set :)

I was really just playing around with this image and the Blendas, and I liked it so much, I just had to make a card with it. Lucky for me, I found some DSP in the Moonlight DSP pack that coordinated with it beautifully! I am not sure I like the embossed sentiment. It kind of gets lost in the DSP. What do you think?


Sunday, September 21, 2014

Dappled Fruit

Phew! This is the last leg of the Stamp On Your DSP marathon! What do you think of this banner? Like the shot of all of the cards together?

This card uses one of my favorite stamps from the Annual Catalog: Dotty Angles! There are 3 colors of ink layered on this one. Let's get started!
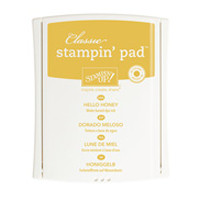
  • Cut a 3¾"x5" panel of the DSP. Stamp the dots image in Hello Honey about 4 times, reinking only once. Move your way from the left to the right of the panel. Clean your stamp and repeat the process, first with Blackberry Bliss, then with Gold Encore ink. Set aside to dry. Use the same process to stamp the right sid eof the inside of the card, but be sure to stamp off before you start, or you will get a very strong result. You will see what I mean at the end :)
  • On a 1" wide scrap of Blackberry Bliss, stamp "you made my day" from And Many More in gold Encore ink. Trim down to about 2½" long and dovetail the left end. Set aside to dry. 
  • Stamp the apple and and leaves from Perfectly Preserved in Gold Encore ink on a scrap of Whisper White card stock. Set aside to dry. 
  • Outline the panel and the sentiment piece with white gel pen. 
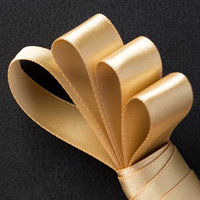
  • Adhere panel to a Whisper White card base. Cut a 3" piece of Gold satin ribbon, and a 2¾" piece of White Organza ribbon and dovetail one end of each. Adhere to card front about halfway up. 
  • Die cut the apple and leaves with the Cannery dies, then adhere together. 
  • Adhere sentiment banner to the card front on top of the ribbons, lining the straight edge up with the edge of the DSP panel. Adhere the apple to the end of the sentiment. 
 Here is a peek inside, and why I told you to stamp off before you stamp on the inside. I did not, and the image is lovely, but so dark it does not leave much room to write in the card :)

Here is another shot of all of the cards together. So, did you learn anything new? And are you going to give this a try? Leave me a comment! I love to hear from you all :)

Saturday, September 20, 2014

Sponged Fruit Hello

Welcome to day three of the Stamp On Your DSP marathon! This time we are going to sponge a bit of color on.

I am not sure I like the way this card turned out, but I really like how the sponging looks :) \
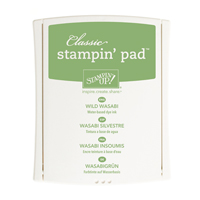
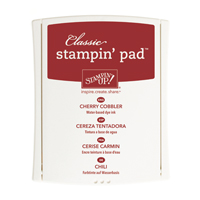
  • On a 4"x5¼" panel of DSP, sponge over the the large polka dotted images with Cherry Cobbler ink and a wedge of Stampin' Sponge. Sponge the pear shaped images in Hello Honey, the peach shaped images in Tangelo Twist, and the small polka dotted images in Wild Wasabi. 
  • Add white gel pen accents on the small polka dots. Outline the panel with white gel pen. Adhere to a Whisper White card base. 
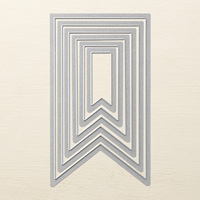
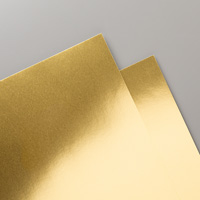
  • Stamp "hello" form Hi There in Tuxedo Black Momento ink on a piece of Tangelo Twist paper. Die cut with the Banner framelit that fits best. Die cut the same size banner from Gold Foil cardstock. Die cut the next size larger banner from Basic Black. 
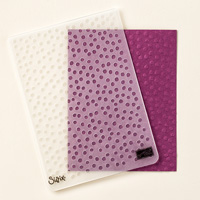
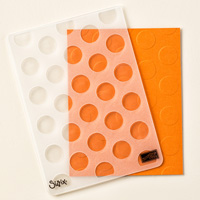
  • Emboss the Black banner with Large Polka Dot embossing folder, and the Gold Foil banner with the Decorative Dots embossing folder. 
  • Outline Tangelo Twist and Black banners with white gel pen. Adhere the 3 banners together. 
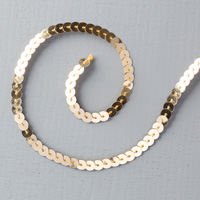
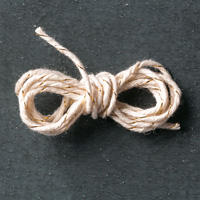
  • Cut an 8" piece of Gold Bakers Twine, knot the ends. Cut a 4" piece of Gold Sequin Trim. Fold the Baker's Twine in half, lay the sequin trim on top of it and loop the top end down, then tie them all together with a piece of the gold thread from the sequin trim. (I frequently pull off a bunch of gold sequins to use on my projects, so I usually have some thread hanging loose without sequins on it.)Use a glue dot to adhere this to the card front just where you think the corner of your banners will overlap it. 
  • Adhere the banner bunch to the card front with dimensionals. 
  • Lightly sponge some spots of color along the edge of the inside panel. Go lighter than I did, this is pretty bold!
Come back tomorrow for the 4th and final card in this marathon!

LinkWithin

Related Posts with Thumbnails