Sunday, February 4, 2018

Stamp Review Crew: Tabs For Everything

Happy February! It's a short, cold, and dark month here, so that calls for MORE crafting, am I right?!

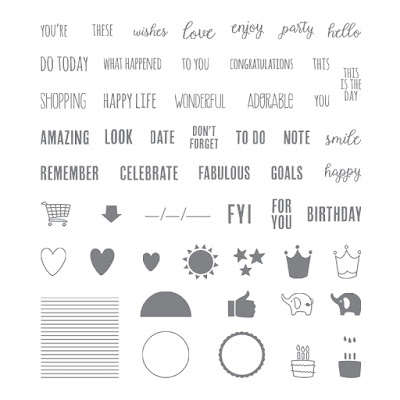
The Stamp Review Crew is featuring a sneaky little stamp set called Tabs For Everything. This set can sneak it's way into just about any creation, and it has stamps that coordinate so very well with so many other sets!
https://www.stampinup.com/ecweb/ProductDetails.aspx?productID=143907&dbwsdemoid=2010774
I mean, really. How many critters can you put that crown on? And the birthday cake? Pandas holding cake. Cake on the Happy Birthday thinlit. Hearts, and stars, and a sweet circle. THEN all those adorable and usable words, in different fonts!!

For those who are new to the Stamp Review Crew, here is a little background. We are an international group of Stampin' Up! demonstrators that gets together on the first and third Mondays of every month to do a blog hop. Each hop features a single stamp set to give you loads of inspiration for that set! The hops are archived at the Stamp Review Crew blog, and you will be able to click through each hop at any time, going directly to the posts for that hop whenever you want! And you can click on the banner of this post to go to the master blog roll for this hop also.

If you are following along in order, you just arrived from Kelly Kent's blog. Kelly is a superstar and I am sure that she came up with some gorgeous stuff!

Mt first project is inspired by that famous quote about pineapples: Be a pineapple- Stand Tall, Wear a Crown, and Be Sweet on the Inside.  That pretty much says it all!

I paired the crown images with Fruit Basket stamp set, which is freaking adorable all by itself! Since both sets are photopolymer, this was super easy to stamp.

There is a vellum Eastern Medallion die cut, and a Gold Foil Tailored Tag punch embossed with the Pinewood Planks embossing folder.

I carried the images to the inside of the card, and added a sentiment from the Fruit Basket stamp set.

Then, I discovered that all of the little images and the single words fit on the bottle labels from Bubble Over!

And there is a solid thumbs up image in Tabs For Everything, and an outline thumbs up image in Bubble Over. So cute! They are the same size, but ever so slightly different, so they don't actually layer together perfectly.

I finally decided to use the Lovely Laurel dies as they were designed to be used. Oh, my! These are awesomely easy to use!! I am telling you, you gotta get these. You get maximum bang for minimal effort.

I couldn't stop at just one! The watercolor layer on both cards features the smooshing technique. Smoosh your inkpad onto a nonporous surface (acetate, acrylic block, craft mat, etc), spritz with water, then smoosh the watercolor paper into the puddles of ink. Dry and repeat until you get the look you are trying to achieve.

All of the images on these labels are from Tabs For Everything.

Another poppin good inside! The sentiment is built with Tabs For Everything also.

That is it for me. And now, Mickey Robert's! This is one hardworking and talented lady!

http://juanacreate.blogspot.com/2017/08/stamp-review-crew-window-shopping.html

http://addinktivedesigns.com/2017/08/21/the-stamp-review-crew-window-shopping/


http://www.stampinup.com/ECWeb/default.aspx?demoid=2010774

4CQ4DJHN

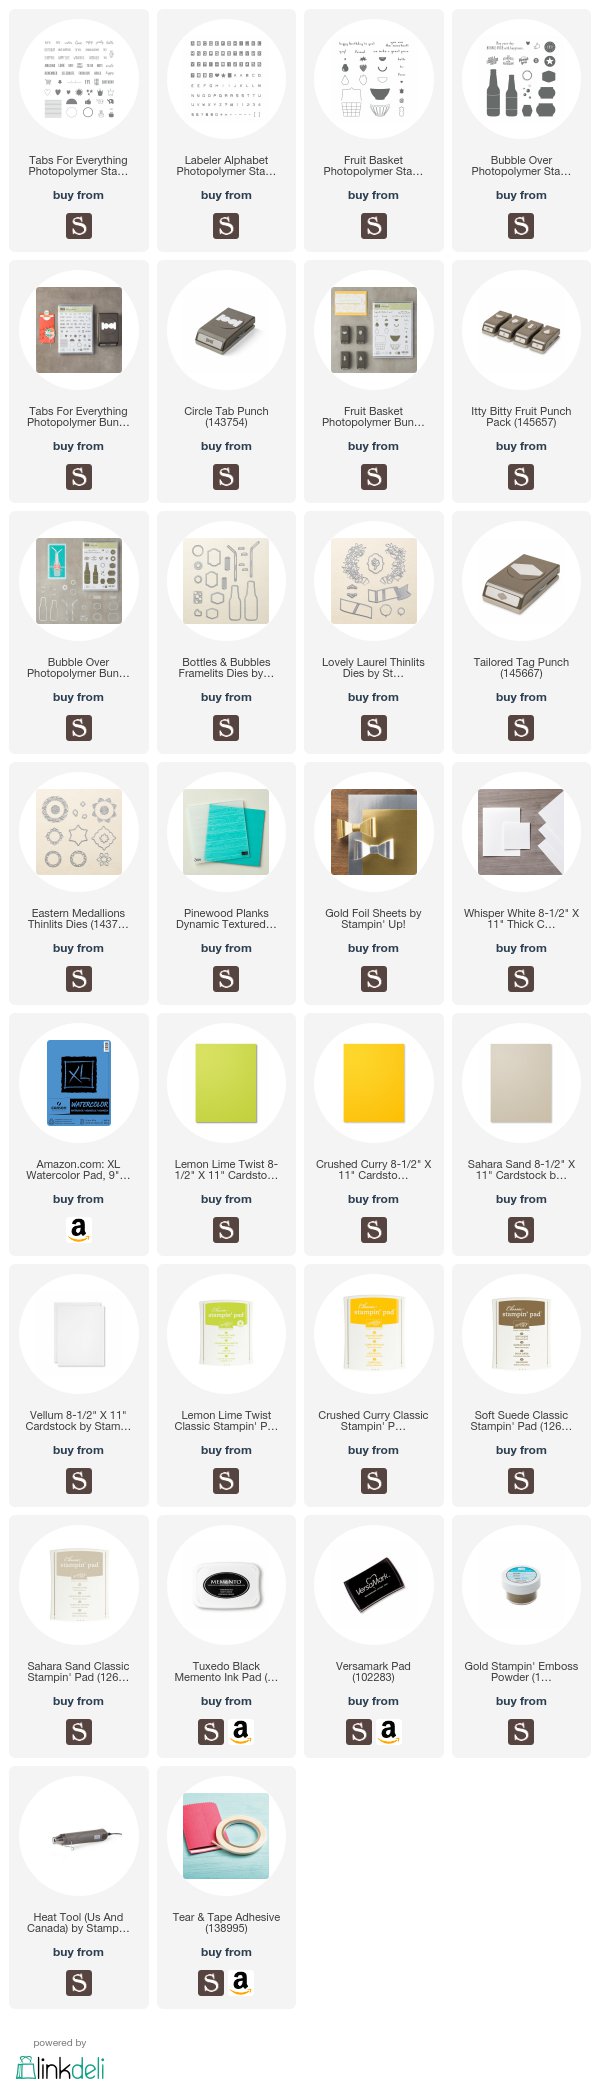
If you have seen something you need for your crafting life, just click the image in the supply list below and it will take you to my store! If you order less than $150, please use this month's Host Code, which can be found at the top of the sidebar on the right.

And be sure to check the box allowing me to contact you when you check out. I can't send you a thank you card if I don't know your address! And I promise to only send you happy mail, no junk mail :)
Friday, February 2, 2018

Love For My Man #2

I am on a mission to shower my man with a bunch of cards, tags, and treats in the 2 weeks leading up to Valentine's Day. And I am going to share the papercrafting part of that with you :)

 I have already shared a few of the other cards I made for this mission, you can find those posts here:
For the Love of Flannel
Ridiculously Happy 
Amazing card and Love You card
Paper Pumpkin Valentine Slider 


This time I used the December My Monthly Hero kit from Hero Arts. I love the stencil and dies in this kit! The inks are from this kit, and from some of the past kits also. This is actually the second version of this card. I wanted to try this in non-pink tones.

Here is how I made this card:
  1.  Cut two 4"x5¼" pieces of white cardstock and prepare one standard A2 cardbase.
  2.  Lay the stencil over one the white layers and sponge on the 3 colors. 
  3.  Using the dies from the kit, diecut the window outline from the sponged layer. Lay this layer onto the other white layer with edges all flush. Lay the window lattice die in the negative space from the outline die and tape in center with washi. Remove the sponged layer and diecut the plain white layer. 
  4. Adhere the layers together and stitch around the edge. 
  5. Sponge some light blue ink directly onto the card base front, being sure to stay away fromt eh edges.
  6. Adhere to the card base.
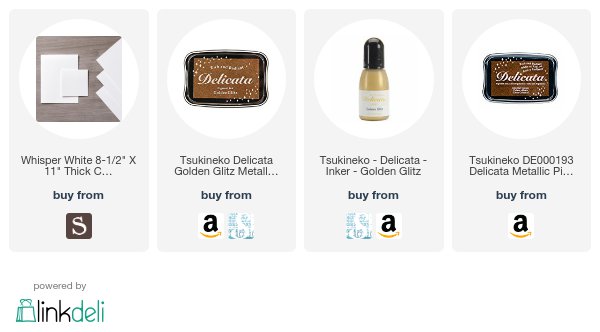
  7. Use the Delicata Gold Glitz and Copper ink to stamp the stars from the kit in the spaces of the lattice onto the card base.  
  8. Stamp the sentiment from the kit in Gold Glitz ink, diecut with the oval Stitched Shape. Adhere to card with foam tape or dimensionals.

Here is the first version. I think is is my favorite of the 2, but the other color combo is better for a masculine card.

You can help support my blog by using the affiliate links below. I do purchase everything I use myself, and am not compensated for any of my blogging. I only use things that I love :)

Wednesday, January 31, 2018

Love for My Man #1

I am on a mission to shower my man with a bunch of cards, tags, and treats in the 2 weeks leading up to Valentine's Day. And I am going to share the papercrafting part of that with you :)

I know this is titled #1, but I have already shared a few of the other cards I made for this mission, you can find those posts here:
For the Love of Flannel
Ridiculously Happy 
Amazing card and Love You card

This is another 3 Tier Slider card, and is actually the first one I made. And I messed this one up! But I like it anyway. I misunderstood how to assemble the card, so the sliders don't extend as far as they are supposed to.

I used the January 2018 Paper Pumpkin kit stamps for this. It is an awesome little stamp set! You can get the refills for this kit if you are a Paper Pumpkin subscriber, but the full kit with the stamp set is sold out.


Check out this video for all of the measurements and instructions on how to make a Three Tier Slider Card!

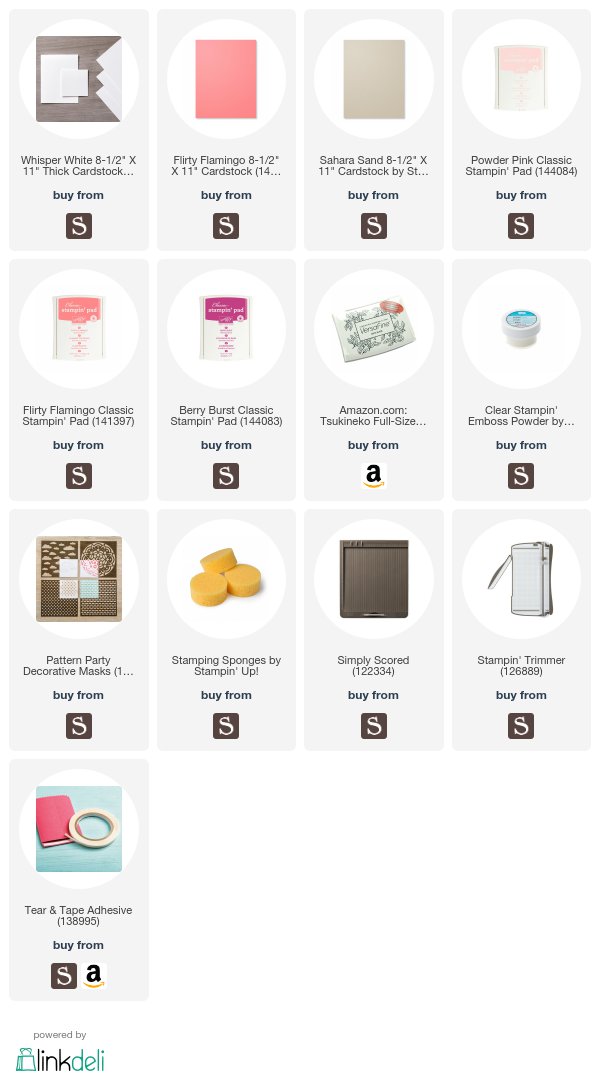
I used a little heart cut with the Sweet and Sassy layering hearts dies to create the pull tab. And the brick mask from Pattern Party to sponge on the Berry Burst, Flirty Flamingo, and Powder Pink inks.

The sentiments are all stamped in Versafine Onyx Black ink and Clear heat embossed. It makes them really stand out.


http://www.stampinup.com/ECWeb/default.aspx?demoid=2010774


If you have seen something you need for your crafting life, just click the image in the supply list below and it will take you to my store! If you order less than $150, please use this month's Host Code, which can be found at the top of the sidebar on the right.

And be sure to check the box allowing me to contact you when you check out. I can't send you a thank you card if I don't know your address! And I promise to only send you happy mail, no junk mail :)

Sunday, January 28, 2018

Stamp Review Crew Bonus Hop: SAB

Are you ready for the Most Wonderful Time of the Year?! No, I don't mean Christmas. It is Sale-A-Bration time! Time to stock up on Stampin' Up! essentials and earn yourself some lovely free stamp sets, ribbon, DSP, and kits! The Crew is going to show you oodles of ideas with the SAB offerings from this year.

For those who are new to the Stamp Review Crew, here is a little background. We are an international group of Stampin' Up! demonstrators that gets together on the first and third Mondays of every month to do a blog hop. Each hop features a single stamp set to give you loads of inspiration for that set! The hops are archived at the Stamp Review Crew blog, and you will be able to click through each hop at any time, going directly to the posts for that hop whenever you want! And you can click on the banner of this post to go to the master blog roll for this hop also.

If you are following along in order, you just arrived from Stesha Bloodhart's blog. Such a talented stamper!

I decided to use a few of the offerings this time.

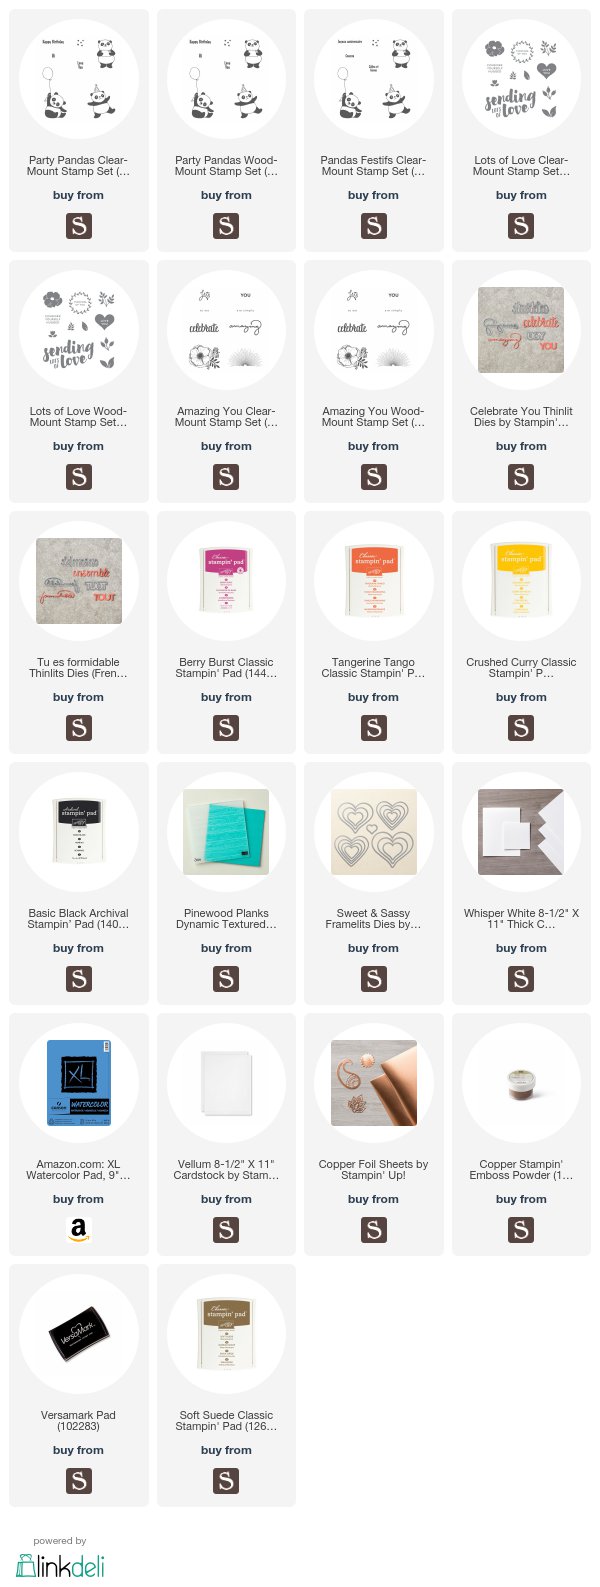
First up, I used that adorable little Panda set, and combined it with the Lots of Love stamp set.

Fabulous Flamingo even got to have a "say" in this card!

Then I decided to play with the Amazing You SAB set and the coordinating Celebrate You SAB thinlits.

I snuck a little Petal Palette inside of this one.

That's it for me!

And now, Linda Callahan! She is certain to come up with something absolutely delightful!

http://juanacreate.blogspot.com/2017/08/stamp-review-crew-window-shopping.html

http://addinktivedesigns.com/2017/08/21/the-stamp-review-crew-window-shopping/


http://www.stampinup.com/ECWeb/default.aspx?demoid=2010774


If you have seen something you need for your crafting life, just click the image in the supply list below and it will take you to my store! If you order less than $150, please use this month's Host Code, which can be found at the top of the sidebar on the right.

And be sure to check the box allowing me to contact you when you check out. I can't send you a thank you card if I don't know your address! And I promise to only send you happy mail, no junk mail😊

Friday, January 26, 2018

My Inky Friends Challenge #2

http://myinkyfriends.blogspot.com/

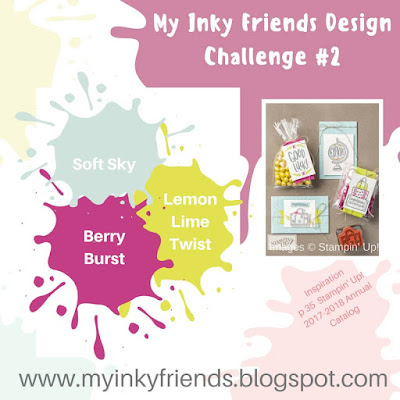
My Inky Friends and I hold a monthly challenge on the 4th Friday of each month. This month is a color challenge taken from the pages of the Annual Catalog.

https://myinkyfriends.blogspot.com/2018/01/my-inky-friends-design-challenge-2.html
 
Soft Sky, Lemon Lime Twist, and Berry Burst. I love it! Check it out and play along!

I decided to try one of these 3 Tier Slider cards that I have been seeing lately. So much fun!! Here is the tutorial I used from Dawn Lewis in Australia (not an SU demo).


Check out this video for all of the measurements and instructions on how to make a Three Tier Slider Card!


I don't know about you, but I sometimes have a hard time fitting the really large sentiments into a card design. But I adore the sentiments in this set, so I had to get it. And this is the first time I have used it.

I used watercolor paper to create the panels, and sponges with the challenge colors. Then I spritzed them with Pearlized water, you can't really see that in the photos though.

And the leaf branches are from the Lovely Laurels thinlit dies, which coordinate with this stamp set. But I used them differently than they were designed to be used.

Here it is with all of the tiers extended. All of the sentiments are embossed with Copper embossing powder. Of course! What else would I use? 😉

Don't forget to go check out all of the other inspiration from the Design Team, and to add a link to your creation for the challenge here!


http://www.stampinup.com/ECWeb/default.aspx?demoid=2010774


If you have seen something you need for your crafting life, just click the image in the supply list below and it will take you to my store! If you order less than $150, please use this month's Host Code, which can be found at the top of the sidebar on the right.

And be sure to check the box allowing me to contact you when you check out. I can't send you a thank you card if I don't know your address! And I promise to only send you happy mail, no junk mail :)


Product List

LinkWithin

Related Posts with Thumbnails