Tuesday, May 28, 2019

New Hero Hues Rctive Inks vsw Distress Oxides


I was so excited to get my hands on the new Hero Hues Reactive Inks that I ordered them in the first hours that they were available on May 22nd. There were some reactive inks in a few of the My Monthly Hero kits over the last year, so I had gotten the opportunity to play with them a bit. Enough to know that I wanted more!


I did make a video that shows all the nitty gritty details.


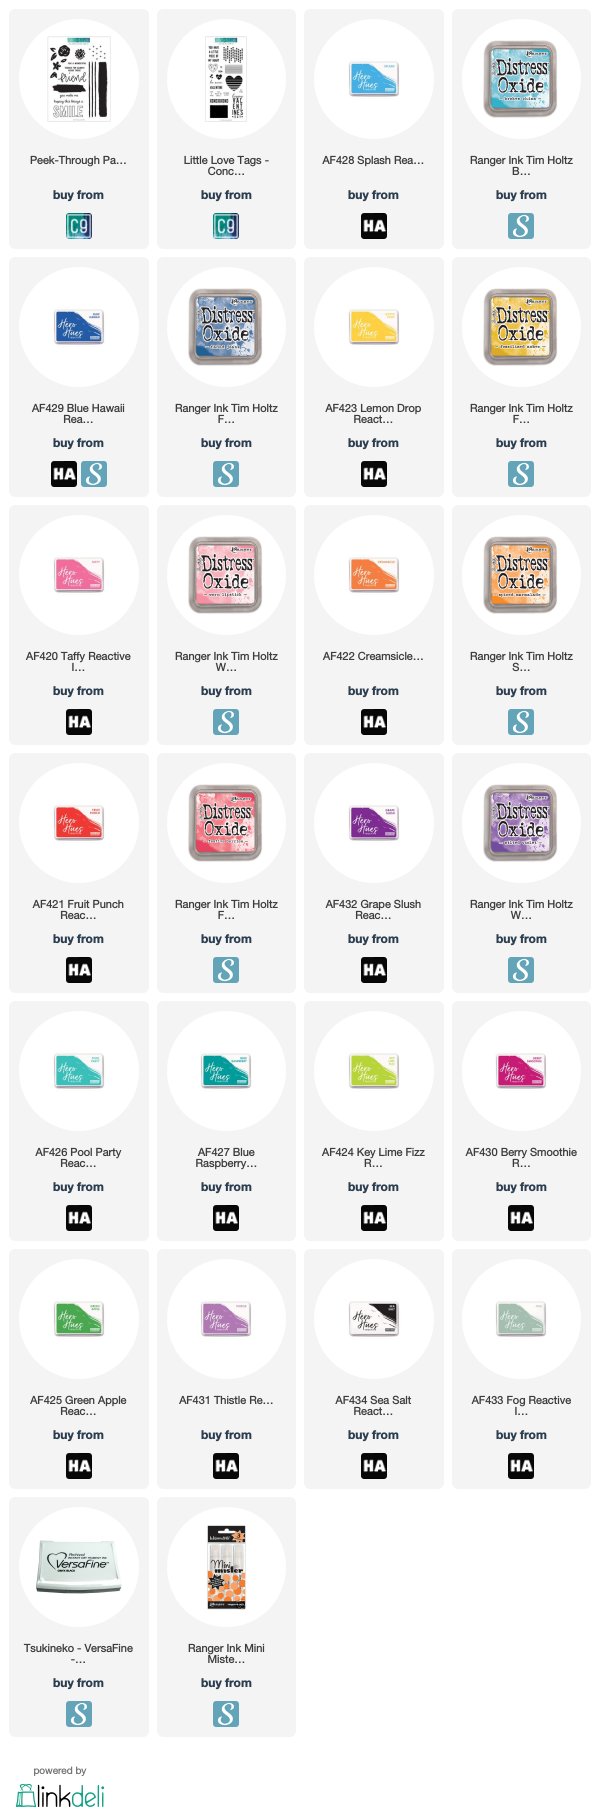
I started with solid image and line art image stamping with Spiced Marmalade Distress Ink and Creamsicle Hero Hues inks. I also did clear heat embossing over the inks. The stamps are from Concord and 9th Peek-Through Patterns and Little Love Tag.


This is an even finer lined image with Worn Lipstick Distress Oxide and Taffy Hero Hues.


These were blended, then smooshed, and layered. Worn Lipstick/Taffy, Festive Berries/Fruit Punch, and Wilted Violet/Grape Slush are the colors. 

Same colors used as watercolor paint on watercolor paper with Versafine Onyx Black ink. 

Then I tried stamping on black cardstock with Fossalized Amber Distress Ink and Lemon Drop Hero Hues. 

Same colors on Kraft cardstock. 

Last, but not least, a watercolor wash with spritzing and smooshing.

I love these both, and they are very similar. I would say that the difference is that the Hero Hues are more vibrant and the Oxides have that awesome chalkiness. Yes, you need both 😁

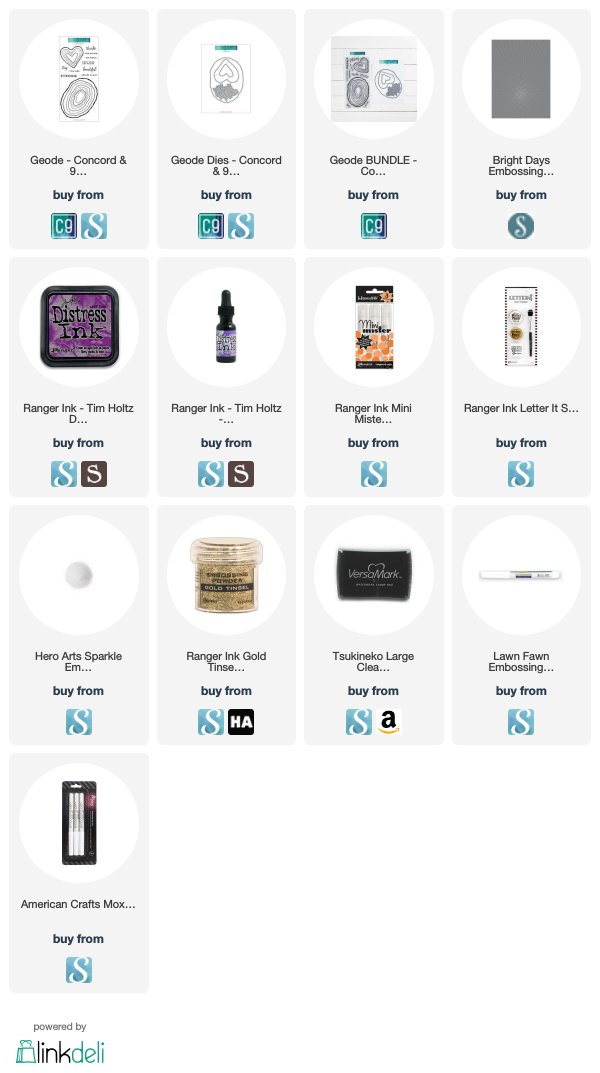
Here are some convenient links to the products I used here, check them out!
Friday, May 10, 2019

Concord and 9th Geode


I like to play with rocks. My grandkids like to play with rocks. I have actually found geodes in my childhood home's yard! They were quartz, and about the size of a softball. So, when I discovered the Geode stamps and dies from Concord and 9th, I knew I had to have them.


Here is the video of how I made this card. Check it out for all the fine details!

I used Gold Tinsel embossing powder to heat emboss this image on watercolor paper, then spritzed color onto the image. Spritzed again with Pearlized water.

Then I used and embossing pen to clear glitter emboss the very center of this.

There are coordinating dies for this set, so I cut it out.


To create the dark shell,  Soft Suede ink was sponged on the edges. The panel behind the geode is embossed with Bright Days embossing folder from Fun Stampers Journey.

The part of the sentiment is stamped in Fresh Fig and clear heat embossed,  and the center part is Gold Tinsel heat embossed, all on vellum.


There is a heart geode image in this set, and I thought it would be perfect for the inside. It was Gold Tinsel heat embossed on vellum, then die cut.

This last sentiment was also Gold Tinsel heat embossed on some sponged and spritzed white cardstock before diecutting and adhereing this all inside the card.

I really enjoyed making this card, and I hope you enjoyed the process!

Be sure to subscribe to my blog and YouTube channel so you don't miss any of my projects. Check out the links below for the supplies I used in these cards.

This blog and its content are my sole responsibility. I only use and show what I love, even if it is a design team assignment. Because, hey. I wouldn’t agree to be on a design team if I didn’t love the product! Links to supplies are provided, some of which are affiliate links, but not all of them actually create income for me.  Every little bit helps to support this channel.

Some of the supplies listed below are affiliate links, some are not. If you use an affiliate link here to make a purchase, I may get a small compensation. I only use things that I love, and do not create paid posts. 


Sunday, May 5, 2019

Stamp Review Crew: Incredibly Like You

https://stampreviewcrew.blogspot.com/2018/11/first-frost.html

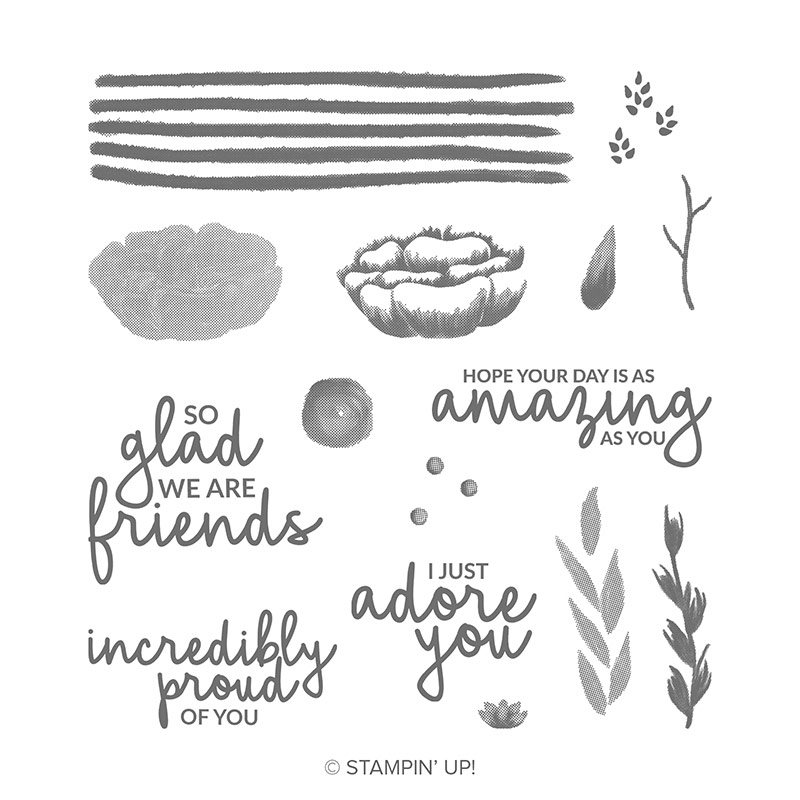
Hello friends! It has been a while since I have been able to participate in a Stamp Review Crew hop, and I am excited to share with you all again. We are using the Incredible Like You stamp set this time, and it has a nice mix of images and sentiments. This was either an All Attendee give away or a Prize Patrol at the November OnStage event, and is not something I would have gotten for myself. After being a demonstrator for over 12 years, I have accumulated many, many flower sets. That being said, this is a lovely set with some awesome sentiments!

https://www.stampinup.com/ecweb/product/148708/incredible-like-you-photopolymer-stamp-set

If you are following along in order, then you have just arrived from the delightfully talented Lauren Alarid's blog.


My first project is panel of watercolor paper that I sponged then spritzed with Pearlized water to blend and get some drips.


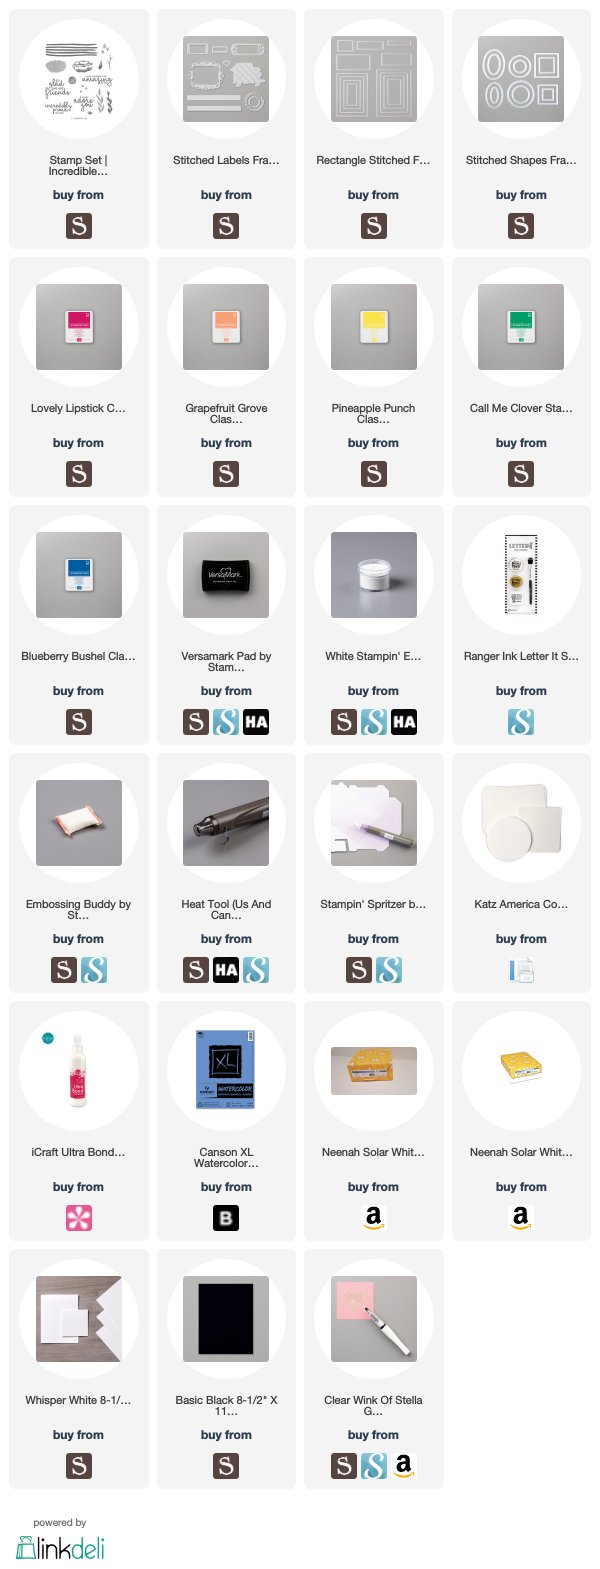
I stamped the two step flowers in combinations of the same colors, then fussy cut them. Added layers of vellum die cut with a die from the Stitched Labels framelits set with a sentiment on sponged ans spritzed cardstock and white heat embossed.


The card was looking a little washed out and needed a pop of something, so I started with added some Clear Wink of Stella to the flowers. That wasn't enough, so I added some black dots to the centers of the flowers.  That seemed to do the trick.


For this card, I wanted a quick, simple rainbow card.


Perfect for those moments when you need a fast gender neutral card.

That is it for me I hope you enjoyed my projects.

Next up is Nikki Spencer and she is sure to have something incredible!


Follow me here:

Blog:   http://tinkerin-in-ink.blogspot.com/
Instagram: https://www.instagram.com/tanyaboser/
Facebook:  https://www.facebook.com/tinkerintanya/
Pinterest:   https://www.pinterest.com/tanyaboser/
YouTube:   https://www.youtube.com/channel/UCgRYs_Epaw3hGhrZkjKDSeg


This blog and its content are my sole responsibility. I only use and show what I love, even if it is a design team assignment. Because, hey. I wouldn’t agree to be on a design team if I didn’t love the product! Links to supplies are provided, some of which are affiliate links, but not all of them actually create income for me.  Every little bit helps to support this blog.


Friday, May 3, 2019

Hero Arts Jellyfish Party with Video


Hey friends! How about some marine life this time? I created these cards about a month ago and finally had time to get the video edited and a blog post written. Honestly, I intended to get this published next week, but I accidentally uploaded the video to YouTube as a public video right away! Oops. I am still learning lots about doing videos.


Since I made a video with the whole process, I am going to be brief here. Please go check out the video for the nitty gritty details.

This is a single watercolor panel cut in half with a Papertrey Ink On The Round wavy edge die and adhered over a White Satin Pearl embossed panel.

This one uses the Lil' Inker Stitched Diagonal die to  create a recessed area to put the embossed sentiment.


The inside is stamped with a jellyfish from the March 2019 My Monthly Hero and the Concord & 9th Grateful for Everything stamp set.


This uses the die cut left over from the previous card over a Subtle embossed white panel. The sentiment is from the Thankful Leaves Turnabout from Concord & 9th in white embossing.


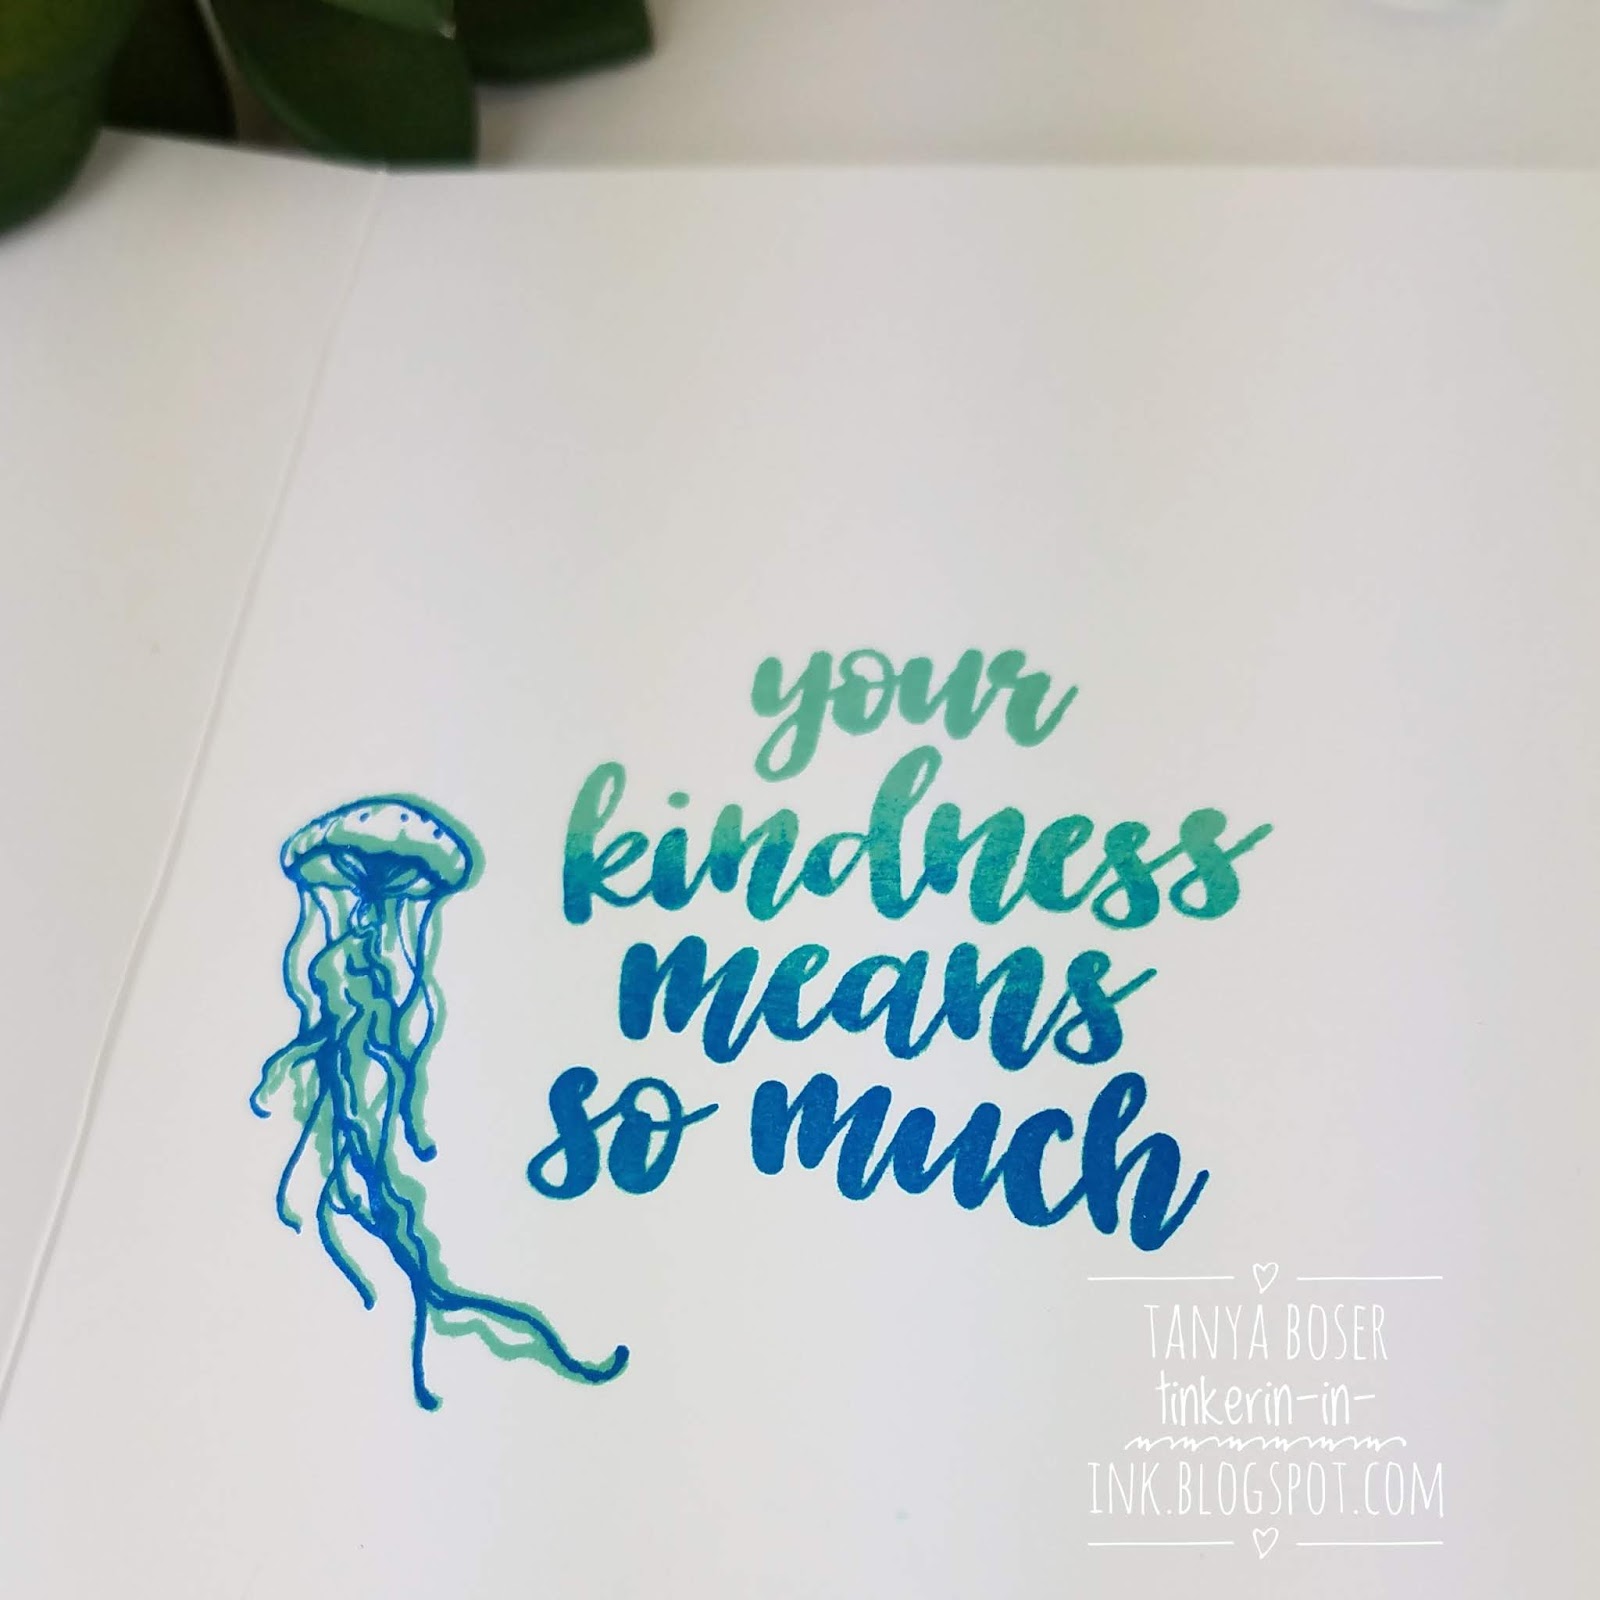
Inside is a sentiment from the Thankful Leaves Turnabout stamped in a gradient with Pool Party and one of the reactive blue inks from the March 2019 My Monthly Hero kit.


I made some "bubbles" of jellyfish on this card, and added some stamped and die cut jellyfish from the March 2019 My Monthly Hero kit. The sentiment is from the MMH kit also.


Extra die cuts and another jellyfish stamped directly inside the card. 


More bubbles, but over a white panel embossed with White Satin Pearl. And a different sentiment from the March 2019 MMH kit.


This background was a watercolor/smoosh technique with reactive blue inks from the MMH. And White Satin Pearl Jellyfish Party embossed over the top.


And the last card, I used a full panel. I just couldn't cut this one up!


I even used the scrap on the inside!

Be sure to subscribe to my blog and YouTube channel so you don't miss any of my projects. Check out the links below for the supplies I used in these cards.

This blog and its content are my sole responsibility. I only use and show what I love, even if it is a design team assignment. Because, hey. I wouldn’t agree to be on a design team if I didn’t love the product! Links to supplies are provided, some of which are affiliate links, but not all of them actually create income for me.  Every little bit helps to support this channel.

Some of the supplies listed below are affiliate links, some are not. If you use an affiliate link here to make a purchase, I may get a small compensation. I only use things that I love, and do not create paid posts.


Monday, April 29, 2019

Kindred Stamps and Thermoweb


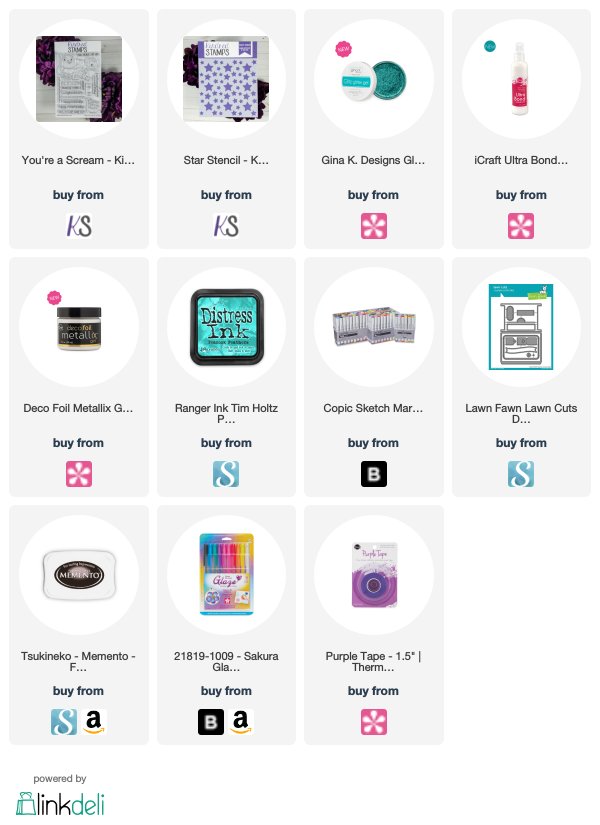
Hello friends! I am playing with the You're a Scream stamp set from Kindred Stamps, and some products from Thermo-Web to make this all star slider card. I am excited to play with the Glimmer Gel and the Metallix Gel. They are both so light and creamy, and so shiny!


 I used the Turquoise Sea Glitz Glimmer Gel with the Metallix White Pearl with the Star stencil from Kindred Stamps to create this star background.


 The Star stencil with Peacock Feathers Distress Ink here on the slider panel. And Candied Apple Distress Ink for the red pieces.


This big fella is colored with Copic markers. The sentiment over his feet was an oops. I stamped it on the panel before adhering him on, and he was too tall! So I took some vellum and Black heat embossed the sentiment and adhered it right over his feet and the previously stamped sentiment. 

I used these colors:
R20, R22, R24
R39, RV69
W0, W1, W2
 

I also created a video of this card creation using the Lawn Fawn Double Slider dies.


I made a video with my own template for a double slider card. Check it out!

I did record the making of this monster slider card, but my daughter and her family surprised me with a visit this week and I have not had time to edit it. Hopefully soon!


Monday, April 22, 2019

Kindred Stamps Release: Peace and Love

Hello Kindred friends! It is time for the April Release from Kindred Stamps, and I get to be groovy with you all! I know I say this every time, but I really did have so much fun playing with the Peace and Love set. I love it!


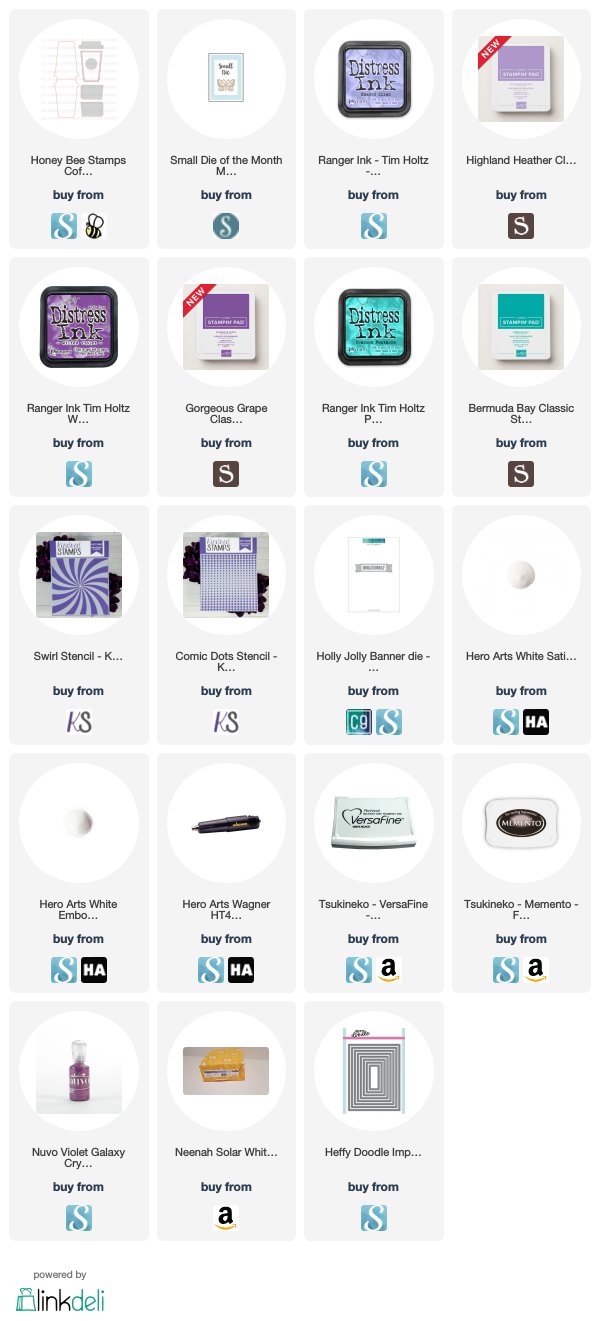
My first project was this cup shaped card using the Honey Bee coffee cup card die, which just happened to arrive the same week at this stamp set.

I did a bunch of sponging, spritzing with Pearlized water, and spattering with clear water.

Then I heat embossed the peace sign in White Satin Pearl and White embossing powder. I think they look like bubbles.


The belly band slides off, and has most of the embellishments on it. The flowers are sponged and diecut with Spellbinders Layered Colorful Blooms dies and Nuvo Drops in Galaxy Violet.

The hippie girl is colored with Copics, and I wrote them all down. But that list is at home, and I am in Florida. Just got off a cruise ship... I will have to add that info when I get home. On Tuesday! 😏 Prepared, aren't I?!

Edited to add:
Hair: Y21, YR24, E99
Skin: E11, E00, R20
Dress and Flower: V000, V01, V04
Mouth: V000, R20
Boots: YR24, E99


Even the inside got some sponge and spritz love! The sentiment is from this stamp set also.

The top portion of the card has a diecut panel with insert tabs for a gift card.


Next I had to play with this awesome VW van. I love all the graffiti on it! The Swirl stencil was the perfect background accent here because the bus is pretty big and makes for a quick cardfront.


I started the background by sponging the 2 colors over the entire panel, then applied the stencils and sponged the same colors over the top. Of course, there was spritzing involved.  😁

Van:
  • BG11, BG13, BG15
  • RV04
  • YR16
  • Y04, Y06
  • N00, N1, N3, N4, N5, N7


Ok, I am really, really happy with the way all of these projects, but this is my favorite. At least for how the techniques and how quickly the idea gelled and came to life.

I did a double stencil technique. First with the Swirl stencil, then with the Comic Dot stencil, without removing the Swirl stencil. LOVE!!


I colored the lava lamp with Copics, list to come later. I also used the Sakura Gelly Roll Glaze Clear and Stardust pens.

Edited to Add:

Aqua: BG11, BG13
Purple: V000, V01, V04

I used mostly the same colors for everything, to keep things simple. And because I actually really love this color combo! It is a new one for me. OK, that is the last of my projects for this post. Enjoy the rest of the release!

The entire Kindred Stamps April release will be available Friday, April 26th at 8am PST/11am EST. Be sure to subscribe to the Kindred Stamps blog to see a daily line up of sneak peeks from our amazing Design Team and see the full product release on Friday! Come join the Fan Club and release event to be part of the release fun, and you may just win some Kindred Stamps credit!!


LinkWithin

Related Posts with Thumbnails