Friday, September 11, 2020

Festival of Fall: Harvest Goodness


Playing with Distress Oxides to create a vibrant background!

The Crafty Festival of Friends is doing another series of hops on all the social media platforms. This time it is a Festival of Fall, and the theme this week is Harvest Goodness. I love the variety of produce that emerges in the fall, such a feast for the senses! If you have a garden, you are probably up to your ears in yummy stuff that you now need to preserve. If you don't have a garden, you may be having garden envy, or fending off zucchini from everyone you know, lol!


The Friendship Farms stamps and dies from Concord and 9th are the perfect way to bring that fall vibe to life.  I added the Woven Plaid background to this card for a warm touch. It is already cold here in northern Minnesota. The high today was 56! Much too early for this. But it is never too early for pumpkins and plaid!

You can watch me create this card from start to finish here.


The distress oxides made quick work of the stamping, with a rustic look. If you want a smoother look,  use a dye ink and probably a MISTI for the best images. 

The pumpkin was diecut from some cardstock I have in my stash that I had done ink smooshing with Carved Pumpkin and Spiced Marmalade. I plan to keep some available all the time, because it is amazing!

I did use a dye ink for the plaid stamping for a more subtle and crisp stamping. I made sure to dry the ink well with my heat tool before doing the copper heat embossing.


I had created larger than needed panels with my stamping, and used the leftovers inside the card. The cardbase is a cream speckled cardstock from my stash. If you have been stamping for a while, I am sure you have some version of this style cardstock tucked away. Autumn is the perfect time to pull it out, it adds a warm and cozy feeling to your projects. And there is something to be said about combing white and cream on a project.

The rest of the blog roll is at the end of this post, so don't forget to check it out.

If you are interested in the supplies I used, I have provided links below.

Some of the supplies listed below are affiliate links, some are not. If you use an affiliate link here to make a purchase, I may get a small compensation. I only use things that I love, and do not create paid posts.

Supplies:


 Blog Roll:

Tania Cordie          blog

Tanya Boser.          blog        instagram       video

Thursday, September 10, 2020

Picot Petite Dies!


Spellbinders has a new release from Becca Feeken, and they are amazing!! A new staple for my craft room.
 
 
Check out this video with all the details!


Some of the supplies listed below are affiliate links, some are not. If you use an affiliate link here to make a purchase, I may get a small compensation. I only use things that I love, and do not create paid posts.

Wednesday, September 9, 2020

PCC 392: This is My Costume


Are you ready for a field of pumpkin projects? I know I am! But then, I love squash of all kinds. So yummy, and pretty!

I was able to get my self organized enough to participate in the Paper Craft Crew Challenges this week. I think I deserve a gold star!


The Paper Craft Crew has a great sketch challenge this. I played a little fast and loose with it, but then a sketch is supposed to be a jumping off point. Click on the link to see more inspiration, and to add your project to the challenge. 


 I got a new pumpkin set from The Rabbit Hole Design, and I had to play with it. I also had this background leftover from another craft session, and it looks perfect here! I created that background with the Trinity Stamps Slimline Space Swirls stencil and Distress Oxide inks. Video here:


The pumpkin was stamped with Versafine Onyx Black ink, then clear heat embossed on watercolor paper, then colored with Daniel Smith watercolors.


Some fun glitter cardstock die cut foliage accents add a great autumn accent. I also used the Candy Corn Shot sequin mix from Picket Fence Studios, so appropriate!!


If you are interested in the supplies I used, I have provided links below.

Some of the supplies listed below are affiliate links, some are not. If you use an affiliate link here to make a purchase, I may get a small compensation. I only use things that I love, and do not create paid posts.


Friday, September 4, 2020

Cats, Three Ways


It is feeling like sweater weather here already, the last sips of summer will be gone soon. And that putts me in the mood for these warm yellows and oranges with copper and brass accents.


You can watch me create all of these cards in this video. 


 This all starts because I need a cat themed birthday card for work, which means these are all going to be 5x7 cards.  I searched out a good stamp set with multiple cats, and I found the Hero Arts: Knitting set. 


First I stenciled a panel of yellow cardstock with Wild Honey, Ripe Persimmon, and Carved Pumpkin Distress Oxides. 

Then the cats were stamped in Versamark and Bras heat embossed.


The HB is from Concord and 9th: All the Birthdays stamps and dies, and is die cut from Tonic Studios Rose Platinum mirror card. Gorgeous!

I attempted to stamp the cats inside the card with the Hero Arts Ombre Autumn ink pad and messed up. So that card base was turned into two front panels with cats stamped all over. 

This one gets the same treatment as the first card. Look at those cats! I think the one in the scarf is my favorite.


The last card has double the fun with both backgrounds used. The panels are die cut with the Honey Bee Stamps A7 Double Stitched Rectangles, which is my favorite for A7 cards. 


I love how the inks, embossing powder, and mirror card all complement each other so well! And that this is a great gender neutral design. 

Are you going to give any of this a try? I would love to hear about it! Leave me a comment below. 

Some of the supplies listed below are affiliate links, some are not. If you use an affiliate link here to make a purchase, I may get a small compensation. I only use things that I love, and do not create paid posts.


Friday, August 28, 2020

Festival of Fall: New Starts


Fall is almost here, in the northern hemisphere. And for those in the southern hemisphere, spring is about to blossom! I love the transition seasons, and there are so many wonderful reason why.  Lots of New Starts, so that is our opening gambit for the Festival of Fall!

My Crafty Festival of Friends and I are doing another series of blog hops. This one is every 2 weeks on a Friday, and it spans a whole lot of stuff. Be sure to subscribe to us all to be sure to catch all of the projects. 


Want to see the creation process? Watch this video!


 This is  a super simple card. Stamped and Copic colored image with a white heat embossed sentiment popped on top of this 5x7 card.


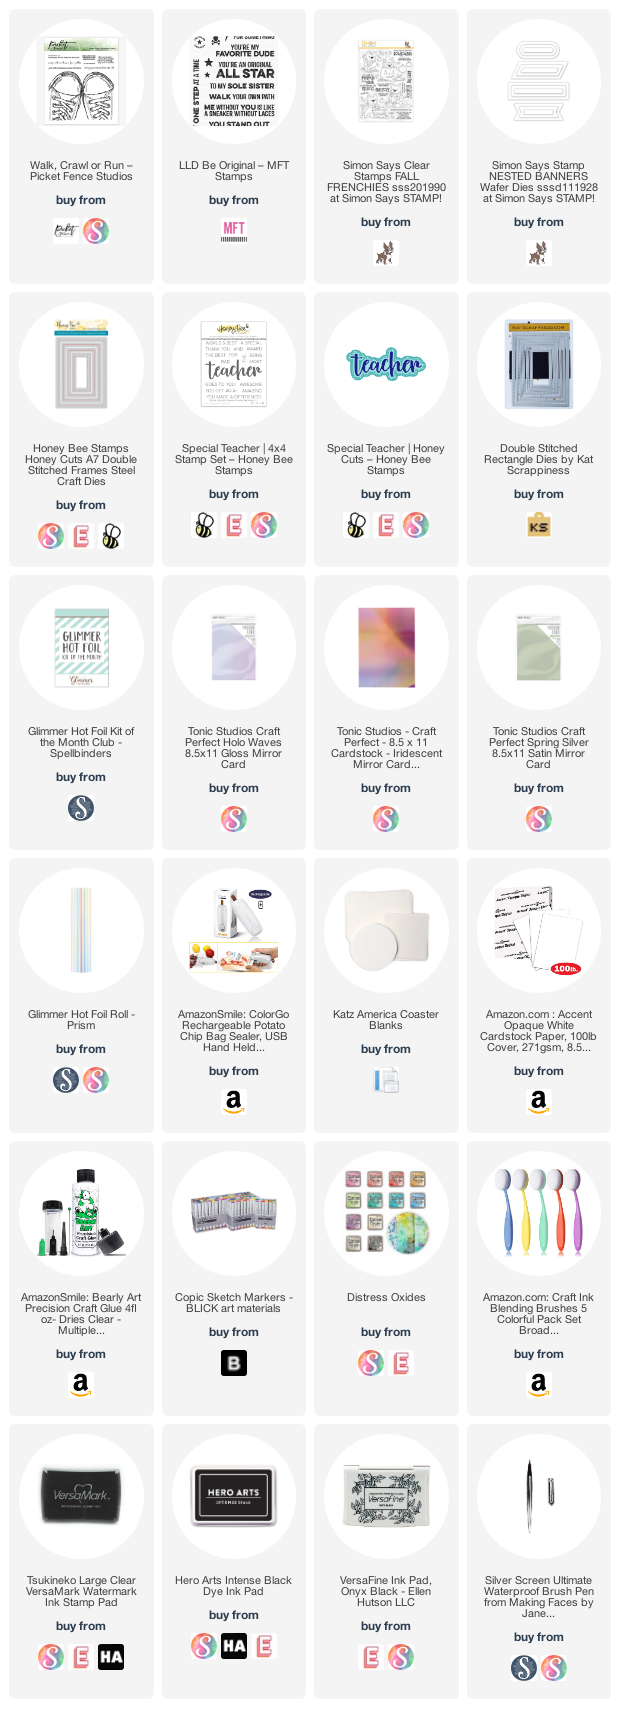
The shoe image is from Picket Fence Studios: Walk, Crawl, Run

The sentiment is from Simon Says Stamp: Fall Frenchies- a favorite of mine. 


The sentiment inside is from My Favorite Things: Be an Original, which is full shoe references.


This is my first effort at creating a shaker pocket with upcycled stamp packaging and a bag sealing tool. Check out that video at the beginning of this post to see the process. 


I recently got several cardstock packs from Tonic Studios, including several mirror cardstocks. Seems the perfect time to use them with the layered sentiment dies from Honey Bee Stamps: Special Teacher!

This is Spring Silver mirror card, layered into white and vellum cardstocks. 

The sub-sentiment on the front and inside are from the Honey Bee Stamps: Special Teacher stamp set- gold heat embossed. 


This time, I had a play with the Spellbinders Glimmer of the Month kit: Have a Crafty Day glimmer plates. The kit has on large background and several sentiment plates in this kit. I used the background plate with the Prism foil to create this background on a light pink cardstock. 

The foiling resists ink, so I was  able to ink blend the panel with Wilted Violet, Picked Raspberry, and  Spun Sugar Distress  inks. Add some spritzing with Pearlized water, and you have a lovely background!


This mirror cardstock is Petal  Pink, which is another holographic paper that ranges from purple to pink- love it! So many colors it will work with!


That Honey Bee Stamps: Special Teacher set has loads of great sentiments, and I used a few more on this card, also heat embossed. 

I am so glad you stopped by! Be sure to check out the rest of the hop, the full list of stops is at the end of this post. 

Thank you to everyone that has used my affiliate links. I really appreciate it! Leave me a comment to let me know if you made a purchase with my links, and I will send you a card!

Some of the supplies listed below are affiliate links, some are not. If you use an affiliate link here to make a purchase, I may get a small compensation. I only use things that I love, and do not create paid posts.


Blog Roll:


  • Tania Cordie            blog
  • Marcia Caradinta     blog     Instagram
  • Tanya Boser             blog     Instagram      video
  • Jenny Hall                blog     Instagram     

Tuesday, August 25, 2020

Crafty Christmas Club: August

 
Good morning, crafters! Do you have your cuppa in hand? We are ready to help you wake up!

It is the 25th of August and that means it is time for another Crafty Christmas Club hop. I hope you are all enjoying this monthly Christmas encouragement.  I know that I need a little reminder to keep at the card pile I need to create for the holiday season, because it comes up much to quickly. 


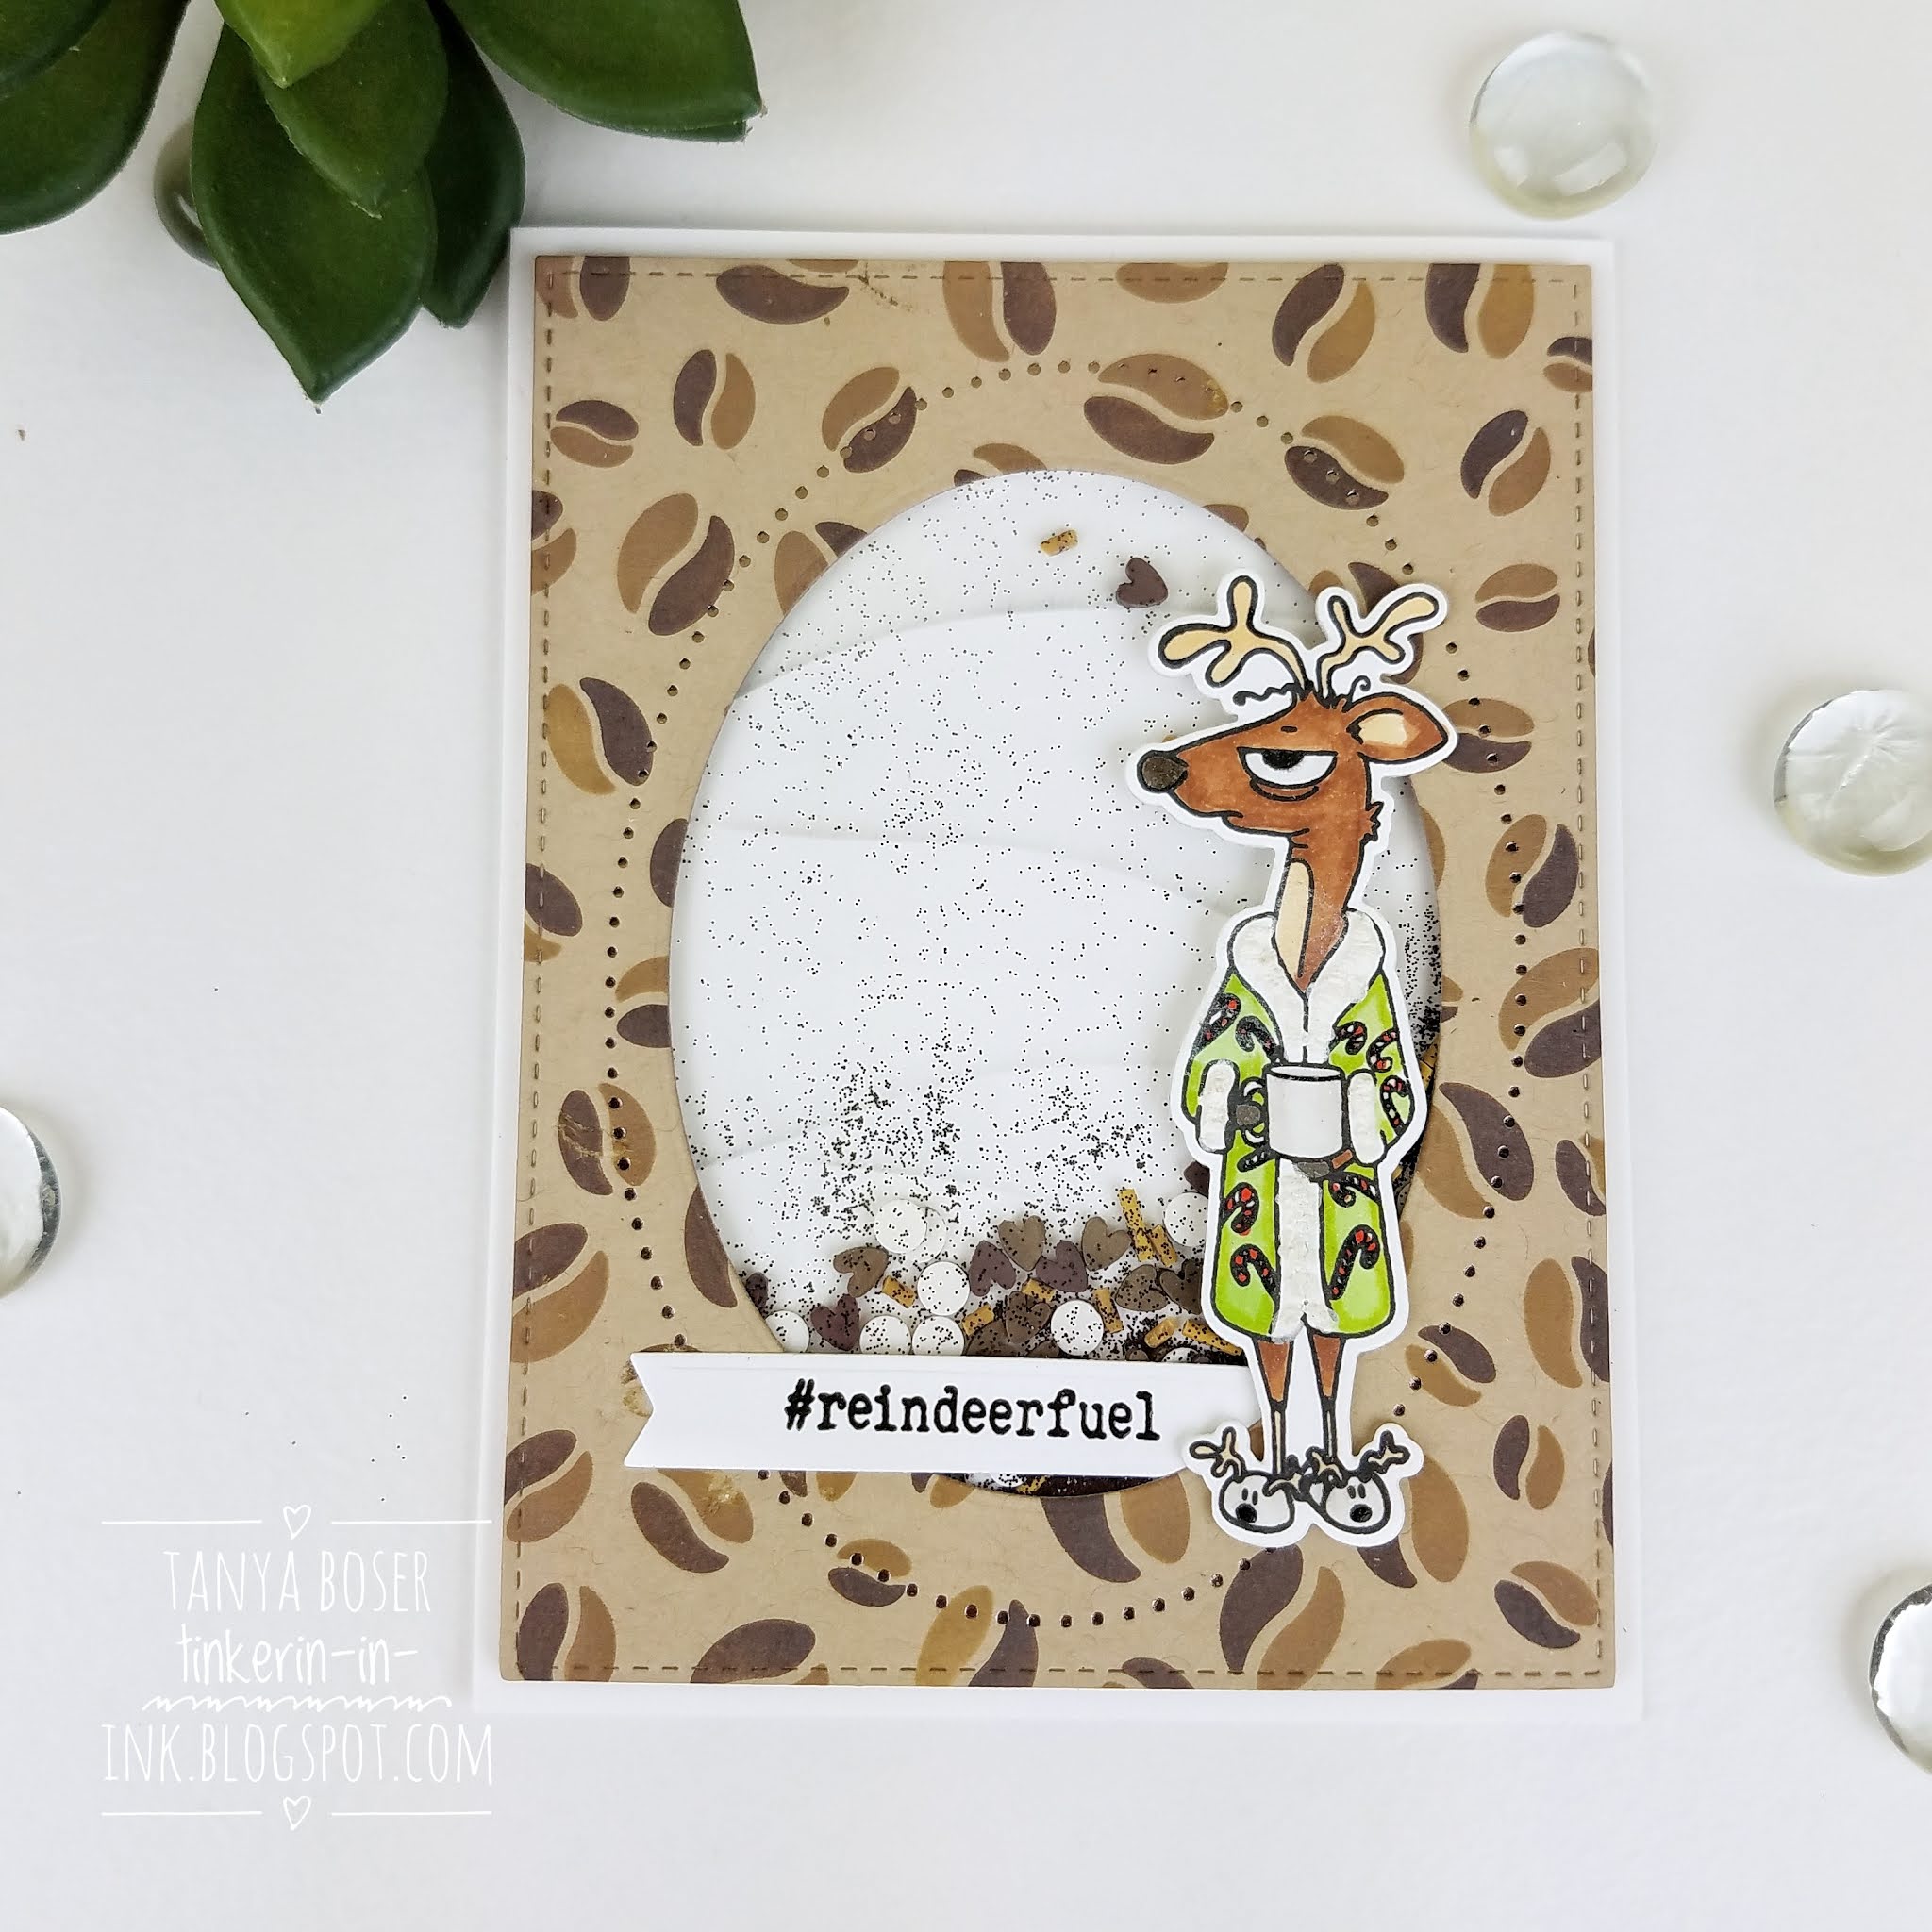
This time, I decided to go a little quirky with my card. It helps that the stamp and die just arrived and I really wanted to play with it. I did create a video of this card, which will give you all the details of how it was created. 


This card started with an image, and just evolved as I went. There was no plan other than using this stamp and die. I did not even know I  was making a shaker  card. But, here we are!


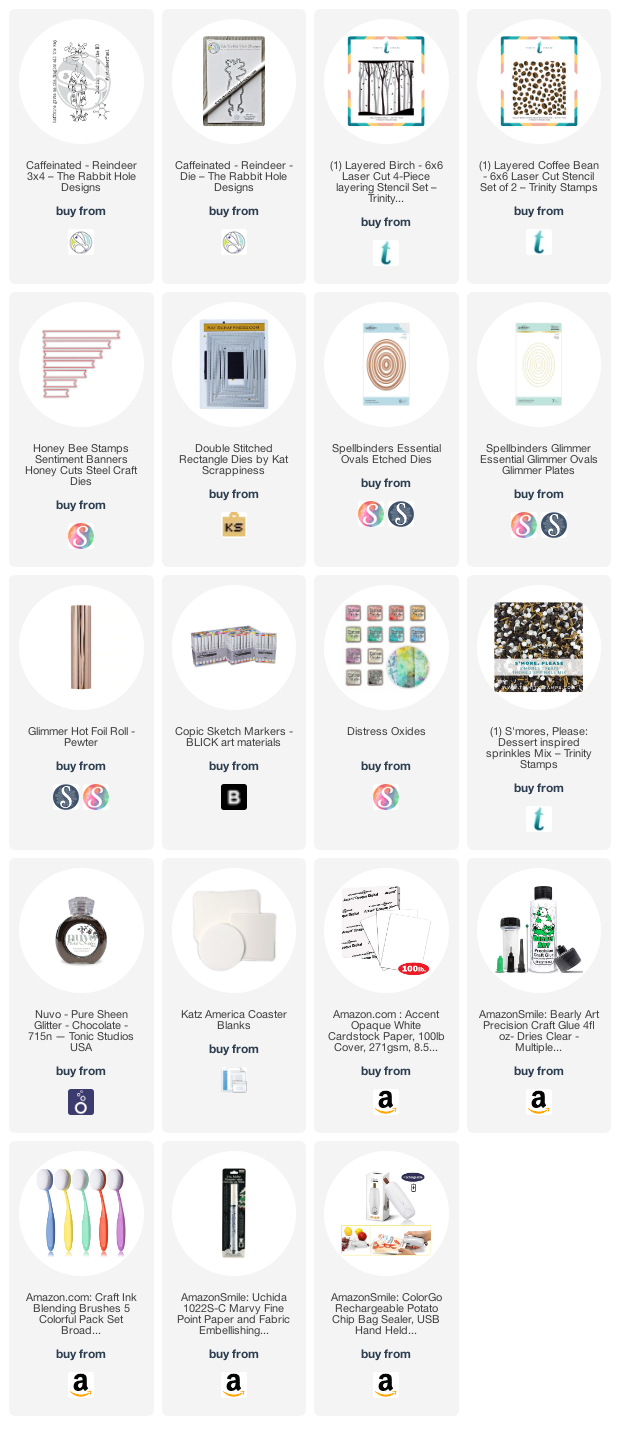
I colored the reindeer with Copics, Wink of  Stella, Sakura Gelly Roll  pens,  and the Marvy Snow Marker. 

I used the Trinity Layered Coffe Beans on the kraft panel, and  Layered Birch stencils for the snow banks inside the shaker element. 


Spellbinders Essential Ovals dies and Glimmer Hot Foil plates created the shaker window and details. The dimension for the shaker element is achieved with 2 layers of coaster blanks cut to  fit. The shaker pieces are the Trinity Stamps S'mores Please clay embellishments. 

And, you guessed it, a little stenciling on the inside with this perfect sentiment stamped over the top.

So, can you relate to this reindeer? Have you finished your cuppa? Comments, quirky and irreverent welcome, below!

The rest of the blog roll is at the end of this post, so don't forget to check it out.

If you are interested in the supplies I used, I have provided links below.

Some of the supplies listed below are affiliate links, some are not. If you use an affiliate link here to make a purchase, I may get a small compensation. I only use things that I love, and do not create paid posts.


Blog Roll:


Thursday, August 20, 2020

Crafty Friends: Gina K Designs


Are you ready for some glitz and glitter, because here it comes!


Welcome to the monthly Crafty Friends Blog Hop!  We feature a different brand each month, with a limited time COUPON CODE for our viewers. How awesome is that?!


We are featuring Gina K Designs this time, how exciting is that?! Be sure to get in on this coupon code, which is only good for 2 days. Click on this banner to get started shopping, and don't forget to use the CRAFTYFRIENDS20 code at checkout for 20% off (excluding gift certificates and clearance items).


I am trying really hard to do videos for every post. And I succeeded with this one! Check it out for all the details.


This card features a rainbow of Glitz Glitter Gel around a wreath of summer goodness created using the Gina K contribution to the Stamping Village stamp set: Thinking of You. 


I used a wreath building template to create the wreath of flowers, then colored them with Copic markers. 


The centers of the flowers are Lemon Twist Nuvo Dream Drops, so shimmery! 

 
And inside, some stenciling to finish it off.


This one is a little less in your face with the glitter. Ink blending over a yellow cardstock panel, then glitter gel scattered over the same stencil. This is a 5x7 card.


The center image is the same as the first card. Isn't it interesting how the same main image on a different background changes the whole feel!


The Honey Bee Stamps A7 Scallop and Double Stitched Rectangle die sets helped create the panels on this card. 


More stenciling on the inside of the card. Love this, probably not stopping anytime soon. 😁

The question I would like you to answer in the comments is: Which of these cards do you prefer, the in your face rainbow, or the more restrained garden glitter?

The rest of the blog roll is at the end of this post, so don't forget to check it out.

If you are interested in the supplies I used, I have provided links below.

Some of the supplies listed below are affiliate links, some are not. If you use an affiliate link here to make a purchase, I may get a small compensation. I only use things that I love, and do not create paid posts.


Blog Roll:


LinkWithin

Related Posts with Thumbnails