Sunday, March 18, 2018

Scrapbook Sunday

Welcome to the March edition of Scrapbook Sunday! Once a month, me and some of my stamping friends share scrapbook projects using Stampin' Up! products.

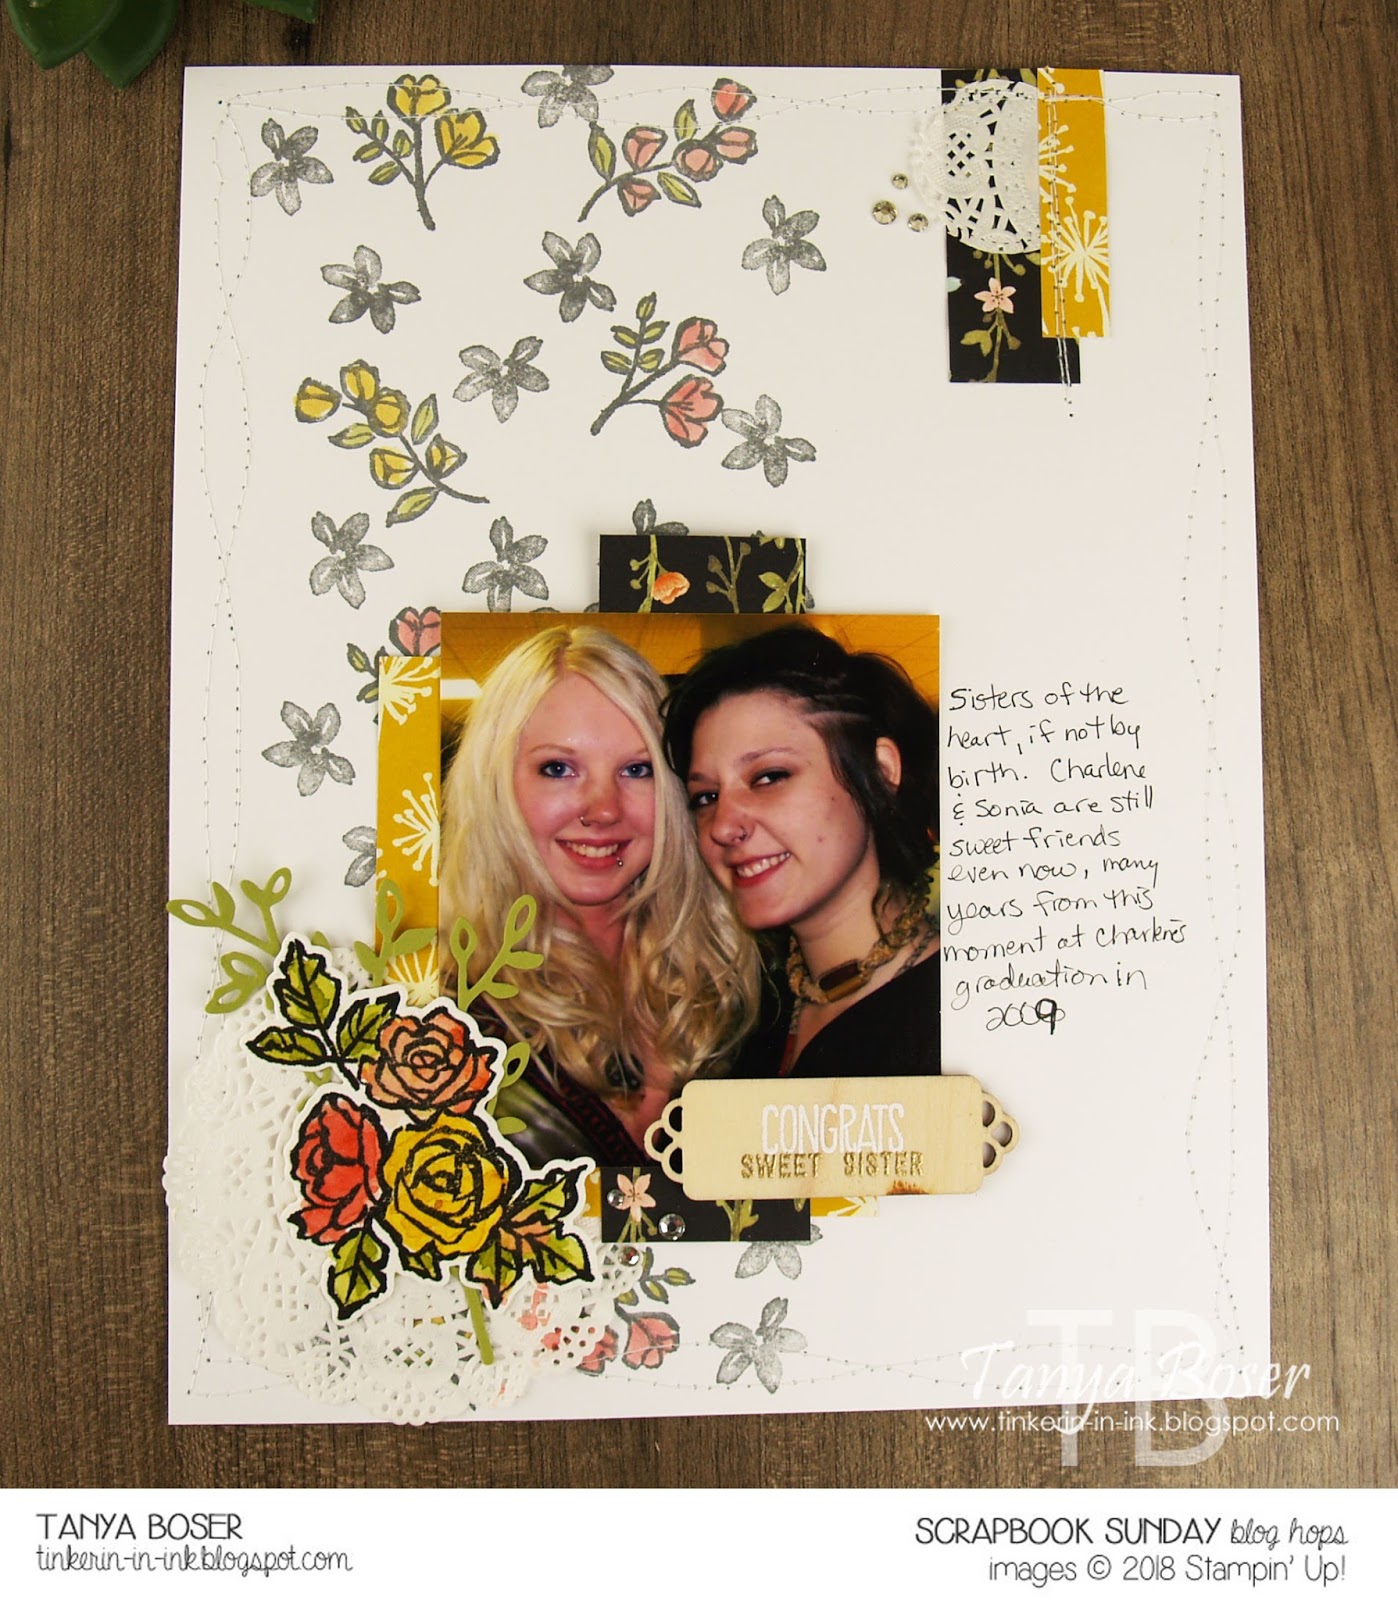
This month we are all using a sketch. We can all use a little jumping off point, and a sketch is a big time saver. If you fuss and fiddle with placement like I do, that is!

As I rummaged through my stash of photos, I found this one of my daughter Charlene (the brunette) and her friend Sonia (the blonde). They have been friends since middle school, and even now, 9 years after graduating from high school, they are still good friends.

These two young ladies are tough, and sweet, and oh so very bohemian! They used to dress up in long skirts, flowing peasant tops, and scarves, then walk out into the forest adjoining our property to have tea parties. This was when they were in high school! I am sure there were some less than innocent activities involved, but they sure had fun!

These young ladies have kept their ideals of social activism, and positive thoughts despite some hard knocks that life has thrown at them. Such beautiful souls! I hope they both know how proud I am of the people they are, and how much I love them.

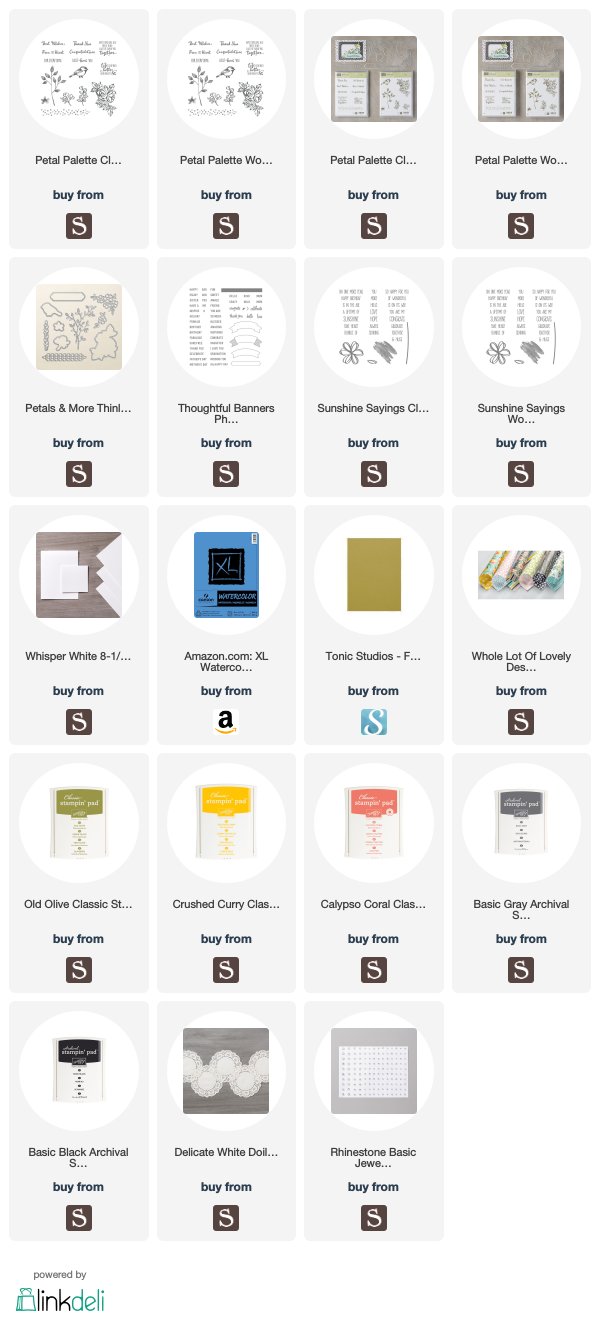
OK, time to venture on to the next blogger to see what they have done! As always, there is a clickable supply list at the end of this post.


If you have seen something you need for your crafting life, just click the image in the supply list below and it will take you to my store! If you order less than $150, please use this month's Host Code, which can be found at the top of the sidebar on the right.

And be sure to check the box allowing me to contact you when you check out. I can't send you a thank you card if I don't know your address! And I promise to only send you happy mail, no junk mail :)

Friday, March 9, 2018

My Inky Friends: Hidden Gems

https://myinkyfriends.blogspot.com/2018/03/hidden-gems-blog-hop.html
We are back with another Annual Catalog focused blog hop. This time we are showcasing some of the hidden gems of the Annual Catalog. Stamp sets that are awesome, but have not really enjoyed the lime light.

If you are following along in order, then you have just arrived from Kris Kilkenny's blog where she uses Watercolor Wings. Beautiful, right! You want to go pull that set out and play with it!

If you get lost along the way, just click on the banner at the top of this post to go to the master blog roll.

I am using Pop of Paradise. I love this set! It is full of iconic tropical images. I have to be honest. I knew about this blog hop last month, but it really snuck up on me! In my head, I still had another week before this hop was due. SO, this card was thrown together last second! I hope you like it.

I just inked up the pineapple in 2 different inks each time I stamped it, cleaning it off each time.

Then I stamped the monstera leaf in Lemon Lime Twist on that cardstock for the green background piece.

The sentiment is from Thoughtful Banners and is white heat embossed on black cardstock and punched out with the Classic Label punch.

I did pop the layers up with some coasters, and stitched around the white panel.


Here are a few other examples of cards I have made with this stamp set, and I have ideas for so many more. I don't have time to get those ideas to paper today though! Click on the first two pictures for links to their original posts. The other 2 did not have posts.

http://tinkerin-in-ink.blogspot.com/2016/06/paradise-and-you.html

http://tinkerin-in-ink.blogspot.com/2016/06/pineapple-wash.html


The next stop is Betty Traciak with Window Shopping! She has such a creative mind!

https://kittystamp.blogspot.com/2018/03/hidden-gems-blog-hop.html

https://paperfairykris.blogspot.com/2018/03/my-inky-friends-hidden-gems-blog-hop.html


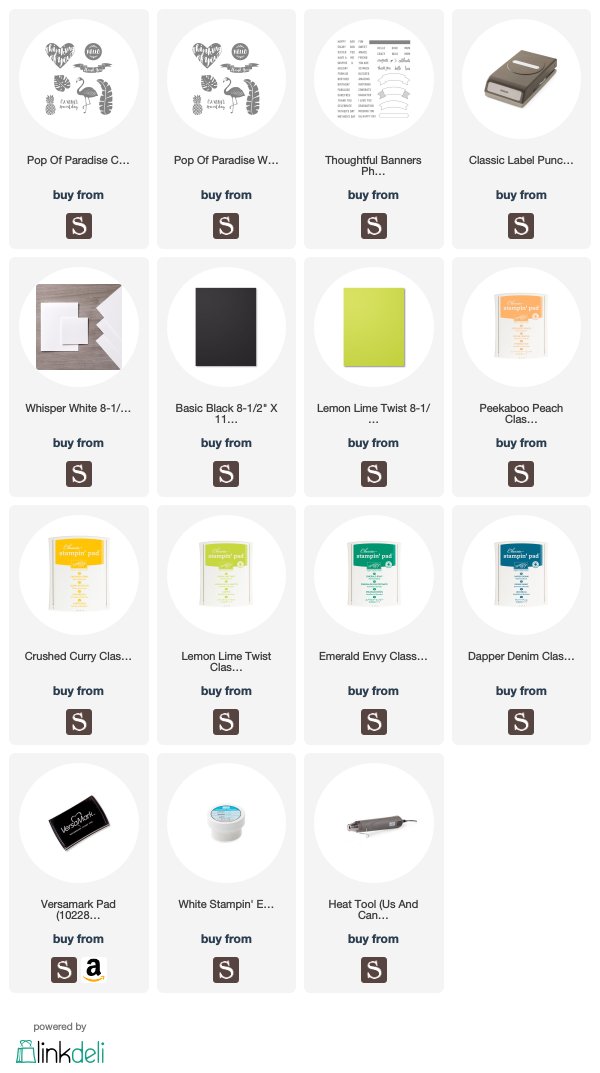
Here is a clickable supply list, happy shopping!

Monday, March 5, 2018

PaperTrey Ink Make It Monday: Color Wheel

Happy Monday! It is my Saturday, and I slept in. It felt awesome!

Then I got up, made some tea, worked on the 150 Pentecost cards that I am making for the church ministry I signed up for impulsively this fall.

Got dressed and started making my breakfast (at 12:30), and the Schwan's man showed up.
Phew, I was wearing a bra and had brushed my hair. Not sure about my teeth.

And, he got stuck in our driveway and had to call a tow truck! Poor guy had to sit with me in my kitchen for an hour or so while we waited for the tow truck.

This could have been a bit awkward. I was his nurse a few weeks ago when he came to the ER. He was there for something totally normal, and was a model patient, however some people get uncomfortable seeing their nurse after they have been so vulnerable.

It took a little bit, with neither of us ever acknowledging that event, but was fine after I brought some wood stove ashes to throw under the tires for traction. Then I fed him lunch. WE are all happier when we are fed!

After this debacle, I checked out the Make It Monday video, and decided to try my hand at it! Thank you Lexi Daily, for the inspiration!

I used the Garden Variety stamp set for years ago, along with the coordinating dies. I used my DIY wreath jig again, even though I didn't really want to repeat myself so soon! But it really seemed to fit this card.

  I used some of the leftover diecuts on the inside. This will make a great general greeting card to someone who loves gardening as much as I do!

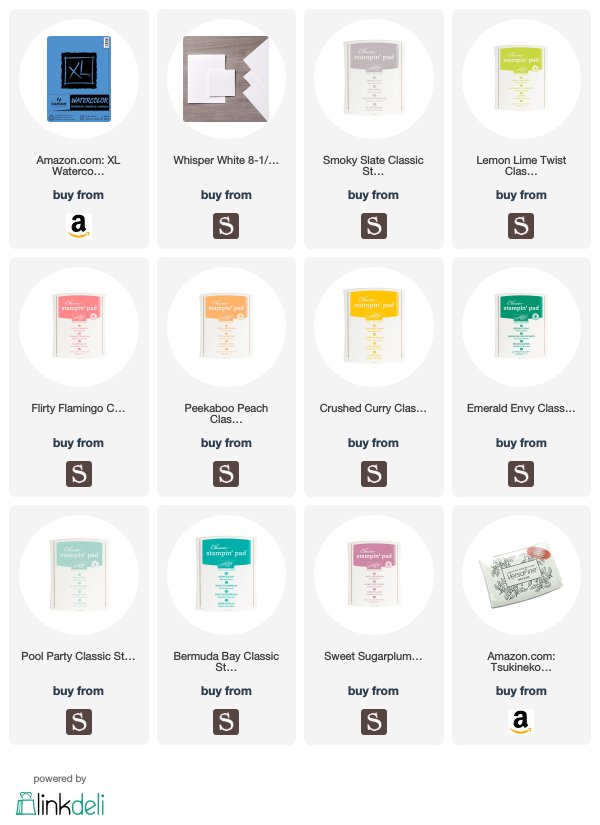
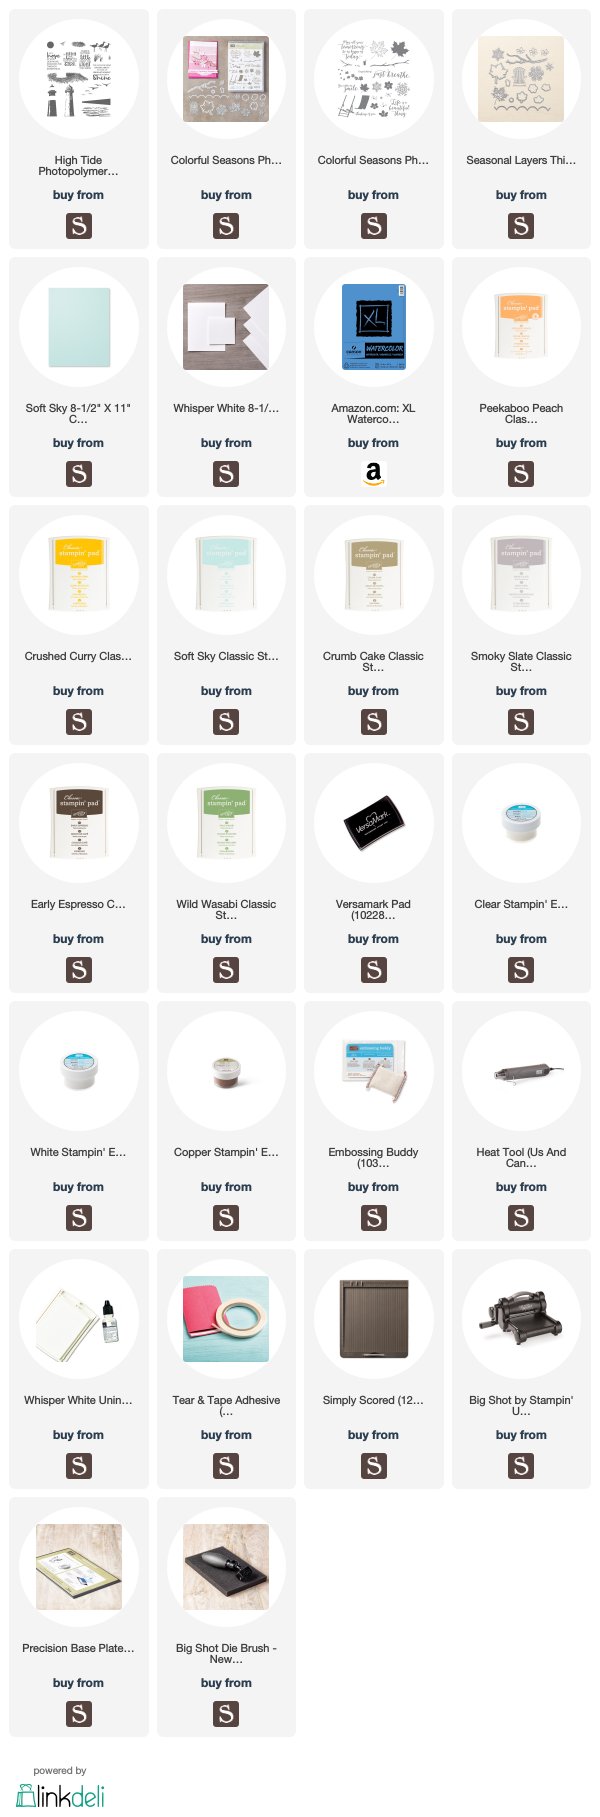
 I have created a clickable supply list below for things that I could. These are affiliate links, and do help to support my crafting, so please feel free to shop with them!


Sunday, March 4, 2018

Stamp Review Crew: High Tide

https://stampreviewcrew.blogspot.com/2018/01/picture-perfect-birthday.html
Hello stamping friends, and welcome to another Stamp Review Crew blog hop! This time we are featuring High Tide, which is a beautiful scene building stamp set. There are so many beautiful sentiments in this set, you could use those them with all kinds of other images. I have found myself drawn more to sentiments in the last couple of years, always looking for more great ones to add to my stash. Cuz I keep my stamps when they retire, for the most part. And I still use them!

For those who are new to the Stamp Review Crew, here is a little background. We are an international group of Stampin' Up! demonstrators that gets together on the first and third Mondays of every month to do a blog hop. Each hop features a single stamp set to give you loads of inspiration for that set! The hops are archived at the Stamp Review Crew blog, and you will be able to click through each hop at any time, going directly to the posts for that hop whenever you want! And you can click on the banner of this post to go to the master blog roll for this hop also.

If you are following along in order, you just arrived from Ann Schach's blog. Her projects are always so elegant!


For my first project, I really wanted to highlight the feel of this beautiful sentiment.
  • The lighthouse layers are heat embossed with different color embossing powder- first layer in clear and second layer in white. 
  • Then the background was watercolored over it. 
  • The sand/rock/beach image was stamped on the watercolored background, and then a wet paintbrush used to blend and soften the image so it would match the feel of the rest of the background. 
  • The same was done with the beam of light. 
  • Then the sentiment was Copper heat embossed overlapping the lighthouse. Meh, next I will not stamp partially on an embossed image like this.
And another angle. Must not waste a good photo!

 My next project is a dimensional card that folds flat for mailing. LOVE this style! I am still dreaming of a beach vacation, can you tell?

Here is the basic how-to for this card.
  • Start with a 4¼"x7" piece of cardstock, score on the long side at 1½" and 5½".
  • Cut a piece of cardstock to just to 4½" wide and several inches long, and score at ¼" and 4¼". Crease well. Apply Tear and Tape or Scor-Tape on the ¼" flaps. Then you can trim each tier down to whatever size you need and it is all ready to be adhered to the inside of the card.
  • Figure out the placement of your images, and adhere to the tiers. 
  • Open the cardbase up, and start adhering your tiers, the furthest back and tallest tier first. Line the outer edge of the flap up with the side crease and adhere (the tier will be face down while being adhered), then fold the tier in toward the center. Take the next tier and line the outer edge of the flap up with the edge of the back tier and adhere, then fold the tier in towards the center. Repeat this process until all tiers are adhere. Line the flaps from the other side up even with the bottom of the card, remove the adhesive backing, and fold the other side of the cardbase down over the flaps to adhere them all at once. 
  • Open it up and marvel at the adorable card you just made!
I love the dimension you get with this technique.


And how flat it folds for mailing! So many techniques require extra postage or special packaging.

And it fits in a standard A2 envelope.


And now, Nikki Spencer! I am sure she has come up with something mouthwatering!


http://juanacreate.blogspot.com/2017/08/stamp-review-crew-window-shopping.html

http://addinktivedesigns.com/2017/08/21/the-stamp-review-crew-window-shopping/


http://www.stampinup.com/ECWeb/default.aspx?demoid=2010774
4CQ4DJHN


If you have seen something you need for your crafting life, just click the image in the supply list below and it will take you to my store! If you order less than $150, please use this month's Host Code, which can be found at the top of the sidebar on the right.

And be sure to check the box allowing me to contact you when you check out. I can't send you a thank you card if I don't know your address! And I promise to only send you happy mail, no junk mail :)

Monday, February 26, 2018

Galactic Adventures Pop Up Birthday

Are you a Sci-Fi fan? Space adventures and galactic journeys tickle your fancy? Well, there are oodles of people in my family that are all over every one of the these movie series! Which makes the Galactic Adventures stamp sets from Kindred Stamps must-haves for me!

I didn't mean to, but I used images from all three of these stamp sets:
 
I had stamped out and colored a pile of these images right after I got the stamp sets in early February, and I am finally using some of them! I had actually had this card in mind for a while, and just had an opportunity to figure out the measurements a few days ago. This card is for my future son-in-law, as he is nuts for these galactic heros... my daughter got him a Star Wars toaster for his birthday 😉

  • Start with a 4¼"x7" piece of cardstock, score on the long side at 1½" and 5½".
  • Use a decorative edge die to cut the middle section only, using the Partial Die Cutting Technique. I used the Papertrey Ink To the Point Edgers dies for this card. Then trim off the excess on the two side panels. 
  • Cut a piece of cardstock to just to 4½" wide and several inches long, and score at ¼" and 4¼". Crease well. Apply Tear and Tape or Scor-Tape on the ¼" flaps. Then you can trim each tier down to whatever size you need and it is all ready to be adhered to the inside of the card.
  • Figure out the placement of your images, and adhere to the tiers. 
  • Open the cardbase up, and start adhering your tiers, the furthest back and tallest tier first. Line the outer edge of the flap up with the side crease and adhere (the tier will be face down while being adhered), then fold the tier in toward the center. Take the next tier and line the outer edge of the flap up with the edge of the back tier and adhere, then fold the tier in towards the center. Repeat this process until all tiers are adhere. Line the flaps from the other side up even with the bottom of the card, remove the adhesive backing, and fold the other side of the cardbase down over the flaps to adhere them all at once. 
  • Open it up and marvel at the adorable card you just made!


Look at that, it folds flat to mail!!

And fits in a standard A2 envelope. Gotta love a good mailable card.

Concord and 9th has a super clever die set that makes creating this style of card so easy! It is definitely on my wish list!

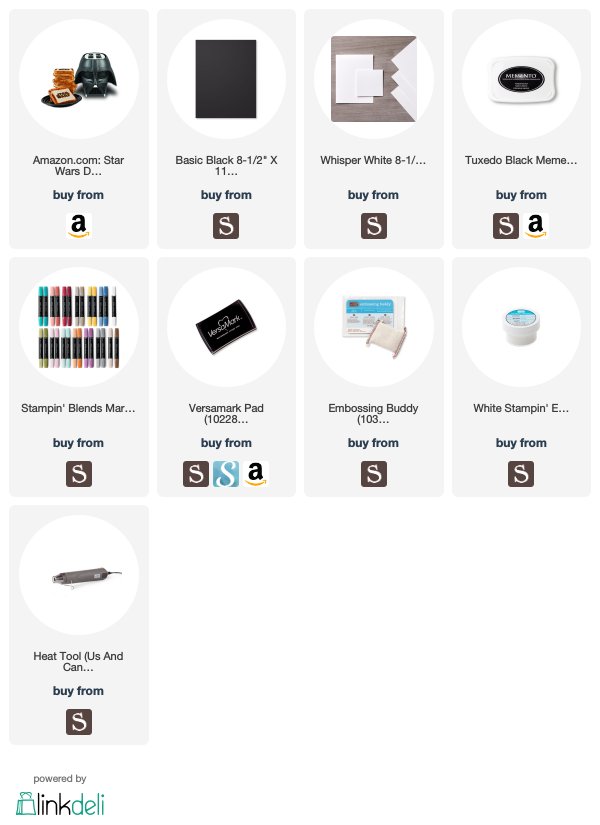
Here is a clickable supply list for the supplies I could create affiliate links for. Help me buy more stamps, so I can share more ideas with you 😉

Sunday, February 25, 2018

Papertrey Ink February Blog Hop Challenge: Sweet Bunnies For Babies

Oh spring, you are a sorely missed friend! I spent almost 2 hours today with the snowblower clearing our driveway. So the Papertrey Ink February Challenge blog hop served up just what I needed.

https://blog.papertreyink.com/2018/02/february-2018-blog-hop/
The challenge was to create something with an Easter theme. I'm feeling it! Now, I don't really send Easter cards. I have made several of them, but they sit in my stash unused. Maybe this year I will actually mail them!

However, I do need some baby cards. Two of my co-workers just has sweet little baby girls. Scratch that, three of my co-workers!

This stamp set is from the Make It Market Mini Kit: Wee Folk. I fell in love with it a couple years ago, I think, and have used it a couple of times. I need to take it out for some serious playtime soon. Today was a short playdate 😁

I made myself a jig for the MISTI to create a wreath with any stamps. You can buy one, but I just made one with square dies and a double layer of cardstock.

I also used the Woodgrain Impression Plate. LOVE this thing, and I would say this is a must have for any stamper.

More of the same stamping on the inside.

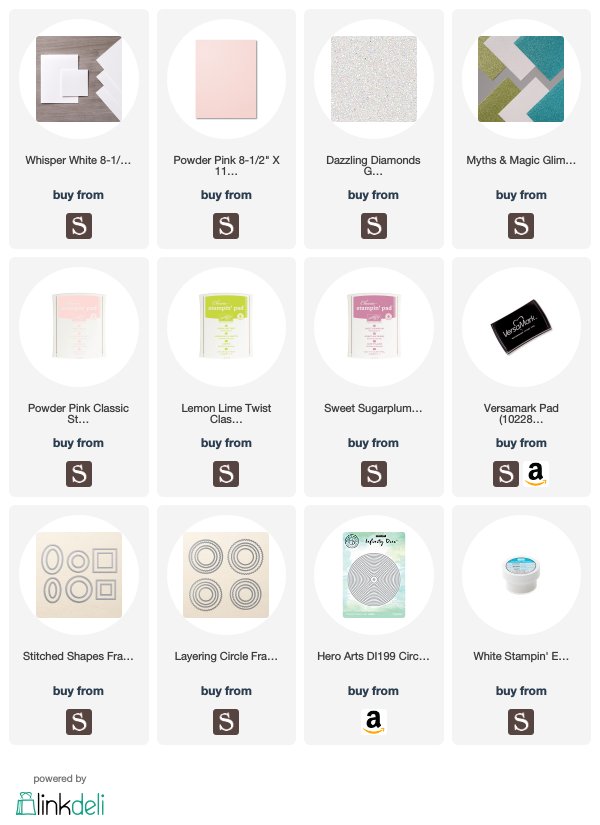
 I have created a clickable supply list below for things that I could. These are affiliate links, and do help to support my crafting, so please feel free to shop with them!


Friday, February 23, 2018

My Inky Friends Challenge #3

http://myinkyfriends.blogspot.com/
Are you experiencing some winter doldrums, like me? Are your friends and family skipping off to warmer climes and leaving you to the daily grind? I feel ya, friend! I have a serious itch to bug out to the south for some vitamin D! That would be sunshine, not Dilaudid, for my nursing friends out there 😉

Well, My Inky Friends and I are going to help you focus on the good things about winter. Bear with me, I know it is February.... embrace the confines of your home! You have spent much effort and time to create a space you enjoy, and toys you like to play with! And there are so many movies adn series to binge watch on Netflix! Come summer, you are going to be too busy with all that messy outdoor stuff.

Funny story: Wednesday on my break at work, I was searching flights for the next day since i have a week off, and found some fairly reasonable rates to Fort Lauderdale and Orlando from our little airport in town (2-3 flights out a day). And found out one of the doctors I work with was going to Orlando the next day and invited me to join her family. I really wanted to go and texted my hubby to see if he could pull it off. He couldn't, and I briefly considered going anyway. Honestly, I was still thinking about it Thursday morning. But decided it would not be nice of me.  Later that morning, I decided to run to town for some craft supplies.... and I could not find my keys to save my life! Yup, the hubby took both sets to work with him! He works 45 minutes away... and we live 10 miles from town. I texted him telling him he was just making sure I didn't fly away without him! 😂😂😂


http://myinkyfriends.blogspot.com/

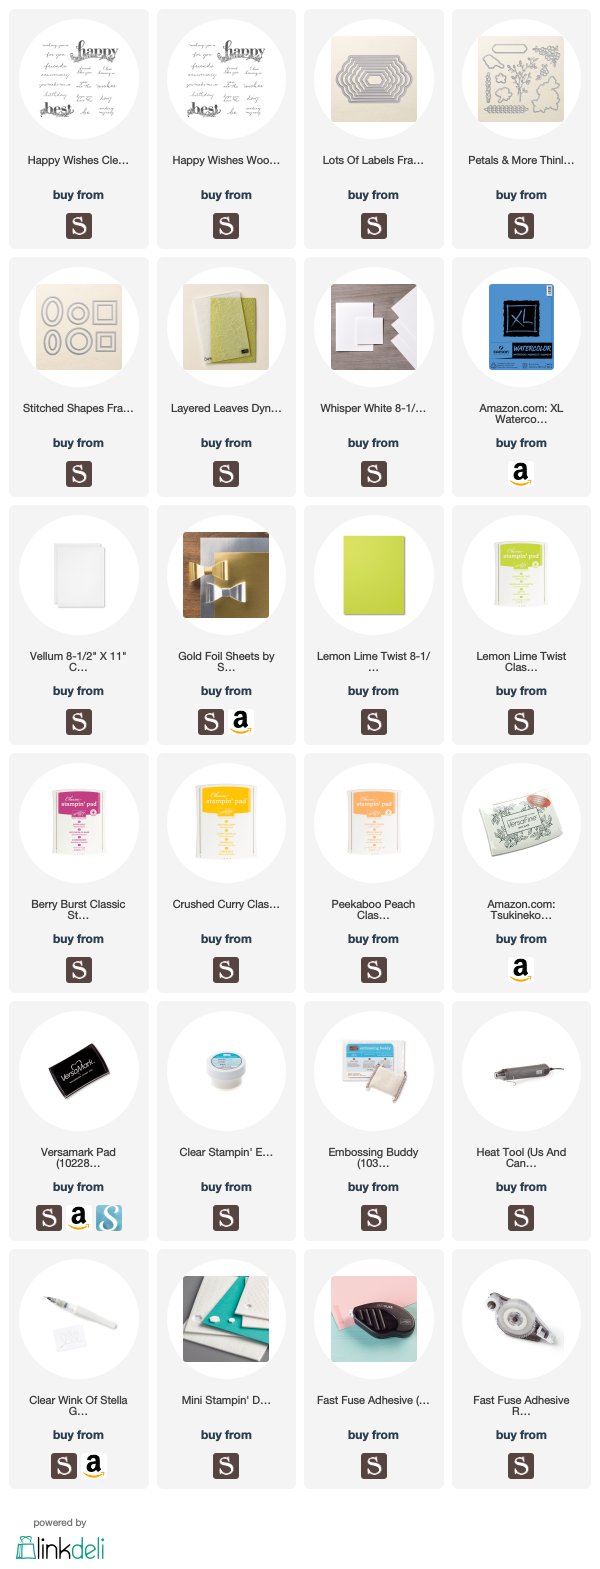
This month we are doing a sketch challenge. It is such an awesome way to jump start your creativity!


I am still in a bit of a mojo slump, so this sketch was very helpful! Sometimes there are just not any stamp sets speaking to me, or I am just so tired from my real job, the creativity has to be a bit forced. And no, that does not take the joy out of it!


Can you see all the texture in the background panel? I like white space, but it has to be interesting white space.

I used several die sets, sorry. I have them, I am gonna use them. And we have so many amazing dies to chose from!

  • The "best" was stamped in black on watercolor paper using a MISTI (I will be getting a Stamparatus in March, yeah!!).
  • Then watercolored with ink squeezed onto the ink pad lids and a tiny paintbrush. 
  • I dried this really well with my heat tool then wiped with the Embossing Buddy. 
  • And stuck it back in the MISTI and stamped with Versamark and Clear heat embossed. 
The stamp positioning tool really makes this a sharp and vibrant image!

Be sure to head on over to the My Inky Friends challenge blog to see the rest of the design team's projects, and to submit your own!


http://www.stampinup.com/ECWeb/default.aspx?demoid=2010774
 4CQ4DJHN


If you have seen something you need for your crafting life, just click the image in the supply list below and it will take you to my store! If you order less than $150, please use this month's Host Code, which can be found at the top of the sidebar on the right.

And be sure to check the box allowing me to contact you when you check out. I can't send you a thank you card if I don't know your address! And I promise to only send you happy mail, no junk mail :)

LinkWithin

Related Posts with Thumbnails