Wednesday, November 20, 2019

Crafty Friends: The Stamp Market

Hello my Crafty Friends!! We are back with another beautiful stamp company to feature, The Stamp Market! Like a fool, I forgot to write my post last night before bed, so this went up without any content. I apologize, and hope you came back to see what I actually created. I am sure there were plenty of amazing projects to see on the other Friends blogs.

https://thestampmarket.com/
Our friends at the Stamp Market have provided us with a discount code also!! I love that they have all been so gracious to provide these codes for us.

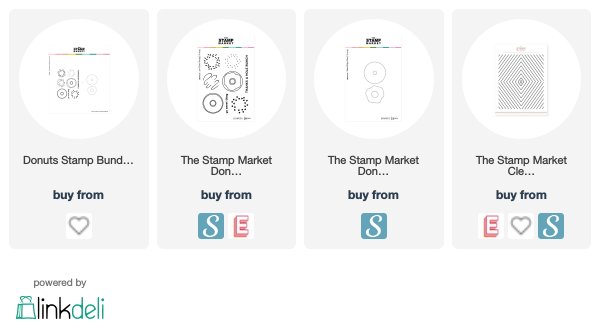
These were the first sets to catch my eye: the Donuts stamps and dies, and the Diamond Design background.

I created the background by clear heat embossing the Diamond Design onto white cardstock, then blending on some Worn Lipstick Distress ink. And spritzing with Pearlized water.


 I love the speckly look this creates!! Yes, I am obsessed with ink blending, spritzing, and watercoloring.


For the donuts, one is cut out of some craft colored carstock and then clear heat embossed, then the frosting is die cut from a piece of cardstock I ink blended with Ground Espresso. The swirl is then white heat embossed.

The other two are cut from some white speckled paper, the same paper as the card base, and stamped with Memento Tuxedo Black ink. Then they were colored with Copic markers. And lastly, pink sparkle heat embossed frosting decor.


The sentiment inside was from the Donuts set, and was stamped in Celestial Copper Delicata ink, and I glued an extra donut above it.

Are you ready to go check out The Stamp Market? They have some great stuff, and the 20% off is a sweet deal!

Be sure to visit the other friends:

  1. Ilina Crouse
  2. Becky Roberts
  3. Sandi McIver
  4. Sue Plote
  5. Sara Sherlock
  6. Lydia Fiedler
  7. Jill Hilliard
  8. Jen Timko
  9. Amy Kolling
  10. Jenny Hall
  11. Tanya Boser---you are here
Some of the supplies listed below are affiliate links, some are not. If you use an affiliate link here to make a purchase, I may get a small compensation. I only use things that I love, and do not create paid posts.


Thursday, November 7, 2019

Creating Kindness: Fancy Fold

Hey friends! It is Creating Kindness time again. I love creative time with this group. The theme this month is Fancy Fold. I thought I would use my absolute favorite, I am calling it a Stand Up Tier card.


And there is a video! I am trying really hard to create lots of videos for you all. Have you subscribed to my channel yet? Don't forget!!

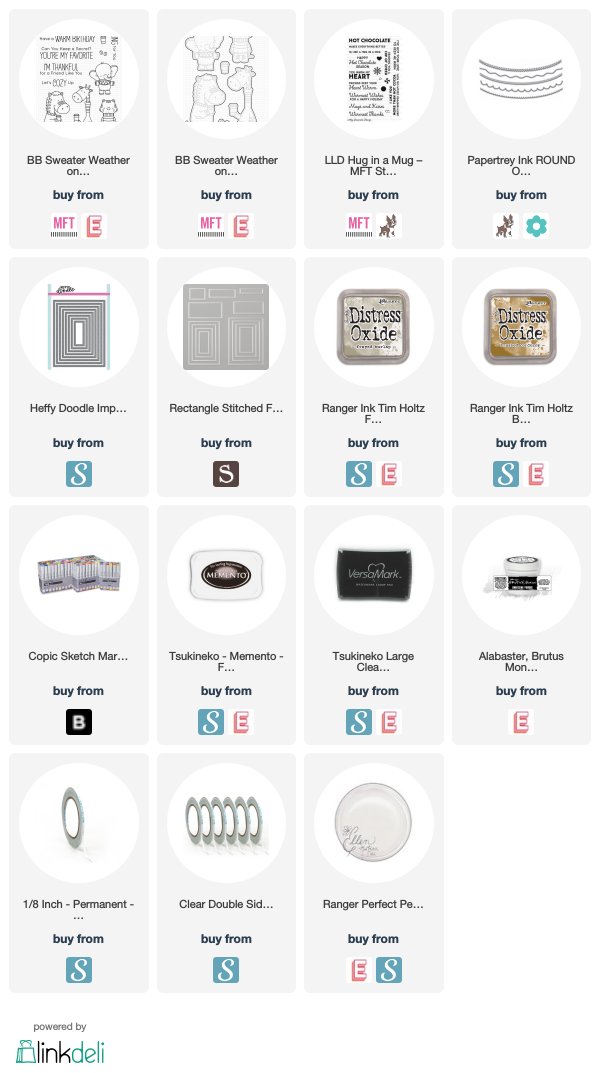
Here is the card. I used some My Favorite Things stamps and dies to create this.

Here is the basic how-to for this card.
  • Start with a 4¼"x7" piece of cardstock, score on the long side at 1½" and 5½".
  • Cut a piece of cardstock to 4½" wide and several inches long, and score at ¼" and 4¼". Crease well. Apply Scor-Tape on the ¼" flaps. Then you can trim each tier down to whatever size you need and it is all ready to be adhered to the inside of the card.
  • Figure out the placement of your images, and adhere to the tiers. 
  • Open the cardbase up, and start adhering your tiers, the furthest back and tallest tier first. Line the outer edge of the flap up with the side panel crease. Lay the next layer down, loning up with the flap crease of the tier behind it. Repeat for all tiers. Fold flap over onto the exposed adhesive. (the video shows this process very well to clear up any confusion) 
  • Line the flaps from the other side up even with the bottom of the card, remove the adhesive backing, and fold the other side of the cardbase down over the flaps to adhere them all at once. 
  • Open it up and marvel at the adorable card you just made!

Look how darn cute these critters are!! My Favorite Things has 2 sets of Sweater Weather critters, Safari and Woodland. I have them both. Why wouldn't I?! 😁

Copic colors
Tiger: Y38, YR68, W5, R01
Elephant: W1, W3, R01
Zebra: W0, W1, W6, R01
Giraffe: YR21, W1, E97, E99, R01, W4
Clothes
Reds: R56, R39, R89
Greens: G94, G99

I struggled with colors for the giraffe, so please. Share your color combos for him especially!

I love that this folds flat and is not bulky at all, which makes it the perfect 3D card for mailing!


And it fits perfectly in an A2 envelope! You can easily write your personal message on the back of the card.

I hope you enjoyed this card. Be sure to leave me some love. I would love to hear if you have made this fold before, and if you have, are you trying it soon?

Be sure to check out the next stop on the hop, Marcy Denning! And a special welcome to this month's guest designer, and my stampy friend, Sue Plote!!
  1. Sue Plote – Guest Designer – USA
  2. Tanya Boser – USA (you are here!)
  3. Marcy Denning – Canada
  4. Paula Dobson – New Zealand
  5. Lou Kitzelman – Australia
  6. Jenny Hall – USA
  7. Jay Soriano – UK
  8. Cheryll Miller – Australia
  9. Danielle Bennenk – Netherlands
  10. Charlet Mallett – USA

Video hop participant list:
1. Tanya Boser – https://youtu.be/vNj1cfPzJhs
2. Marcy Denning – https://youtu.be/tRBSqRvm7nA
3. Jay Soriano – https://youtu.be/rRxy6nzGdaA
4. Danielle Bennenk – https://youtu.be/tKxqTYxQPj4


Some of the supplies listed below are affiliate links, some are not. If you use an affiliate link here to make a purchase, I may get a small compensation. I only use things that I love, and do not create paid posts.


Sunday, October 20, 2019

Crafty Friends: Essentials by Ellen

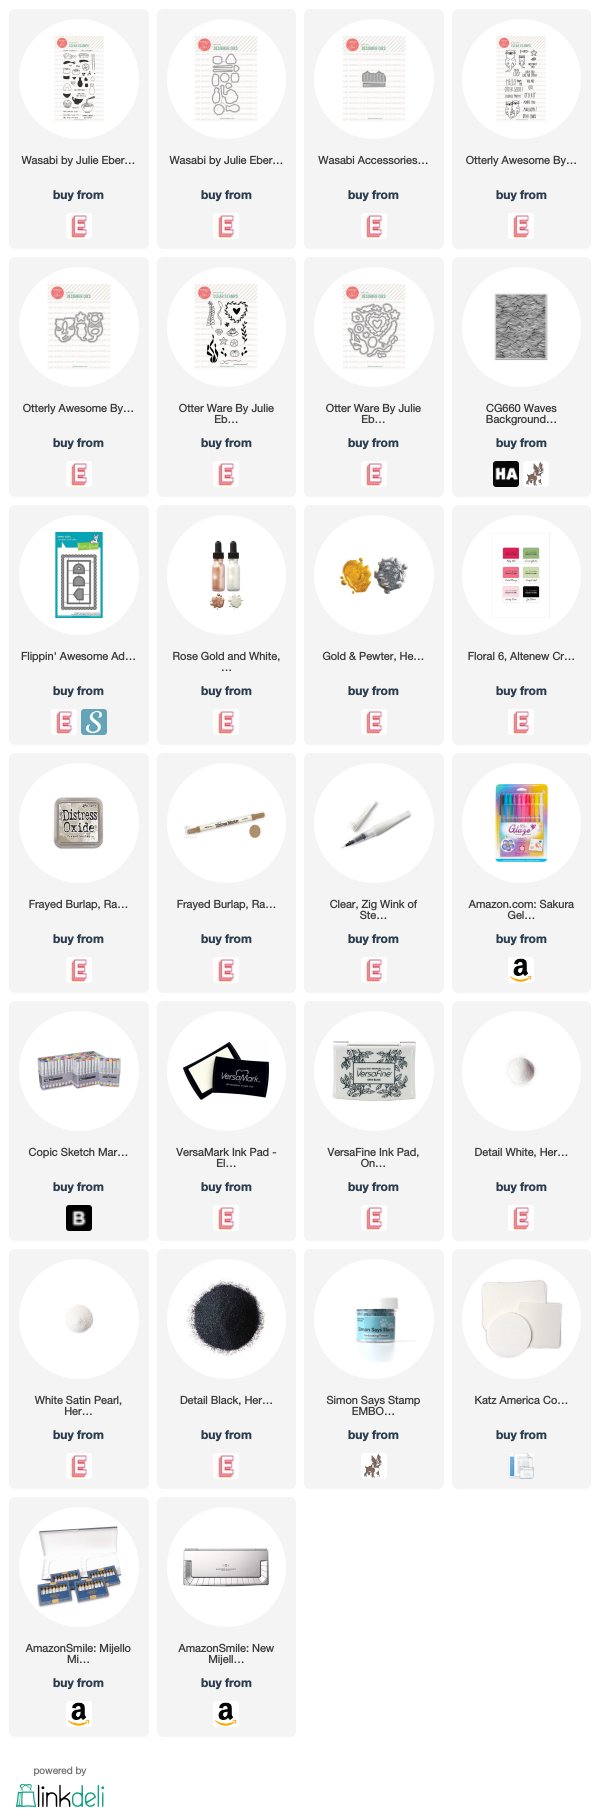
Welcome back, friends! Who is excited to see what we company we are going to feature this month?! I was excited to try a new to me company, Essentials by Ellen from Ellen Hutson.com! I was so excited I had to use to stamp sets! I used there Wasabi set with matching dies and the Otterly Awesome set with matching dies.

http://www.ellenhutson.com/#_a_230

And we have a coupon code for you again!! We are really good friends, aren't we.


And yes, I made a video!


I managed to make 2 cards this time, and this is the first one. The background is heat embossed with White Satin Pearl embossing powder. There is a stitched rectangle die cut with a die from the Flippin Awesome Add-on dies, and the green was created using Mijello Mission Gold watercolor in Olive Green done as a wash with Hero Arts Gold Glimmer ink washed over the top.

Do you like the layers of sashimi and sushi? It's making me hungry!


And the finishing touches inside are the rest of the sentiment and an extra top facing sushi roll.

On to the next card. This time I use the Otterly Awesome set to create a fun hello card. The background is watercolor and I believe with a reactive ink from a past My Monthly Hero and then heat embossed using the Waves background stamp from Hero Arts. The sentiment panel is given a wash of iridescent watercolor ink.

You can probably see the glimmer a little better on this photo. The otters are colored with Copic markers and diecut with the coordinating dies. Everything is popped up on coaster blanks.

That's it for me this time. Be sure to head on down to the next blog top participant. The blog roll is just below.

  1. Tanya Boser
  2. Ilina Crouse
  3. Maria Willis
  4. Becky Roberts
  5. Sandi McIver
  6. Sue Plote
  7. Sara Sherlock
  8. Lydia Fiedler
  9. Jill Hilliard
  10. Jen Timko
  11. Amy Kolling
  12. Jenny Hall 

Follow me here:

Blog:   http://tinkerin-in-ink.blogspot.com/
Instagram: https://www.instagram.com/tanyaboser/
Facebook:  https://www.facebook.com/tinkerintanya/
Pinterest:   https://www.pinterest.com/tanyaboser/
YouTube:   https://www.youtube.com/user/TinkerinInInk/


Some of the supplies listed below are affiliate links, some are not. If you use an affiliate link here to make a purchase, I may get a small compensation. I only use things that I love, and do not create paid posts.


    Thursday, October 3, 2019

    Creating Kindness: Coloring


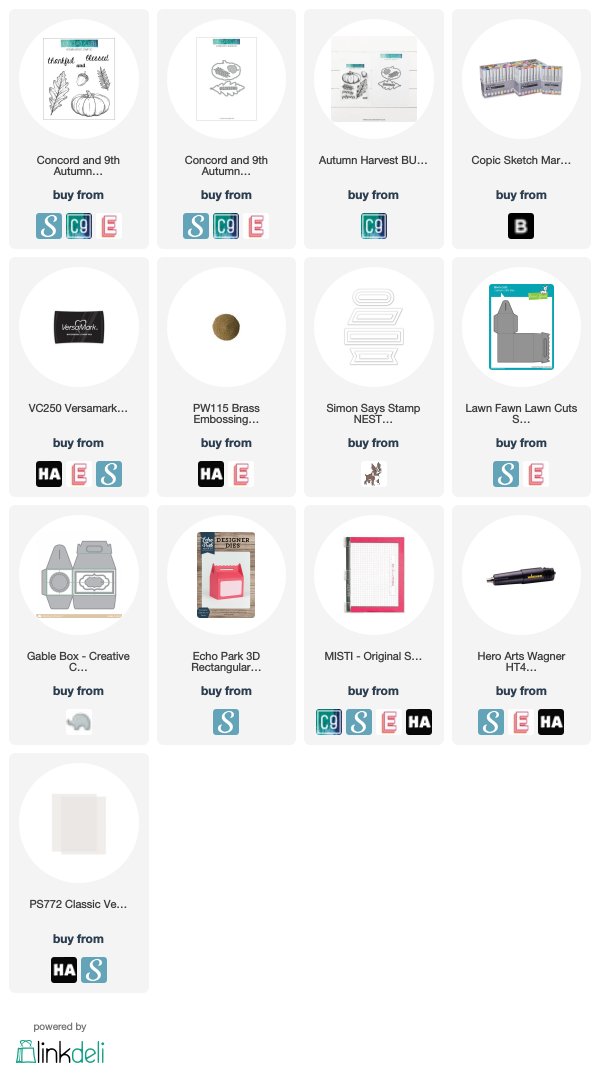
    Hello Friends! It is time for another Creating Kindness blog hop. The theme this month is coloring. We are going to try using alcohol markers on colored cardstock to make embsllishments for some gable boxes. 

     
     I did whip up a video for this project, check it out!

    I was on a mission to use up all of this beautiful patterned paper, so treat boxes it is! I love the depth and richness you get when you color on colored cardstock with Copics.


    The vellum oval helps to separate the focal images from the busy patterned paper.

    How about the colors on the leaf? It was so fast and easy! The masking dies did a wonderful jub cutting these pieces out.

    I am loving that pumpkin!! It was so effortless to created this blended look on the colored cardstock.

    What do you think? Time to give it a try?!

    If you are interested in the supplies used in this project, scroll past the blog roll for the list. 

    We have a fabulous guest designer with us this month, Cathy Caines! I am so happy I get to play with her again!

    Next up, the lovely Lou Kitzelman!!

    https://withabowontopbylou.blogspot.com/2019/10/creating-kindness-design-team-october-2019-colouring.html?fbclid=IwAR1cCi3QwZt8t3cA3Invf_hLKrX2LmFOPc5FQsc0eh2Yk3orCn-jKT1vGv0


    Blog Roll:
    Cathy Caines- Canada-guest designer
    Charlett Mallett- USA
    Tanya Boser- USA-you are here!
    Lou Kitzelman- Australia
    Jenny Hall- USA
    Paula Dobson- New Zealand
    Marcy Denning- Canada
    Cheryll Miller- Australia
    Danielle Bennenk- Netherlands
    Jay Soriano- UK
    Sandi McIver- Canada


    Friday, September 20, 2019

    Crafty Friends: Hero Arts


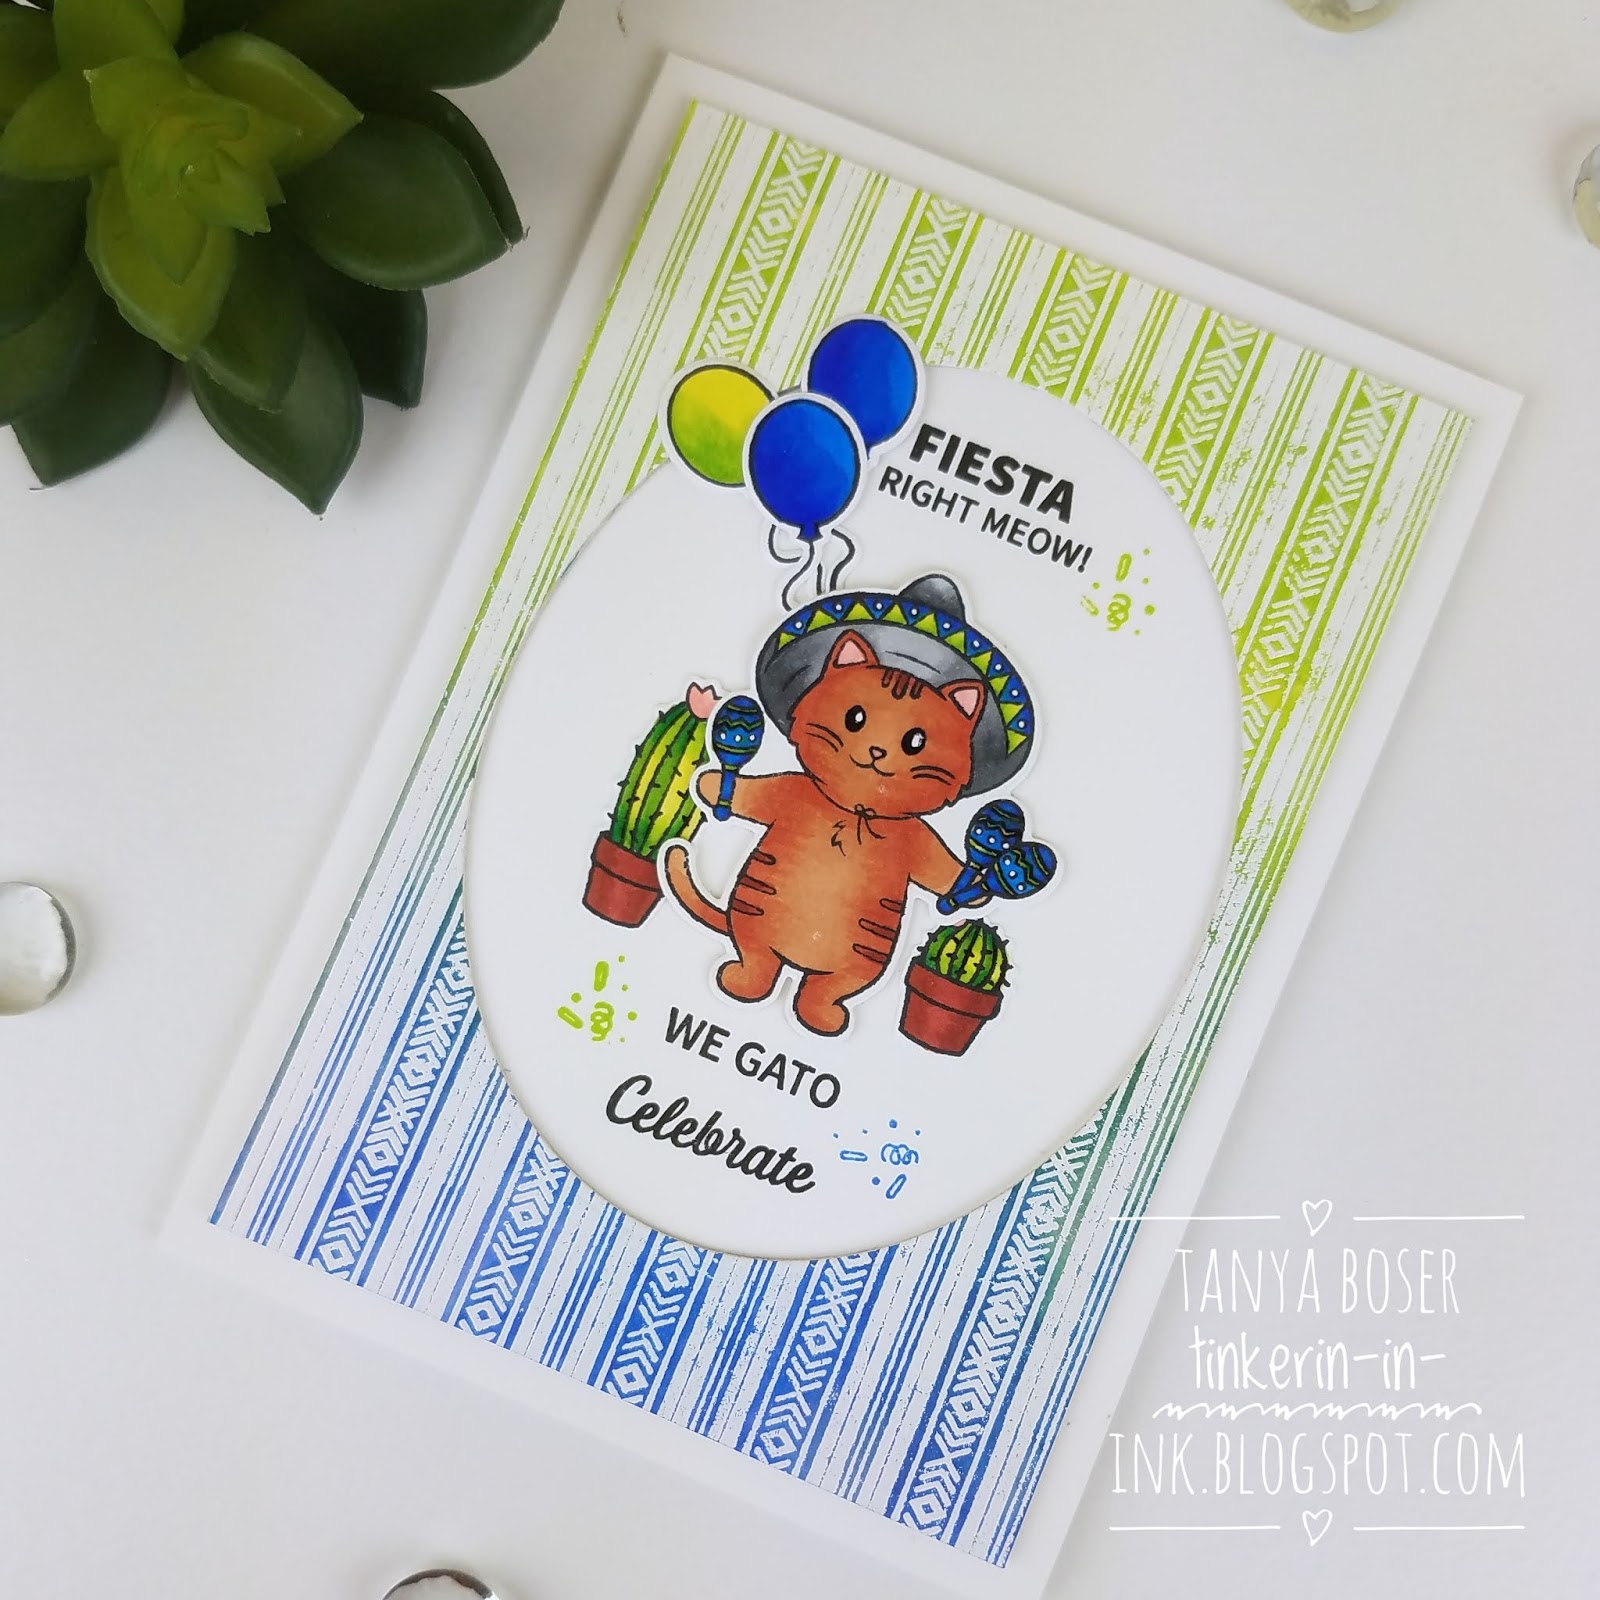
    Hey friends!! We are back for the September hop. And this time we are featuring the amazing and wonderful, ever so supportive of the entire crafting industry, Hero Arts! They have been in business for 45 years, helping others to build their businesses along the way.

    https://www.shareasale.com/r.cfm?b=855179&u=1696562&m=65361

    Hero Arts has generously offered a 20% discount code to our viewers for a limited time. (There are some restrictions on the discount. But hey,  20% discount!!)


    I also created a process video for the card I created. Check it out!

    I have been making 5"x7" cards for work lately. I am finally getting my poop in a scoop enough to start making birthday cards for my coworkers, and I need to make them big enough for about 30 people to sign!

    So, what did I learn with this process? I learned how to make my 6"x6" background stamps cover a 6.5" long panel! It only works with linear repetitive designs, but there are lots of those! It involves a stamp positioner and some creative paper movement. Check out the video above for the whole process.

    I did use Hero Hues Reactive Inks to ink blend the background also.

    I colored the images with Copics. And forgot to write down the colors I used. I know, what was I thinking! The confetti was stamped using the Key Lime Fizz and Blue Hawaii inks, the same as the background was blended with.


    I used Sakura Gelly Roll Glaze pens to add Clear, Black, and White details to all of the Copic colored images.

    I even added a cute die cut kitten in a box and a sentiment from the stamp set to the inside of the card.

    So, what do you think? Ready to try making bigger cards? And how about all the amazing products from Hero Arts? Time to go shopping, right?! Don't forget that coupon code, good for 2 days only.


    https://www.shareasale.com/r.cfm?b=855179&u=1696562&m=65361

    Crafty Friends Blog Roll:

    Jenny Hall
    Tanya Boser Ilina Crouse
    Maria Willis
    Becky Roberts
    Sandi MacIver
    Sue Plote
    Sara Finkey Sherlock
    Lydia Fiedler
    Jill Hilliard
    Jennifer Timko 
    Amy Kolling


    Some of the supplies listed below are affiliate links, some are not. If you use an affiliate link here to make a purchase, I may get a small compensation. I only use things that I love, and do not create paid posts.

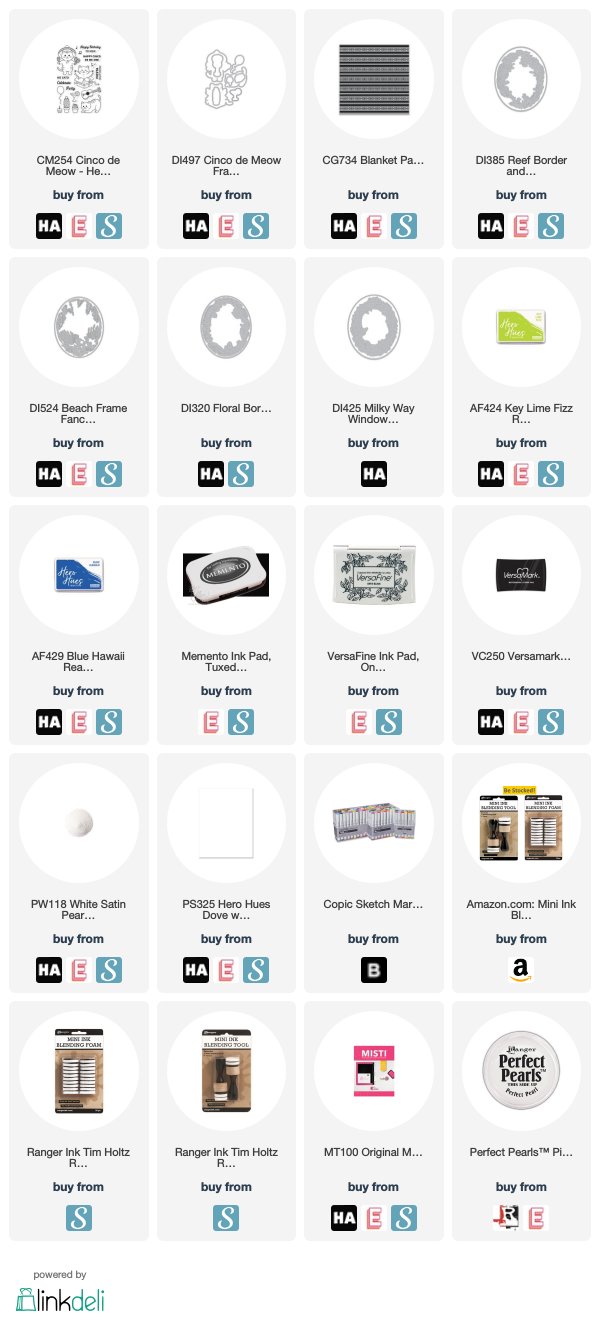
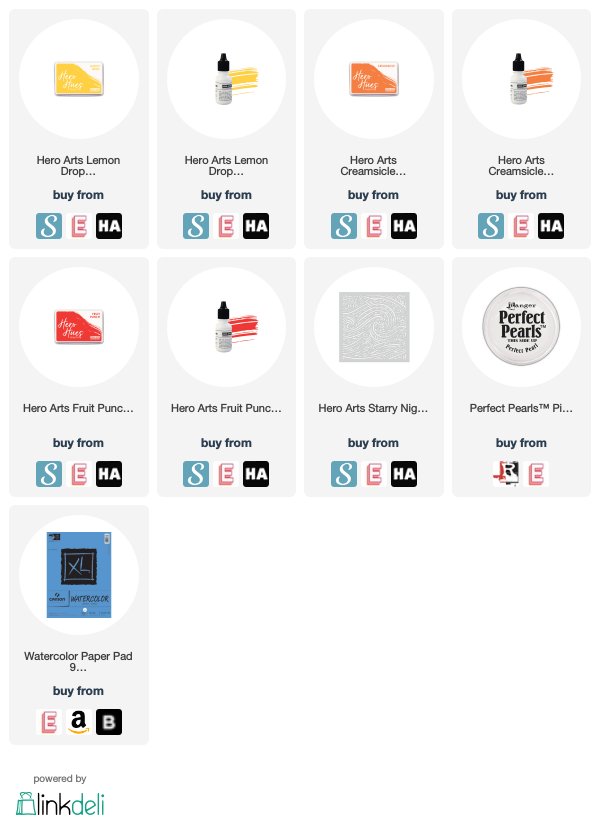
    Supplies:

    Thursday, September 12, 2019

    Stencil Techniques with Hero Hues Reactive Inks and Jenny Hall

    It was my turn this time to create a panel to send to Jenny for her to make a project with! I am going to share how I made the four panels I sent to Jenny, and link to her blog post and video also.


    These were all created with one inking of the Starry Night stencil from Hero Arts.


    Thursday, September 5, 2019

    Creating Kindness: Ink Refills

    Welcome back to another Creating Kindness blog hop! The theme this month is reinkers. There are a while lotta things you can do with them, and we are going to show you a bunch!


    I did a video showing how I create this card. Be sure to check it out. There will be several other videos in this hop also.


    There is ink blending, spritzing, and watercoloring here, some shimmer too!

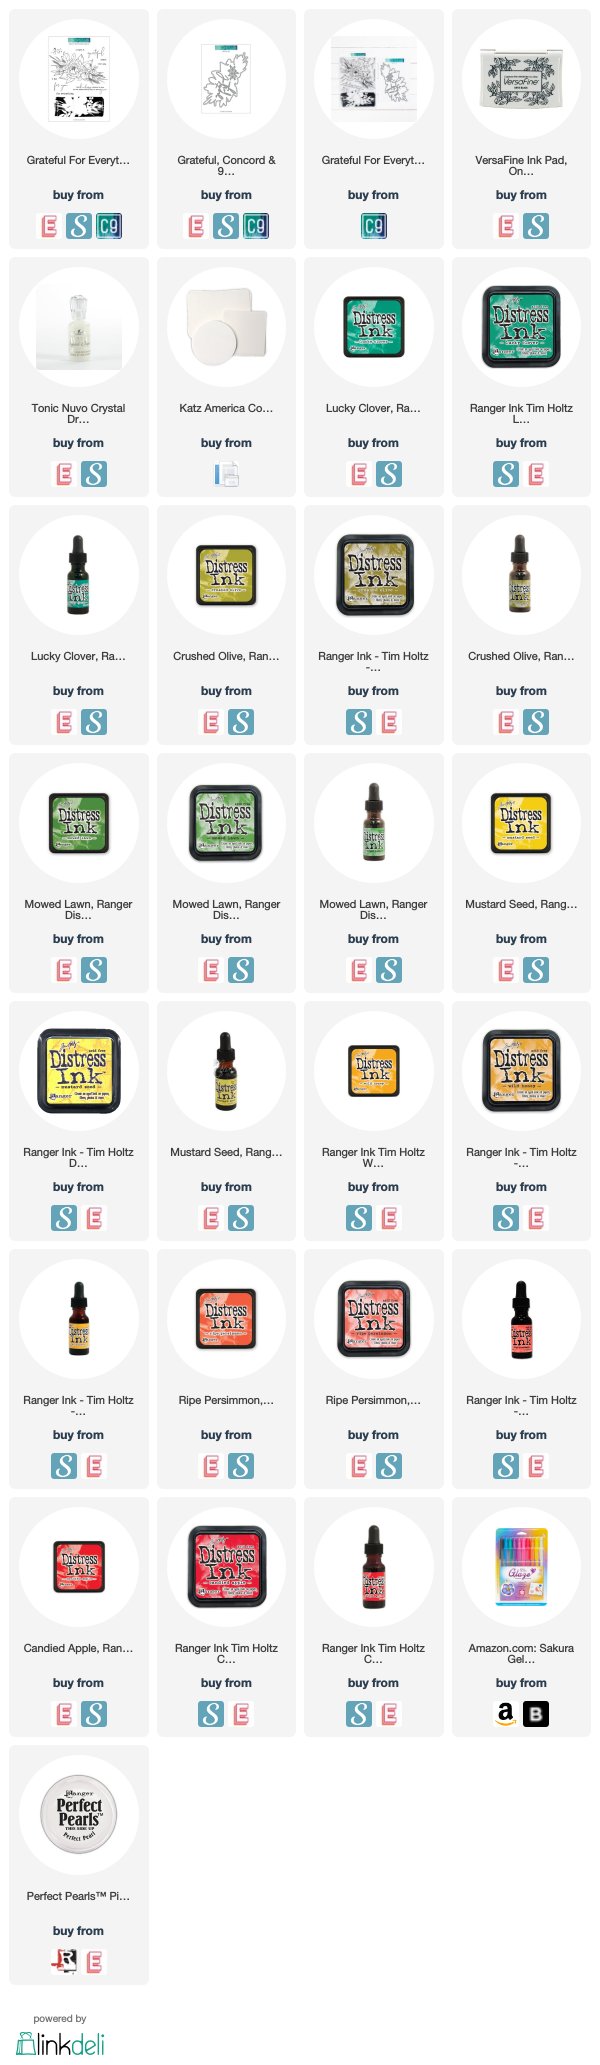
    Three greens, 2 yellows, and 2 reds layered and mixed to create all the tones here.


    And a wet paint boo-boo fixed with some white paint.


    I couldn't let any of this image go to waste, so I adhered the trimmed off pieces to the inside.

    What do you think? Are you ready to go watercolor with your reinkers?

    Time to hop off to Paula Dobson. She has a stunner waiting for you!

    https://stampinantics.blogspot.com/2019/09/Aug-ck.html


    Blog Hop Participants

    Tami Hewlett - Guest Designer – USA
    Charlet Mallett – USA
    Tanya Boser – USA
    Paula Dobson – New Zealand
    Lou Kitzelman – Australia
    Marcy Denning – Canada
    Cheryll Miller – Australia
    Jay Soriano – UK


    Some of the supplies listed below are affiliate links, some are not. If you use an affiliate link here to make a purchase, I may get a small compensation. I only use things that I love, and do not create paid posts.

    LinkWithin

    Related Posts with Thumbnails