Sunday, July 11, 2021

Making a Fancy Die Whimsical


Spellbinders has a new release of some gorgeous and versatile die sets designed by Becca Feeken. And my favorite part, they work perfectly for 5x7 (A7) cards!

I used 4 of these die sets with the June 2021  Card of the Month Kit from Spellbinders to create 4 cards- along with a brief release and review of the Beautiful Sentiment Vignette Collection. 

This is card #1 using the Forever in our Hearts Vignette die set, and I love that the die looks like a cloche that would hold fancy and delicious pastries. 

The ephemera, stamp set, and dies from the June 2021 Card of the Month Kit (Wild Hello) have a roll to play on all of these  cards!


You can see the fun ink blending and spatters with Scattered Straw, Kitsch Flamingo, and Salvaged Patina Distress Oxides.

And it is raining gems  for some sparkly confetti.

 Sentiment and ephemera are added to the inside of the card along with more spatters. 

Card #2  is not my favorite, as I did not get the colors quite right in the  frame and blending, but we are going to go with it anyway. 

The frame is from the Heartfelt Thanks Vignette die set, and this one would work on an A2 sized card also.

The ephemera makes a fun grouping.


And who doesn't love a shaker?!

Card #3- this card could be a birthday or a baby card! Full of whimsy and fun!

This is  using the Birthday Wishes Vignette die set, and I love it!
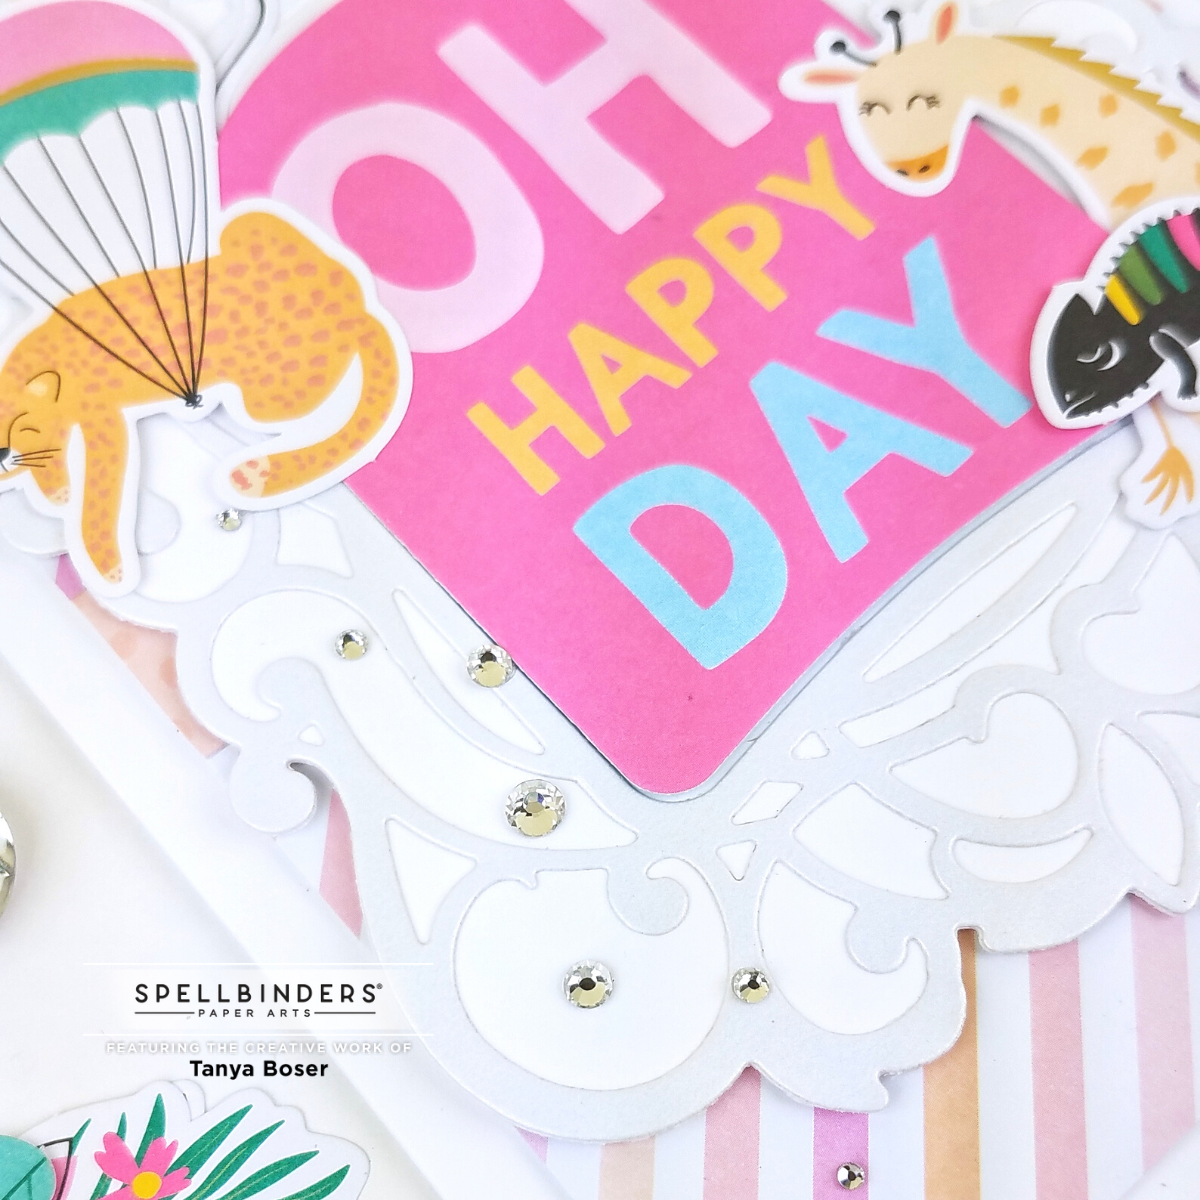
I added a trail of gems along one side, and clustered around a grouping of critters.

I added a couple more party animals to the inside of the card, which was super easy with all of the ephemera from  the kit!

Card #4- last but not least, the Romantic Chargeour die set played a starring roll in this bright, tropical vibe card. Anyone else feeling a little Miami here?

The sentiment die is from the card kit, and it is a real winner!


And the gems add just the right touch to create balance to the design. And shiny. We need all the shiny!

Inside the card, I went a little crazy with a bunch more ephemera. I used lots of ephemera on each card, and I still have gobs! 

Well, did you see the dies in a new light? Are you ready to use them to spice up your whimsical cards? I know I am!

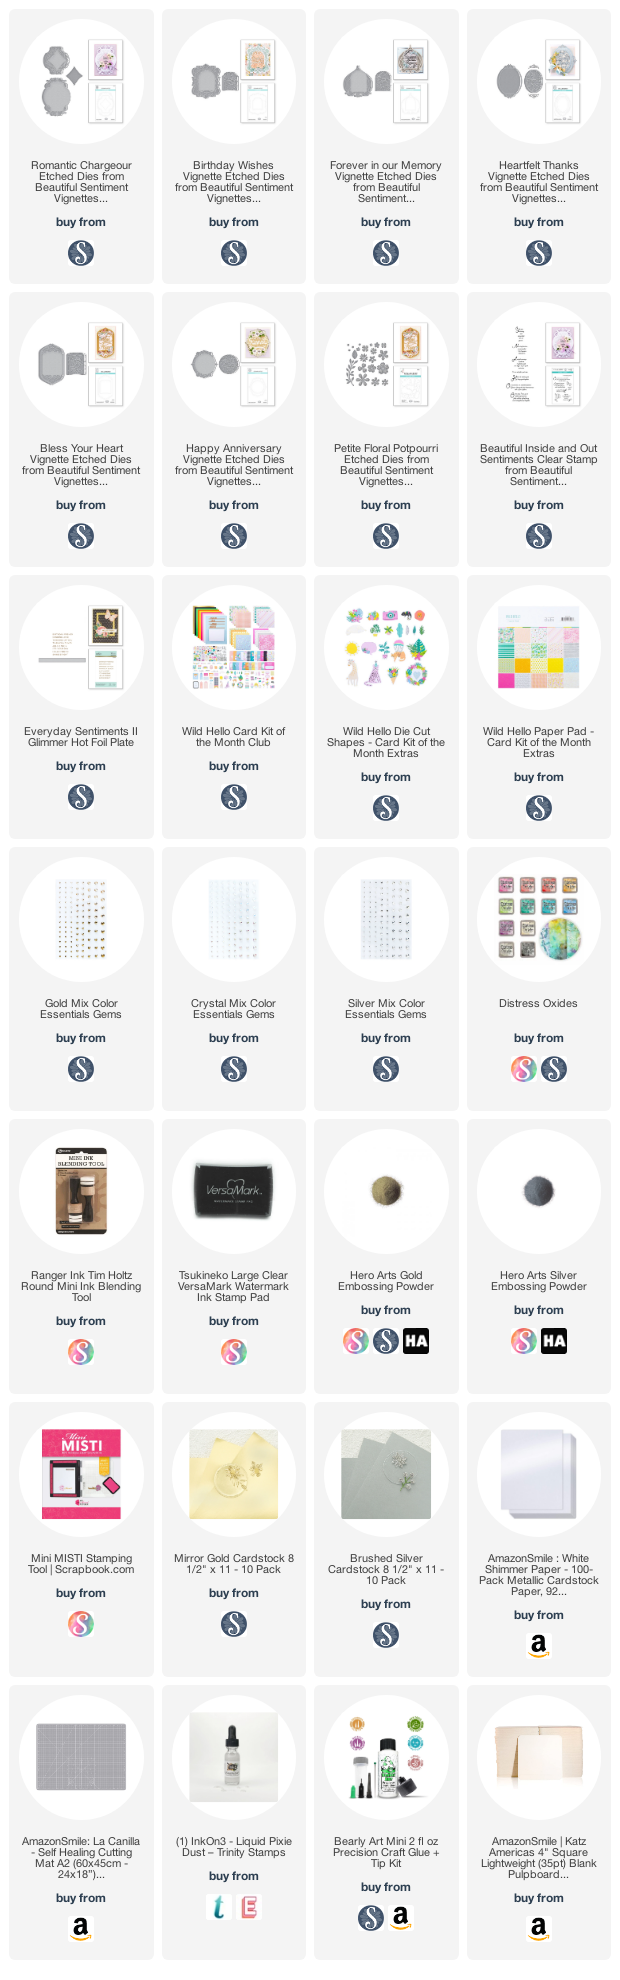
If you are interested in the supplies I used, I have provided links below.

Some of the supplies listed below are affiliate links, some are not. If you use an affiliate link here to make a purchase, I may get a small compensation. I only use things that I love.

Supplies:
Thursday, April 15, 2021

Play With Your Leafy Greens

 I explore the Nuvo Shimmer Powders with a couple techniques, and play with the Slimline Foliage Frame die!

I play with a variety of slimline products to create these fresh and fun cards with Trinity Stamps products.


Watch all the creative magic on this video. Really. No joke! 


I am posting all the still photos here, and a list of the products used at the end. 


Let me know which of these you like better, the more simple card, or the all out and over the top card?

If you are interested in the supplies I used, I have provided links below.

Some of the supplies listed below are affiliate links, some are not. If you use an affiliate link here to make a purchase, I may get a small compensation. I only use things that I love.


Thursday, April 8, 2021

Stretch Your Easter Stamps

 Holiday themed stamps are great, and they fill a need. But I love to get more out of them. Here is how I am getting more out of these Easter themed stamps.

These stamps work great for baby and encouragement cards. Only slight changes in pairings of products and uses of sentiments can be all it takes. 


Here is a video showing how both of these cards were created.

This happy little gnome could be a gnome bunny, or he could just have a bow tied in the top of his hat!

And in the stamp set, you have the option of the gnome holding an Easter egg, or a sweet little chick.


Add an appropriate sentiment, and there you go!

How about an encouragement card? Or just a silly one! This little chick is perfect, especially for all of my poultry obsessed friends!

This card started out as me just playing with the Slimline Chicks stamp set. I stamped it in Ink On 3 Bee Sting Yellow ink, then decided to heat emboss it with clear embossing powder. And it sat on my desk for a couple weeks. Then I decided to do some ink blending. 

And I had colored this chick, and added that fun speckling to the egg with Copics.

The sentiments included in the set are a great mix of themes, and this one really tickled me. 

I also decided to use all of the sizes of the Bauble embellishments here. How fun is that?!

Use those leftover pieces of your backgrounds to spice up the insides of your cards! I love that this sentiment and the images were a natural 2 part statement.  That chick sure makes me smile!

Are you ready to look at your holiday stamps with a fresh eye? I sure hope so! 

If you enjoyed this post, go check out the video. And help my channel by subscribing. 

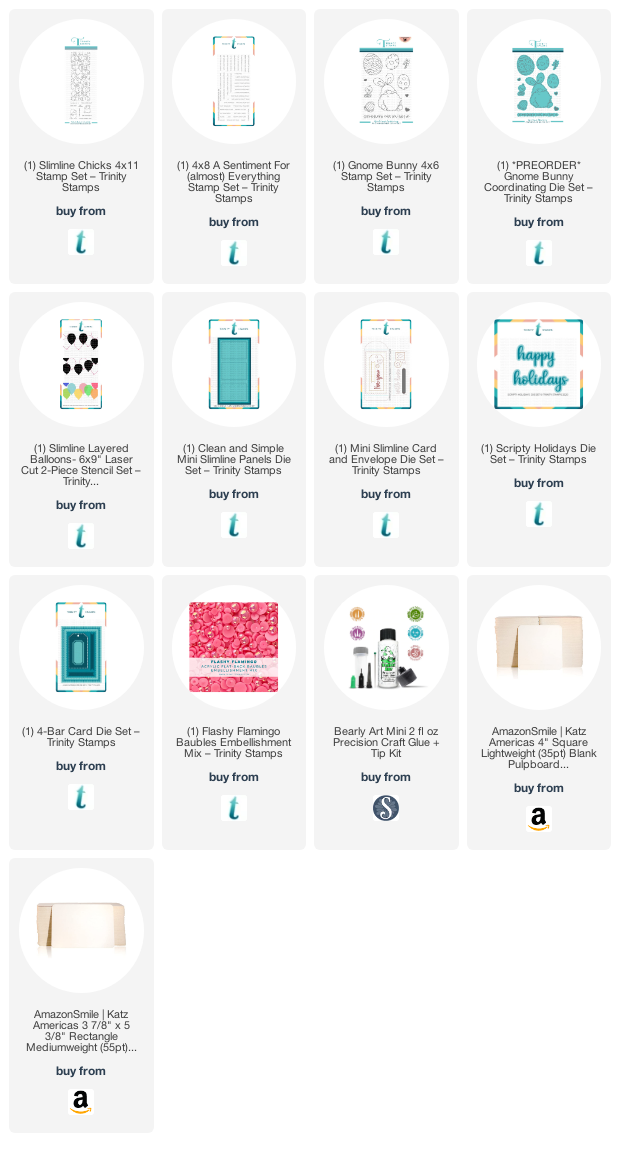
If you are interested in the supplies I used, I have provided links below.

Some of the supplies listed below are affiliate links, some are not. If you use an affiliate link here to make a purchase, I may get a small compensation. I only use things that I love.

Supplies:

Sunday, April 4, 2021

Happy Easter!

 I have a couple more adorable Easter Gnome projects to share with you, and a new way to use the MISTI for stenciling!

I had a lot of fun with these adorable Easter gnomes, and could not waste this opportunity to share them on Easter Sunday.


Here is a quick video showing you how I made these cards, including that stenciling tip with the MISTI!

This is an A2 sized card, and features clear heat embossed eggs and flowers with a masked and inked heart for the background.

This gnome bunny and the little chick he is holding are colored with Copic markers.

The sentiment is heat embossed with a Brass embossing powder, and there are a few red heart embellishments scattered around. 

This little gnome really does crack me up! The eggs are from the Gnome Bunny set, and it was really fun to color all of them with Copics, too.

I ink blended the background with a pink and a yellow ink, getting a 3 color blend. Then used a stencil and 3 inks to all the polka dots to the background. I used the back of my MISTI and magnets to hold the stencil in place. Worked like a charm!

The embellishments here are Luminous Lemon pearls.

This sentiment is Gold heat embossed, and the embellishments are the Captivating Cantiloupe pearls.

I used a 3rd color of pearls here, in Pearly Petal Pink. I did get the whole rainbow from the Trinity Stamps shop, and they are gorgeous!

So, I hope this was an enjoyable moment for you today, and I would love to hear which of these is your favorite card. Or your favorite technique!

Happy Easter!

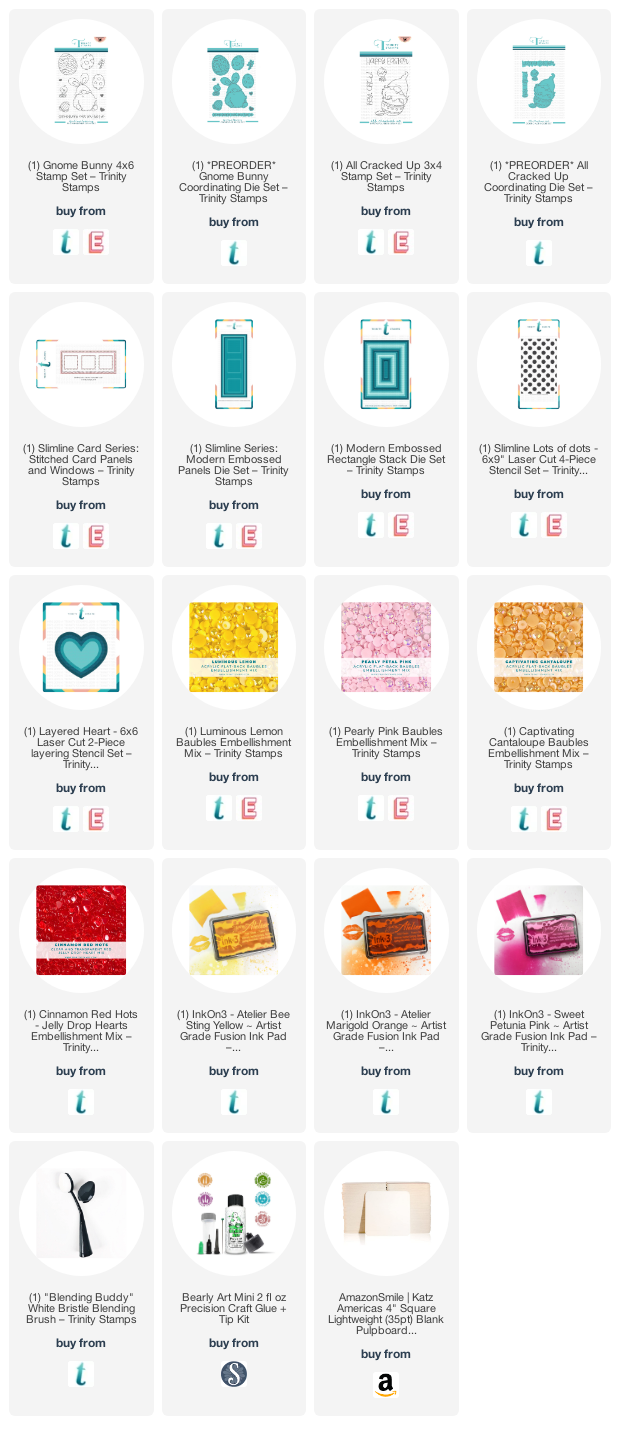
If you are interested in the supplies I used, I have provided links below.

Some of the supplies listed below are affiliate links, some are not. If you use an affiliate link here to make a purchase, I may get a small compensation. I only use things that I love.

Supplies:

Thursday, April 1, 2021

Trinity Stamps: Spotlight on Love, Dani

 This week on Trinity Stamps, we are putting the spotlight on one of the stamp designer lines carried at Trinity Stamps: Love, Dani.


Dani Bondurant is the lady behind Love, Dani Designs, and her goal is to create uplifting and fun images to create cards to send to friends and loved ones. A perk of these images is that they can take up the whole card front and make creating fast cards simple.

Here is the video that shows you how these were made. 

Here is a more unisex card, really for anyone that loves magical things. The main images on both cards are colored with Copic markers with 2 markers for each color. The really impressive thing here is that they were colored while in a moving vehicle!

I did fussy cut this main image, as there is not a coordinating die for it. I did not think of it soon enough, but this would be awesome with and Easter egg, Peep, or jelly bean background!

Let me know what you think in the comments below!

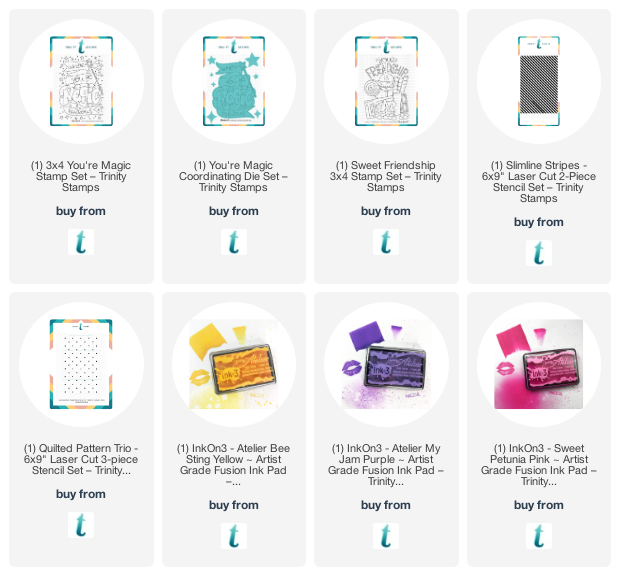
If you are interested in the supplies I used, I have provided links below.

Some of the supplies listed below are affiliate links, some are not. If you use an affiliate link here to make a purchase, I may get a small compensation. I only use things that I love.


Monday, March 29, 2021

Spellbinders: Susan's Spring Flora Wall Decor

 I am truly delighted with how this project turned out, and I think you will have the same experience with these gorgeous dies. Especially is you follow the tips from Susan, which I adapted to the tools I had on hand.

 Confession here, I did use 4 die sets to create this, two from the autumn release and two from the spring release. And I could stare at this for hours! The details were easy to achieve and just stunning!!


To do this project justice, you really need to watch this video. Go ahead. Watch it. I'll wait :)

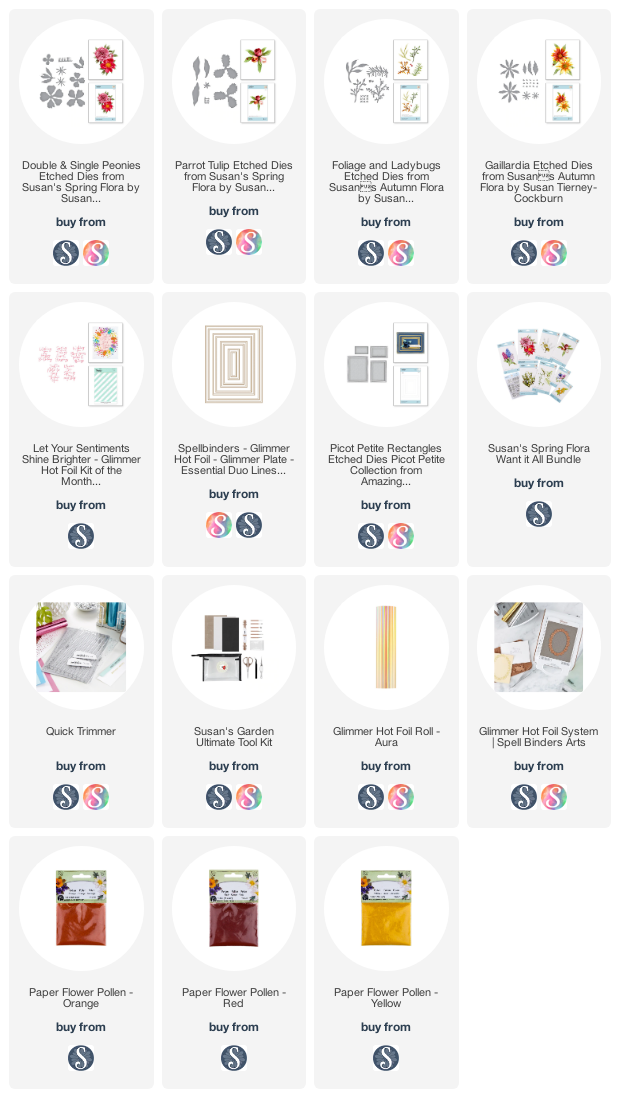
The die sets used are:

  • Double and Single Peony for the light and dark flowers- neither is a flower as the die was intended
  • Parrot Tulip for the orange and yellow flowers
  • Gaillardia for the light yellow flower
  • Foliage and Ladybugs- the branch of tiny white flowers and filler foliage

There is a lot of dimension in this project and it looks so real. I added Glimmer Hot Foil details with the Duo Lines frame and a sentiment from the Glimmer of the Month from March 2021.

The pollen on the stamen tips really add the finishing touch. And look at the veining on the leaves! The video shows you how to get this look.

One more photo of the project, because who wouldn't want another close up of this flower patch!

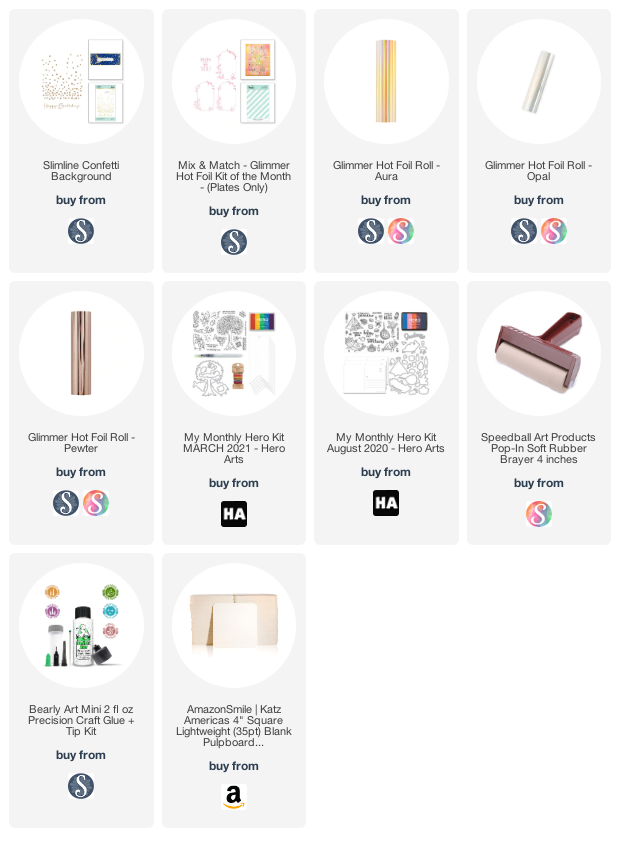
If you are interested in the supplies I used, I have provided links below.

Some of the supplies listed below are affiliate links, some are not. If you use an affiliate link here to make a purchase, I may get a small compensation. I only use things that I love.

Supplies:

Saturday, March 20, 2021

Trinity Stamps: Sunnyside Up Release

 Today is the premiere of the Sunnyside Up Mini Release for Trinity Stamps, and it proves once again that good things come in small packages!


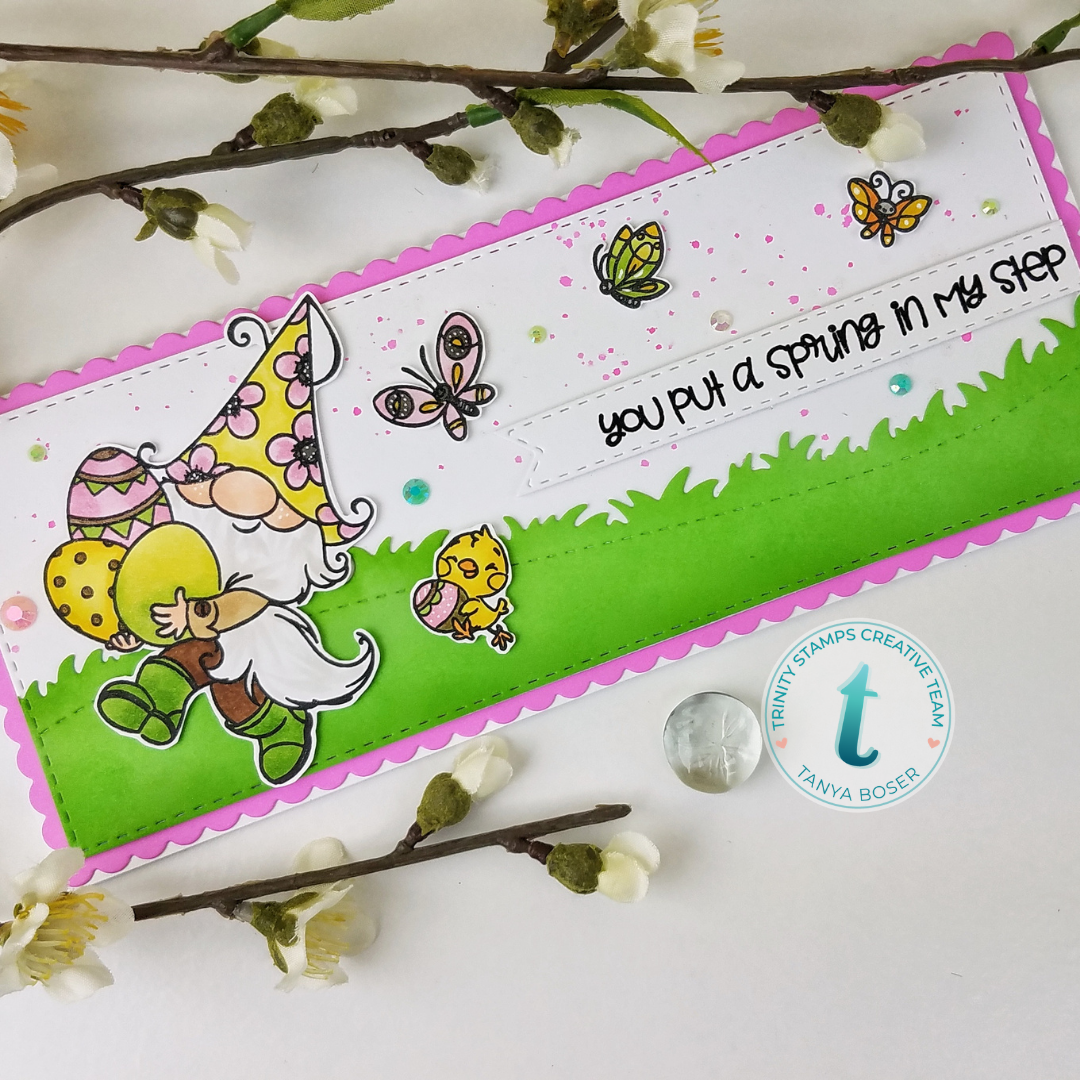
There is a fresh batch of gnomie goodness this time, in addition to a couple new slimline stamp sets. I decided to play with this egg carrying crew. 

All of the details for this card are here on a video, if that is your preferred way to check it out.Subscribe to my channel while you are there!

I love the extra space that slimline cards give me for scene building! Here is how I made it:

  • I started by coloring all the images with Copic markers, sticking to the same color palette. 
  • Then I ink blended some green ink on a piece of green cardstock to give it more character. And die cut the grassy border from the Slimline Scenic Border die set. 
  • Then I die cut the stitched panel from white cardstock, and used the same die to cut the grassy border to size.
  • Cut a slimline scalloped panel from pink cardstock
  • And added pink and shimmer splatter to the white panel.

The components are all layered and adhered to a 3.5"x8.5" card base.

I used the sentiment in this stamp set for the front of the card, and used a banner die from the Slimline Stitched Panels die set to cut it out. 


This sentiment if from the All Cracked Up stamp set, and these are the same butterflies as on the front of the card. 

I have to confess, I adore that little chick carrying the egg in this set, and I am thrilled that all 3 of the gnome stamp sets in this release features a little chick!

If you are interested in the supplies I used, I have provided links below.

Some of the supplies listed below are affiliate links, some are not. If you use an affiliate link here to make a purchase, I may get a small compensation. I only use things that I love.

Supplies:

LinkWithin

Related Posts with Thumbnails