Sunday, July 29, 2018

Stamp Review Crew: Sea of Textures

https://stampreviewcrew.blogspot.com/2018/06/beautiful-bouquet.html
Wow, July went by in the blink of an eye! And there were 5 Mondays in this month, so it is time for another bonus hop! Gotta love bonuses 😉


We are featuring the underwater delight, Sea of Textures. There is a while suite of products with this set! I love the scene building potential of this set. Of course, the textures and extra bits and bobbles don't hurt.

What is the Stamp Review Crew, you ask? We are an international group of Stampin' Up! demonstrators that gets together to do a blog hop on the first and third (and sometimes on a fifth) Monday of each month. For each hop we chose a single stamp set for us all to use, and then we let our creativity loose! We have a blog with all of the hops archived, so you can hop through any of the hops any time. Click here to go to the blog to see all of the hops! To go to the specific post for this hop, click here, or on the banner above.

If you are following along in order, then you have just arrived from Lauren Alarid's blog. Stunning, as always!

My project today is full of layered sponging, blending, and stamping. The Stamparatus was quite helpful in creating the multicolor octopus.

There is a vellum die cut net behind the octopus on the watercolor washed piece of watercolor paper.

And the colorful back panel was sponged with Balmy Blue, Pool Party, and Gorgeous Grape. Then water was flicked on the panel and dried with the heat tool.

And finally, the tall seaweed image was inked with Pool Party on the top and Gorgeous Grape on the bottom, a sponge was dabbed on the stamp where the colors met to soften the transition, and then the image was stamped a couple times.

The sentiment was cut out with a die from Petal Palette, and I used partial diecutting to shorten the die cut.

So what do you think? Are these colors good together? And is that octopus the right blend of clear image and dreaminess?

Next up is Charlet Mallett. I can't wait to see what magic she performs with this set!

http://www.painted-orange.com/charletswebsite/2018/7/29/seaoftexturessrc 

https://craftylittlepeach.blogspot.com/2018/07/sea-of-textures-stamp-review-crew-blog.html

Tuesday, July 24, 2018

Kindred Stamps Relase: Metal Friends

Hey, Kindred Friends! It is release week, and I am so excited to help share all the new goodies with you! There is a whole crop of awesomeness coming your way, so get ready 😎😍

Here are the names of the sets in this release:


The set I am featuring is Metal Friends. Excellent, dude!


The background is sponged on some textured white cardstock from my stash with Distress Oxides in Cracked Pistachio, Peeled Paint, and Iced Spruce. I will admit to some water spattering. It's a sickness, I know. 😉

Then another piece of textured white cardstock was cut out with a ray cover plate die and sponged with Iced Spruce.

Since I love to watercolor, I used several water-based markers from the Distress line and Stampin' Up! to color these rad dudes.

I used some Nuvo Crystal drops to add some subtle, not feminine accents.

 I sponged the same Distress Oxide inks in a circular motion on the inside. The sentiment is a combination from the Magical Friends set and Metal Friends, and a handwritten "n". It totally works!

The background is three of the sentiments clear heat embossed on black cardstock. Minimal effort with maximum impact!

This time the guys of aged a bit. Well at least the G-man has! I should have made them both gray haired.

I had a very limited array of alcohol marker colors, all but three of which were Stampin' Up!. I have since fixed that. I found a Copic retailer near my daughter's apartment in Minneapolis, and I finally took the plunge! Forty-five markers later, and I am super excited to start using them! When I told the clerk at the store what I was working on, she was quite intrigued.

I dug through my stash looking for something about becoming a classic, and found this retired stamp! Perfect, I say! This is why you should never get rid of retired stamps. 😀 At least, that's what I am telling myself.


So, this card is all business in the front...

...and party in the back! When my daughter opened it to look at it, she was actually startled by the pop-up! I got a good laugh out of that!

This is a twist pop up card, so fun and easy to make! I did more ink blending and spattering, this time with Night of Navy and Coastal Cabana on the blue panels, and Grey Granite on the warm grey pop up.

In retrospect, I really should have added something to the empty section on the pop up.

Here they all are again. I have only just began playing with this set!

Which one do you like the best? Let me know in the comments!

The Kindred Stamps team, myself included, hope that you've enjoyed reading about my card makes for this release. If you would like an opportunity to win shop credit please go and comment on everyone's blog post! One random winner will win a $10 shop credit, they will be contacted privately and announced in our Fan Club, Kindred Stamps Fan Club!

Kindred Stamps
Guest Designer Kim Huffman
Tinkerin in Ink
Ashlea Crafts
Clown Mom Creations
Fanciful Spaces

Sunday, July 22, 2018

Kindred Stamps: Space Explorer


Hello Kindred friends! This is my very first official blog post as a Design Team member for Kindred Stamps, and I thought I would lead with one of my favorite sets from Kindred Stamps: Space Explorers. My family and I are all Sci-Fi and space junkies, so this makes complete sense.
I also enjoy watercoloring, and will use any dye ink I have to do the job. I do have actual watercolors, but the dye inks work just as well for me. I know most people use alcohol markers to color these beautiful images, but I love the watercolor!
So this background is a bit of a modified galaxy background. You get the same feel without as much work. Here is how I made the background panel:
  • Tape a 4"x5¼" piece of watercolor paper to a board with blue masking tape or washi tap.
  • Sponge on the three colors (Blackberry Bliss, Berry Burst, and Blueberry Bushel).
  • Spritz with some Pearlized water (a little bit Pearl colored Perfect Pearls added to water in a spritzer bottle). You can use plain water, but I like the shimmery sheen you get with Pearlized water.
  • Air dry, or dry with heat tool if you are impatient. Like me :)
  • Spatter some clean water on the panel with a wet paintbrush, let it sit for a few seconds, then dab it up with a clean-ish towel.
The sentiment is white heat embossed over the panel.  And the ship is watercolored with Smokey Slate and Blueberry Bushel. I generally squeeze my ink pads so a puddle of ink is deposited on the lids, then use a watercolor brush and some water to pick up the color. I can make a whole range of hues with the same color this way.
 
 
Because I was having so much fun with this background with this ship, I made two more! This time I used an edger die to cut the watercolor panels with fun edges, and an embossing folder from my stash to add detail to the black cardstock panels. And the sentiments are white heat embossed on Black cardstock as well.
 
 
This will make an awesome birthday or graduation card for someone!
 
 Close up of the positive of the edger die. It has stitching!

Negative of the edger die. No stitching. And I flipped it so the colors are reversed.
 
I hope you all found something in these projects to spark your own creativity!

Sunday, July 15, 2018

Stamp Review Crew: Lemon Zest

https://stampreviewcrew.blogspot.com/2018/06/beautiful-bouquet.html
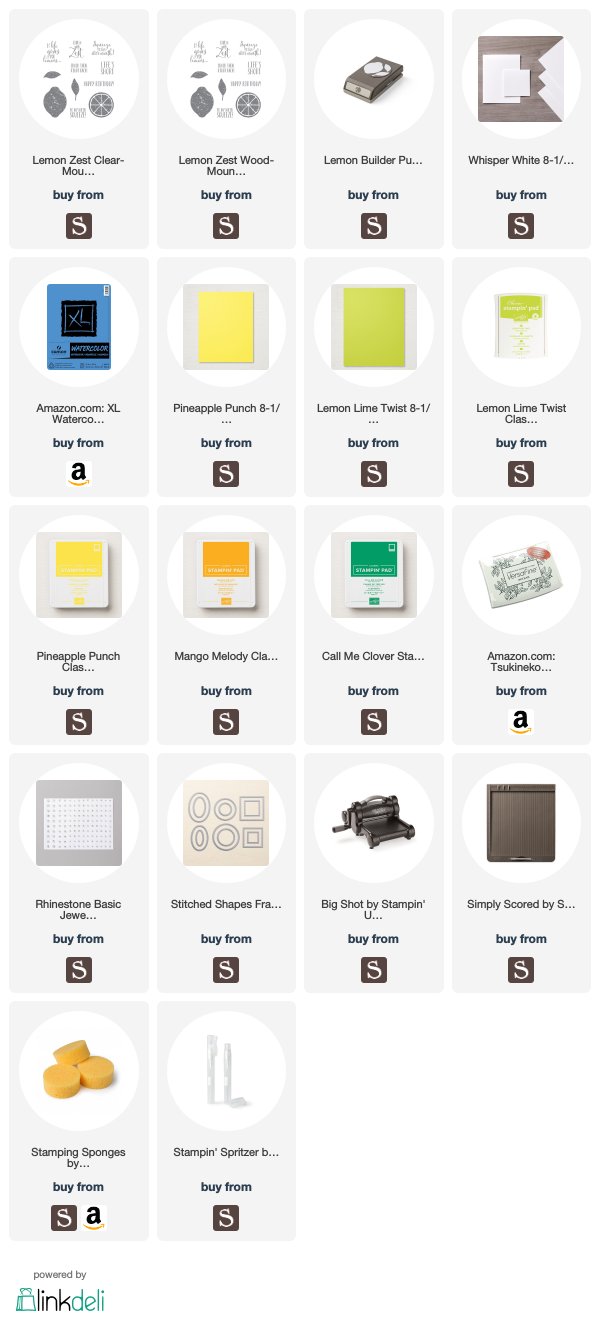
Lemon Zest! Yes!! I love this set. I haven't played with it much yet, but I got it right away last year. Why do I wait for assignments to play with stuff I love? Do you do the same thing? Well, I am just glad we are playing with this set in the middle of July when all things refreshing are at the forefront!

What is the Stamp Review Crew, you ask? We are an international group of Stampin' Up! demonstrators that gets together to do a blog hop on the first and third (and sometimes on a fifth) Monday of each month. For each hop we chose a single stamp set for us all to use, and then we let our creativity loose! We have a blog with all of the hops archived, so you can hop through any of the hops any time. Click here to go to the blog to see all of the hops! To go to the specific post for this hop, click here, or on the banner above.

If you are following along in order, then you have just arrived from Stesha Bloodhart's blog.

I was in a fancy fold mood this time. And this is practically a single layer card too! I just took a standard A2 Thick Whisper White card base, and score the front down the middle and folded it back. 

I masked off the inside part of the flap and stamped the images that will show on the front. 

I am loving Pineapple Punch and Mango Melody together! The lemon image is inked with Pineapple, then Mango is sponged on the edges of the stamp before making the impression. I kind of cleaned the stamp between images by stamping onto my scratch paper before reinking. 

The leaves are done in the same fashion with Lemon Lime Twist and Call Me Clover. 

Is anybody else over the moon for all of the new colors?! Seriously. I haven't had much energy left to craft, or to get excited about crafting lately, but I have found myself really enjoying working with the new colors. I keep reaching for them time and again!

I had started to do some die cuts hanging over the edge, but it was too busy. So I glued them inside instead!

My life has been a bit lemony lately. So many extra family obligations! This sentiment really struck a cord with me 😎

All of those lemon slices just make my mouth water! I have been cooking with fresh produce on a very regular basis for a couple years now, and there is something so amazing about the smell and flavor of fresh lemons in your food. 

I used the same color palette and technique on these lemon slices as the first card, but on watercolor paper, and I added one spritz of water to the stamp before making each impression. 

And inside is a fun surprise! This is a Twist Pop Up card. So much fun! I know they made the rounds a few months ago, but they are still awesome. 

The pop up panel is a piece of Thick Whisper White sponged with the colors used on the card, then spattered with some water. Dab off the water after a few seconds and let it air dry. No warping this way!

How about the lemons slices on the banner? I think I could have added a whole lemon or too also. Maybe later 😏

Next up is Mickey Robert's! Since she lives in sunny Florida, I have a feeling this set is right up her alley 😉


I use affiliate links where possible, and I truly appreciate any purchases made using them. It helps me continue this blog and YouTube channel.

Saturday, July 14, 2018

Masters of Magic Hugs

Can you feel the love with this card? Giant hugs indeed! The magical big boy looks like he could give some champion hugs, and I can think of several of my friends and family who enjoy that.

I am actually in my daughter's apartment again this weekend, so it is a limited supply card.

Can you believe I don't even have a spray bottle or spritzer with me?! I sponged the background on some watercolor paper with Poppy Parade and Lovely Lipstick, then looked in my travel crafting bag for my water spritzer. No luck. OK, now what?!

So I just went to the kitchen sink, turned the water on, and spattered water on the background with my fingers. Then I dried it with the cheap off brand heat tool I keep in her apartment.

When I got the Masters of Magic stamp set, I made a pile of watercolor paper cut outs with the Cut Files, used my Stamparatus (MISTI or Ranger Stamp Platform with work also) to stamp out a  bunch of images, and kept them at the ready to play with on the go.

The focal image is watercolored with Soft Suede, Tip Top Taupe, and Lovely Lipstick. There was a bit of color mixing to vary the browns 😉

This sentiment is just perfect, and I white heat embossed it right on the background. I find this works especially well with large sentiments.

Those little hearts were pulled from a couple of stamp sets in my stash. I wished for my heart dies, but they were at home. I kind of wanted to do a heart shaped window to the inside of the card, and to adhere the focal image to the inside.

The inside was finished with more of the hearts instead. 😎

There is an ginormous raspberry patch in my daughter's backyard, and I had to pick a bunch of berries while I was outside using the natural light for these photos. (My photo set up is at home too!)

Until next time, happy stamping my friends! Masters of Magic is calling to you!

Friday, July 13, 2018

Inky Friends Carnival of Color: Blueberry Bushel


https://myinkyfriends.blogspot.com/2018/05/carnival-of-color-my-inky-friends-blog.html

Now that we have all had a chance to drool over the new catalog for a while, it is time to settle in to some creativity. And what better way than to play with all of the new colors!! So My Inky Friends and I are pulling out all the stops and getting inky 😎

If you are following along in order, you just arrived from Kris Kilkenny's blog featuring Blackberry Bliss!

The color I chose to play with is Blueberry Bushel. It is such a nice royal blue, and it plays so well with so many other colors. It is no secret that I love blue. My car is about the same color as Blueberry Bushel.

The blues in this card are Blueberry Bushel, Pool Party, and Balmy Blue. I sponged the colors on the watercolor paper, then spritzed with Pearlized water. The sea vegetation is stamped in Blueberry Bushel and Pool Party.

The mermaid tail is watercolored in Pool Party, then added dabs of Blueberry Bushel. Her hair is done in an ombre also.

Here is a close up of the card. To make up for the fact that I could not find the second card I made. Sigh. Some days!

And the inside is pretty simple.


Well, that's all I have for you! It is time to go see what Mickey Roberts has in store for us. I can't wait!

http://www.paperconversation.com/2018/07/inky-friends-carnival-of-colors-blog-hop.html

https://paperfairykris.blogspot.com/2018/07/my-inky-friends-carnival-of-colors-blog.html


Sunday, July 1, 2018

Stamp Review Crew: Tropical Chic

https://stampreviewcrew.blogspot.com/2018/06/beautiful-bouquet.html
Hello friends, and happy July! The Stamp Review Crew is back with another fantastic blog hop featuring a fun stamp set from Stampin' Up! This time we are using Tropical Chic and all of the coordinating products. This stamp set has it own suite, and it is gorgeous!

https://www.stampinup.com/ECWeb/product/148399/tropical-chic-clear-mount-bundle?dbwsdemoid=2010774


What is the Stamp Review Crew, you ask? We are an international group of Stampin' Up! demonstrators that gets together to do a blog hop on the first and third (and sometimes on a fifth) Monday of each month. For each hop we chose a single stamp set for us all to use, and then we let our creativity loose! We have a blog with all of the hops archived, so you can hop through any of the hops any time. Click here to go to the blog to see all of the hops! To go to the specific post for this hop, click here, or on the banner above.

If you are following along in order, then you have just arrived from Debra Burgin's blog. Didn't just love what she did with this set?!

My first project is this tri-fold card. I have to admit, this is my favorite project this time.

Under the flap of stamped, diecut, and glued-together leaves, you will find part one of the sentiment.

Open one more time and you get the rest. The sentiments are from Floral Phrases, which is an awesome set for sentiments.

Next I played with the DSP in the suite, and I made a quick little purse.


Here is a video I made to show you how to make these for your self. Be sure to like and share the heck out of this puppy! And subscribe to my YouTube channel! (Shameless self-promotion here 😁)

Last up is a card with Pinewood Plank embossing. You know I had to do that or watercoloring 😉

The leaves are stamped partially with each color, then sponged with the lighter color where the color transitions. This softens the change.

More of the same inside.


Next up is Lauren Alarid's blog. She always amazes me with her beautiful creations.


LinkWithin

Related Posts with Thumbnails