Check out this amazing kit! I love shaker cards. There is just something magical about them. And LEAVES!! Love leaves :)
My first card with this set has some minor additions from my stash of Stampin' Up! ribbon. The Peekaboo Peach ruched ribbon that is still current, and a snippet of the retired Naturals Chevron ribbon. Remind me to show you my ribbon drawer sometime....
I also Copper heat embossed the sentiment and added a nest of Copper thread.
And I made this card entirely while on the phone with my daughter! Talk about multi-tasking!
Inside I just inked up the little acorn image in Sahara Sand and stamped off once before stamping on the inside of the card. Simple, and easy to write over the top.
I added a little love to the back of the envelope too, just for snickers and giggles.
And check out these gorgeous envelopes! There is a sweater knot pattern inside!! Have Imentioned that I love sweaters? ;)
I made parts of this while talking to my daughter. Like the sentiment embossing. But I had to do some stitching on this card. Otherwise how would you know I made it?! I used some more retired ribbon here, Pumpkin Pie Chevron and the wide Burlap. I also used a little piece of vellum to Copper heat emboss the sentiment, and glued just a few sequins in place in the shaker window so there would always be some bling showing.
Stamped off crackle image in Chocolate Chip and stamped off acorn in Cajun Craze.
Then I had to do some sentiment background stamping!
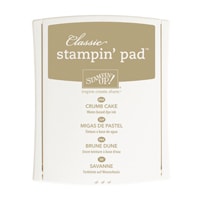
- Cut a 4"x5¼" panel of Whisper White and prepare Crumb Cake card base.
- Mount the 3 thank you type sentiments on 1 block, then stamp them repeatedly in Sahara Sand (stamp off once each time), along with some little stamped off acorns. Stitch around the panel. Pull thread tails to the back and secure with tape.
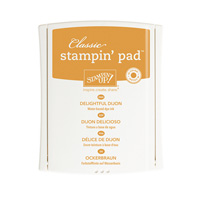
- Emboss the Delightful Dijon banner with the Woodland embossing folder.
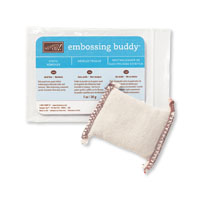
- Use Embossing Buddy on the Cajun Craze label. Cut the "thank you" words apart and stamp in Versamark. Heat emboss with Gold embossing powder. Stitch on each side of the words. Pull thread tails to the back and secure with tape.
- Take out your silicone mat, take one each of the leaves that pop out of the shaker panel. Add a little Fast Fuse or SNAIL to the back and stick to the silicone mat. Now apply ink to the leaves with sponges. I used Peekaboo Peach/Cajun Craze, Crushed Curry/Delightful Dijon, and just Cajun Craze. Then I added a little Gold Wink of Stella. Pull off the silicone mat and adhere to card stamped and stitched panel.
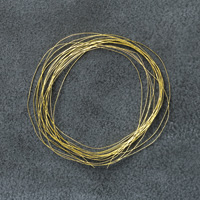
- Apply Fast Fuse to back of the banner, create a nest of Gold thread and stick to the back of the banner, then adhere this unit to the card front with more Fast Fuse.
- Adhere the Cajun Craze sentiment piece with dimensionals.
- Adhere panel to cardfront with dimensionals.
- Use Fine-Tip Glue pen to adhere a scattering of sequins.
- In Sahara Sand, stamp the acorn and gratitude sentiment inside the card. All done!
Easy peasy inside!
Check it out in action!
Inside got a little love too. This is just inking up once in Cajun Craze and stamping 4 times without reinking.
- This time I sponged the panel with Cajun Craze, Peekaboo Peach, and Crushed Curry. Then I stitched around it.
- I stamped the crackle image in Crumb Cake on the cardbase where it would show through the leaves.
- I took a 2"x5½" strip of vellum and embossed with the Cable Knit embossing folder, then adhered it to the cardfront where it would peek out from under the sponged panel.
- The sentiment is Copper heat embossed on a strip of vellum and the end is dove-tailed using the 1" square punch. Check the Clearance Rack for this little gem! Stitch this to the sponged panel.Or staple it if you prefer :)
- Then I adhered the panel to the cardfront with Fast Fuse and glued some sequins on with the Fine-Tip Glue pen.
- Inside got a maple leaf sponged in Peekaboo Peach/Cajun Craze adhered to the lower right corner. All done!
OK, I have to share one of the cutest pictures ever. This is my grandson, Cameron, playing in the leaves in the front yard of the house they just bought. This was on move-in day!!
If you have seen something you need for your crafting life, just click the image in the supply list below and it will take you to my store! If you order less than $150, please use this month's Host Code, which can be found at the top of the sidebar on the right.
And be sure to check the box allowing me to contact you when you check out. I can't send you a thank you card if I don't know your address! And I promise to only send you happy mail, no junk mail :)
Product List


No comments:
Post a Comment