Monday, February 12, 2018

Love For My Man #6

 I am on a mission to shower my man with a bunch of cards, tags, and treats in the 2 weeks leading up to Valentine's Day. And I am going to share the papercrafting part of that with you :)

I have already shared a few of the other cards I made for this mission, you can find those posts here:

For the Love of Flannel
Ridiculously Happy
Amazing card and Love You card
Paper Pumpkin Valentine Slider
Arabian Nights
Lucky Stars
Wild About You
Galactic Love

Galactic Adventures: The Third from Kindred stamps. This furry warrior is so fun to watercolor, and to use alcohol markers with! Sci-Fi and Space Cowboys forever!~Tanya Boser from tinkiner-in-ink.blogspot.com
 I had another play with the Kindred Stamps that I got last month, this time with Galactic Adventures: The Third. I could not resist that furry fella and had to watercolor him too.

I used several Stampin' Up! inks to color this fella, including Baked Brown Sugar (retired) and Cajun Craze.

The sentiment in created using the Labeler Alphabet and the Brushwork Alphabet, which are very handy for creating custom sentiments. I find myself reaching for them more and more lately!

Galactic Adventures: The Third from Kindred stamps. This furry warrior is so fun to watercolor, and to use alcohol markers with! Sci-Fi and Space Cowboys forever!~Tanya Boser from tinkiner-in-ink.blogspot.com
 Inside I used some of the sentiments included in the Galactic Adventures: the Third stamp set, as they are perfect!

Galactic Adventures: The Third from Kindred stamps. This furry warrior is so fun to watercolor, and to use alcohol markers with! Sci-Fi and Space Cowboys forever!~Tanya Boser from tinkiner-in-ink.blogspot.com
Here is another close up of this furry warrior!

I have been working on my alcohol marker skills, so be looking for more of these critters in the near future!

You can help support my blog by using the affiliate links below. I do purchase everything I use myself, and am not compensated for any of my blogging. I only use things that I love :)

Saturday, February 10, 2018

Love For My Man #5

I am on a mission to shower my man with a bunch of cards, tags, and treats in the 2 weeks leading up to Valentine's Day. And I am going to share the papercrafting part of that with you :)

I have already shared a few of the other cards I made for this mission, you can find those posts here:

For the Love of Flannel
Ridiculously Happy
Amazing card and Love You card
Paper Pumpkin Valentine Slider
Arabian Nights
Lucky Stars
Wild About You

I recently discovered a new-ish stamp company called Kindred Stamps. I love their Pop Culture stamps, and actually bought quite a few of them last month. What Sci-Fi geek can pass up all of the  space, time travel, and fantastic magical themed stamps?!! Not this one. 😎😍

I have seen lots of fabulous alcohol marker coloring with this set, but frankly, I am not that good at that kind of coloring yet. And I don't have the right colors yet. So watercolor it is! And I love to watercolor anyway. 😁
  1. I created a fun background by starting with a 4"x5¼" panel of watercolor paper, taping it down to a board, and sponging with Dapper Denim and Fresh Fig ink. 
  2. Then I spritzed with Pearlized water, dried with a heat tool. 
  3. Spattered with water and dabbed it away. 
  4. Took some white Dr. Ph. Martin's Pen White ink, dropped onto a non-porous surface, and added a little water with a paint brush to thin it out a bit. Then spattered on the background to create stars. Dried with a heat tool again.
  5. Stamped the Neat and Tangle background stamp Time Warp in Versamark ink in the center of the watercolored panel, White heat embossed. 
  6. Took a scrap of watercolor paper, sponged with Fresh Fig, spritzed, dried, and die cut a heart. 
  7. Stitched around the panel. Adhered to cardbase.
  8. Stamped the characters from Kindred Stamps Galactic Adventures in Versafine Onyx Black ink on watercolor paper, Clear heat embossed. Watercolored with various Distress Inks, then fussy cut.
  9. Cut a ½" strip of black cardstock, stamped the sentiments from Galactic Adventures in Versamark, then White heat embossed. Trim down and dovetail. 
  10. Adhere sentiments, characters, and heart to cardfront with dimensionals or foam tape. 
Here you can see the dimension on the card, with all the pieces popped up. I used a sweet sentiment on the inside from Papertrey Ink, but I can't find the set on their site right now, so I didn't tease you with it, lol.

You can help support my blog by using the affiliate links below. I do purchase everything I use myself, and am not compensated for any of my blogging. I only use things that I love :)


Friday, February 9, 2018

Inky Friends: Love it Live it Share It

https://myinkyfriends.blogspot.com/2018/01/love-it-live-it-share-it-blog-hop.html
Me and my Inky Friends have put together a hop for you featuring all kinds of goodies from the 2018 Occasions Mini! Come join us for loads of inspiration.

If you are following along in order, you just arrived from Sara Mattson-Blumes' blog where she featured the We Must Celebrate stamp set. Lovely, right?!

The set I chose to use is Waterfront. There have been some amazing cards made with this set already, and it works brilliantly as a scene builder with none of the usual fussiness. I love the loose watercolor feel of this set. I, however, have been entirely too busy creating treats and cards for my hubby lately to really have done this set justice, for which I apologize. I only have one project for you today.


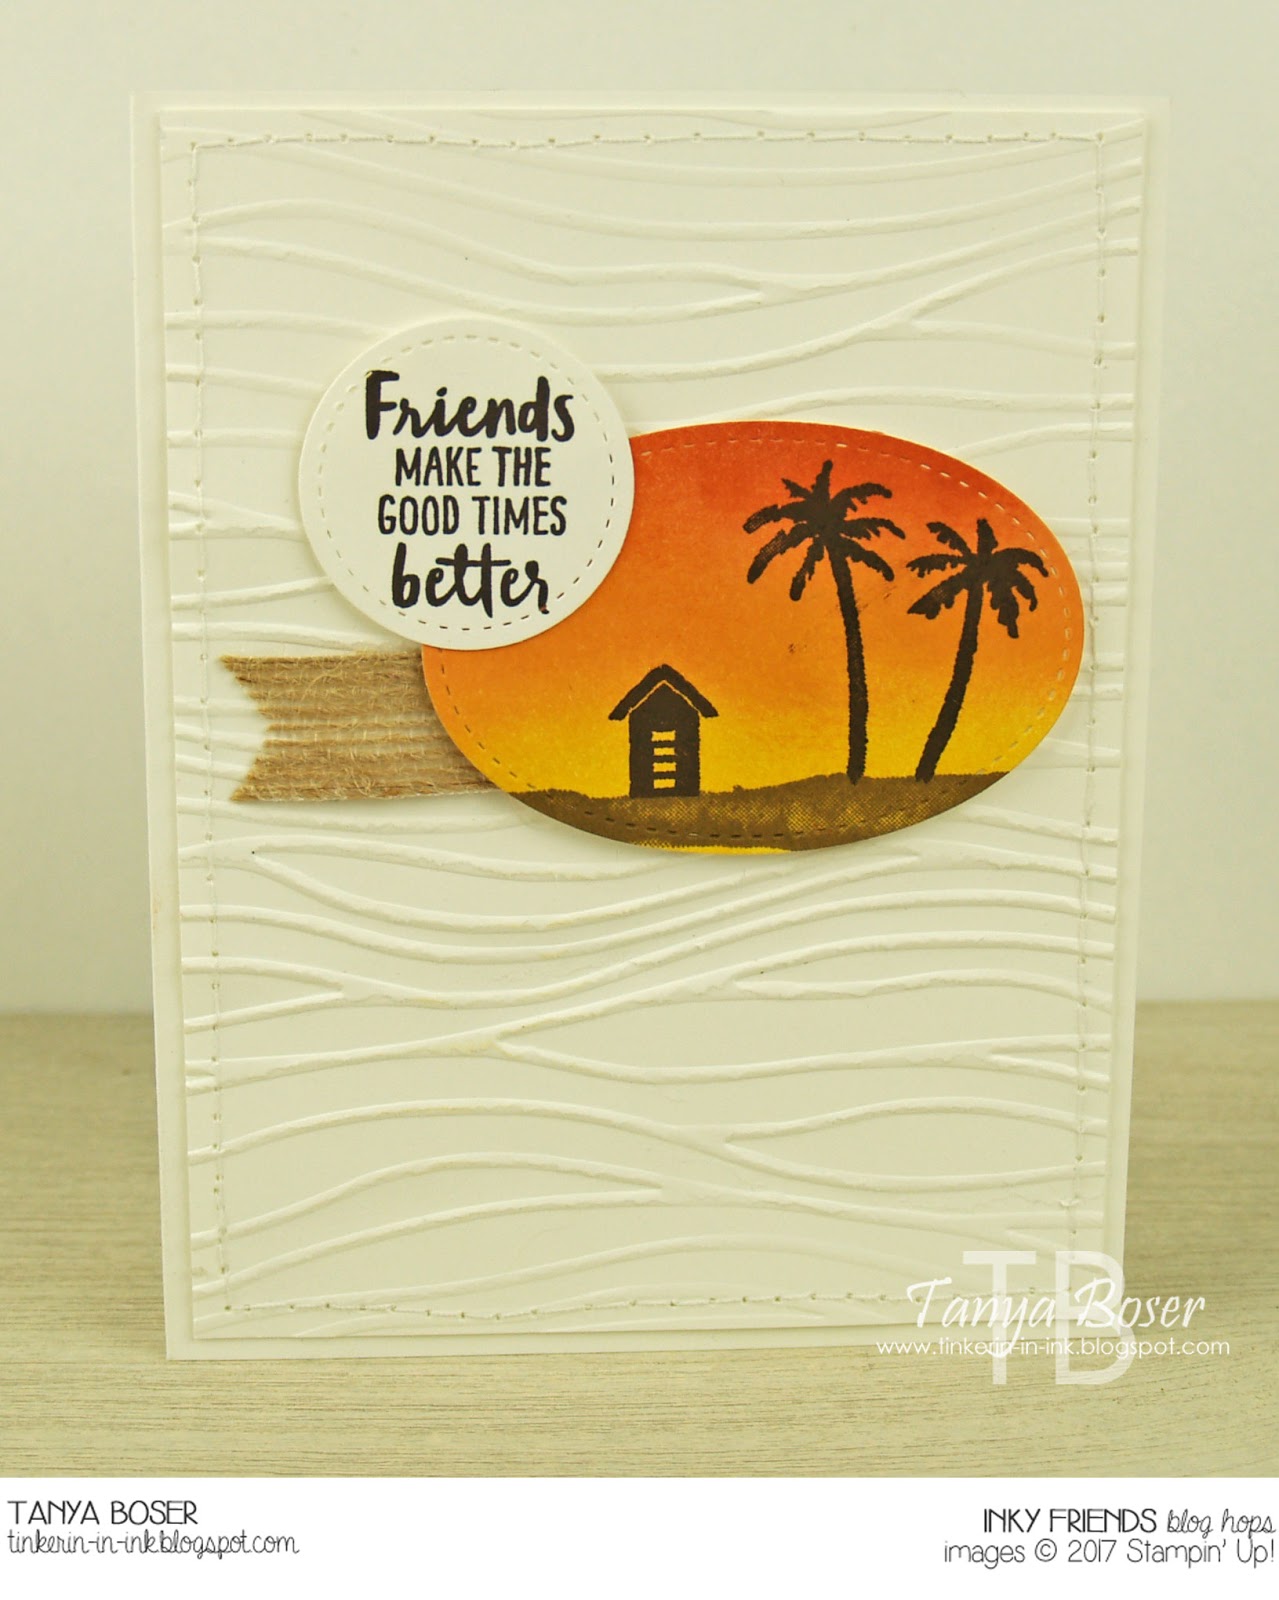
Blending and simple stamping with Stampin' Up! Waterfront stamp set create easy and beautiful scenes. Even beach scenes! ~Tanya Boser for Inky Friends
 I was totally channeling a sunset on the beach with this card. Dreaming of warmer climes, and thinking back to our "year of cruising". Sigh...it has been a year since our last cruise, and it feels so long ago! I wanna go on a cruise so bad right now! But, the bank account says no. Mean bank account! 😞

So the next best thing it to make a beach scene, right! This was pretty simple.
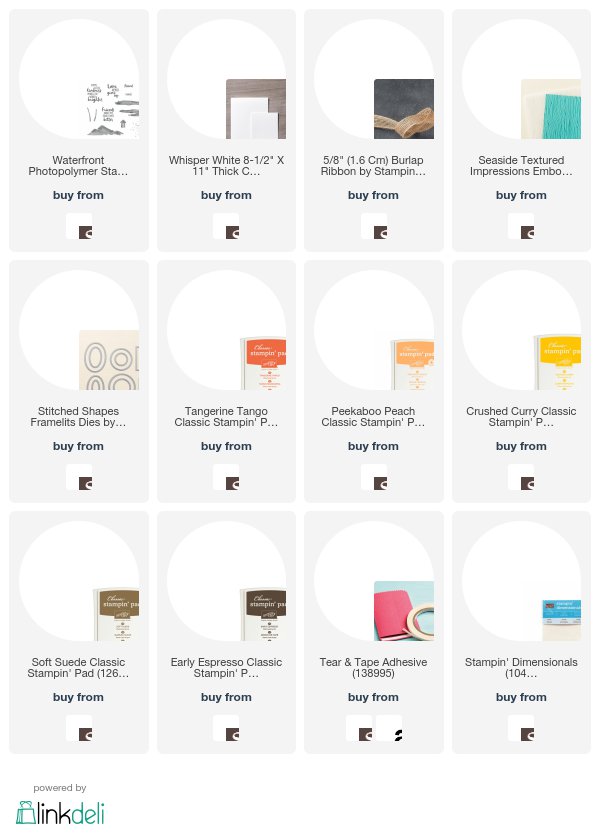
  • Blend some Crushed Curry, Peekaboo Peach, and Tangerine Tango for the sunset.
  • Stamp the beach image in Soft Suede, and the palm trees in Early Espresso. Die cut with an oval from Stitched Shapes. 
  • Stamp the sentiment in Early Espresso, die cut with a circle from Stitched Shapes. 
  • Cut a 4"x5¼" panel of Thick Whisper White, emboss with Seaside embossing folder. Stitch around the edges and pull tails to the back. Adhere to a Thick Whisper White card base. 
  • Pop the sunset image and the sentiment up on dimensionals and adhere to card over a snippet of the Burlap ribbon. 
  • All done!

Blending and simple stamping with Stampin' Up! Waterfront stamp set create easy and beautiful scenes. Even beach scenes! ~Tanya Boser for Inky Friends
In case you wanted a closer look, here you go! Now, if you all could magically transport me to this location, I would greatly appreciate it! But you should know, I haven't shaved my legs since, like, August. 😎

Now, let's head over to Mickey Robert's blog. I can't wait to see what she does with Truly Tailored!

http://www.paperconversation.com/2018/02/inky-friends-love-it-live-it-share-it-blog-hop-truly-tailored.html

https://myinkyfriends.blogspot.com/2018/01/love-it-live-it-share-it-blog-hop.html


https://www.stampinup.com/ecweb/default.aspx?demoid=2010774

If you have seen something you need for your crafting life, just click the image in the supply list below and it will take you to my store! If you order less than $150, please use this month's Host Code, which can be found at the top of the sidebar on the right.

And be sure to check the box allowing me to contact you when you check out. I can't send you a thank you card if I don't know your address! And I promise to only send you happy mail, no junk mail :):)

Wednesday, February 7, 2018

Love For My Man #4


I am on a mission to shower my man with a bunch of cards, tags, and treats in the 2 weeks leading up to Valentine's Day. And I am going to share the papercrafting part of that with you :)

 I have already shared a few of the other cards I made for this mission, you can find those posts here:
For the Love of Flannel
Ridiculously Happy 
Amazing card and Love You card
Paper Pumpkin Valentine Slider 
Arabian Nights
Lucky Stars


The June 2017 My Monthly Hero kit from Hero Arts is absolutely stunning, and I am so glad I am subscribed to this kit. It is a fabulous kit for your money. And has lots of great add-ons that you can get even after the kit sells out. Well, this kit sold out so fast!

BUT, Hero Arts polled the subscribers and asked which kit was our favorite, then picked the 2 most popular to to release in the 2018 Hero Arts catalog! And this is one of the two.

Tickled me excited! This means I can share my projects with you all without the guilt of being unable to hook you up with your very own 😁 Well, after February 15th, which is when they release the new catalog.


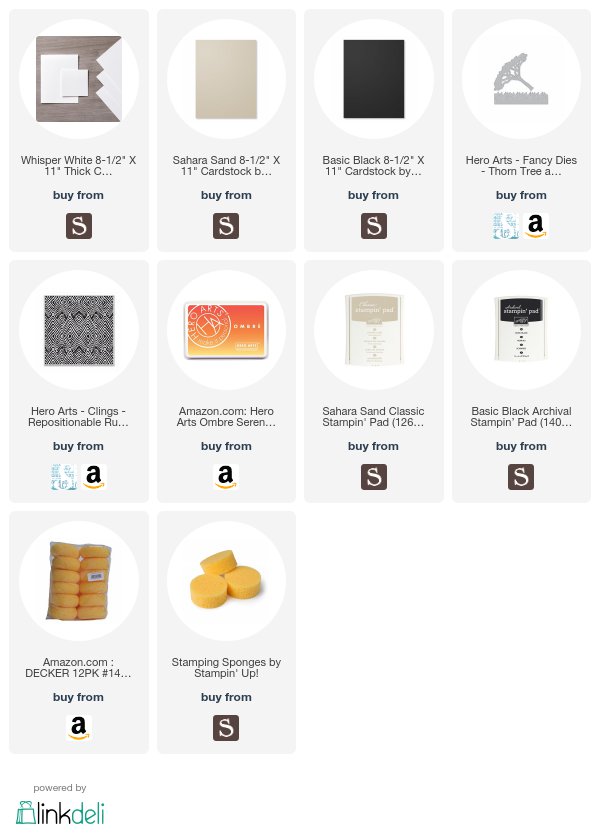
I used a couple of add-ons that you can get right away. The Thorn Tree and Grasses die set, the Serengeti Sunset Ombre inkpad, and the Tribal Stripes Bold Background stamp (linked in the supply list below).
  1. I sponged the inks from the ombre inkpad onto some white cardstock, then used the circular die from the kit to cut it out.
  2. Stamped the Tribal Stripes in Sahara Sand ink on Sahara Sand 4"x5¼" cardstock piece. 
  3. Diecut a Thorn Tree from black cardstock. 
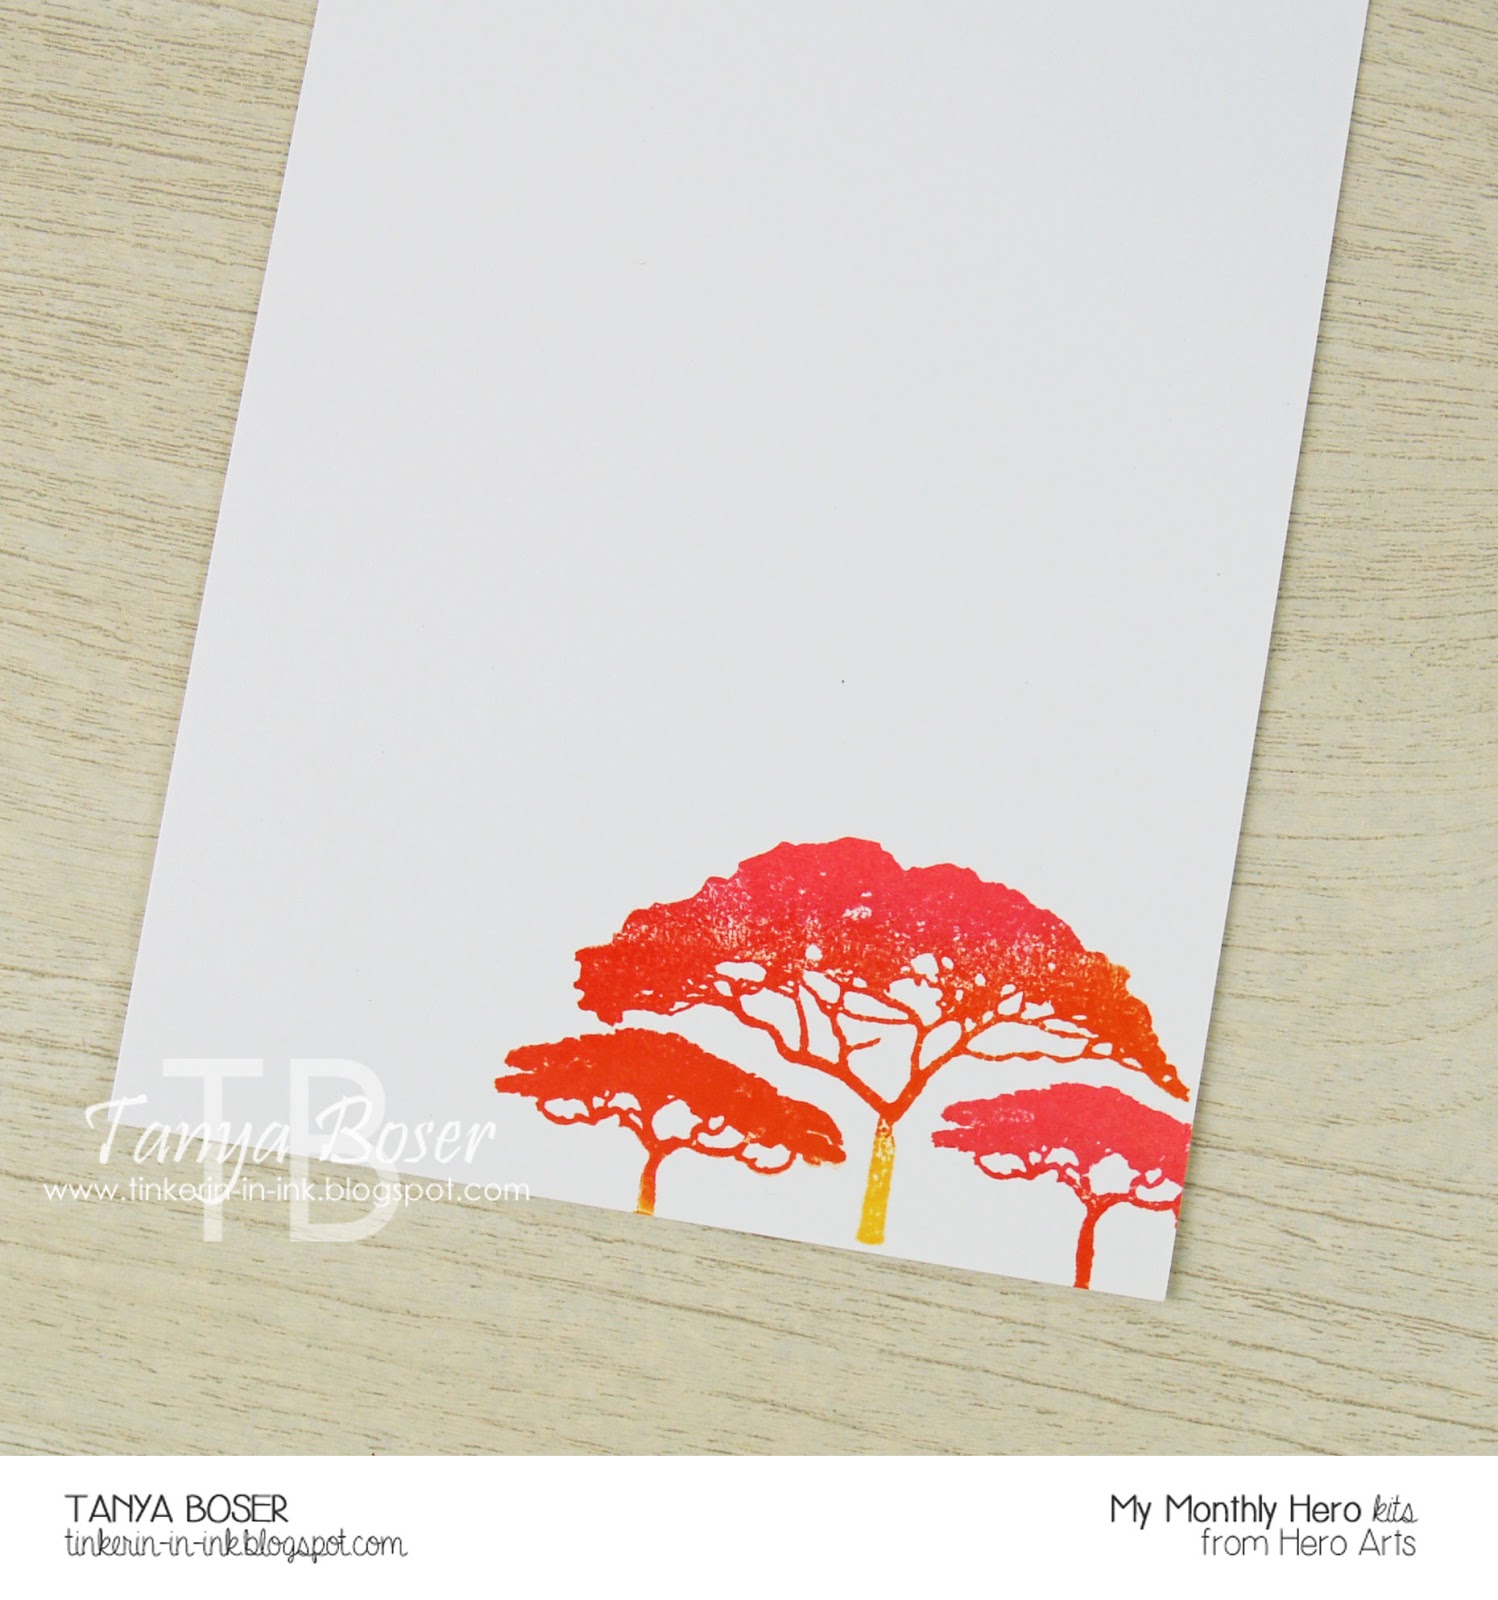
  4. Stamped some trees from the kit inside a standard A2 cardbase with the ombre inkpad.
  5. Adhered all the pieces to the front of the card.
  6. Stamped the sentiment from the kit in black ink on the sunset circle.
They almost look psychedelic! But I like the sunset feel they have. This has a great masculine feel to it, and appeals to my sense of adventure. I can't wait to give it to my sweetie!

Be sure to come back again soon to see more projects in this mission!

You can help support my blog by using the affiliate links below. I do purchase everything I use myself, and am not compensated for any of my blogging. I only use things that I love 😊


Monday, February 5, 2018

Love For My Man #3

I am on a mission to shower my man with a bunch of cards, tags, and treats in the 2 weeks leading up to Valentine's Day. And I am going to share the papercrafting part of that with you :)

 I have already shared a few of the other cards I made for this mission, you can find those posts here:
For the Love of Flannel
Ridiculously Happy 
Amazing card and Love You card
Paper Pumpkin Valentine Slider 
Arabian Nights


Along with showering my man with crafty love, I have been "shopping" in my craft room lately. It is a good exercise in freedom for me. Really, if I never bought another stamp set or die in my life, I could continue to create with wild abandon! Most of you can feel me there, I am sure. 😏

While "shopping" through my LOVE section, I found the fabulous Going Global stamp set that was from the 2016 Occasions Mini. I am pretty sure I used it once before it retired....

Isn't it fun?! I love all of these images!


So, I started with the PTI Bookmark #2 die and white cardstock, did some ink blending with Distress Oxides, and sprinkled with some water. You can't see this in the photo, but I also spritzed it with some Pearlized water (Pearl color Perfect Pearls added to water in a spritzer).

After making sure this was good an dry, the constellation is White heat embossed repeatedly. I also took some Dr. PH Martin's Pen White ink, diluted with a little water, and spattered over the background to add more stars. You could use white acrylic paint too, but I gave my bottle to one of my daughter-in-laws and haven't replaced it yet. 😊

The sentiment is Silver heat embossed on white cardstock and die cut with a SU Stitched Shapes die.

The vellum stars are cut out using the PTI Small Sketched Stars dies, and the glittery star enamel dot is from the December My Monthly Hero kit.

That is it for this project, and I hope you are enjoying seeing these projects as much as I enjoyed making them!

You can help support my blog by using the affiliate links below. I do purchase everything I use myself, and am not compensated for any of my blogging. I only use things that I love. 😍


Sunday, February 4, 2018

Stamp Review Crew: Tabs For Everything

Happy February! It's a short, cold, and dark month here, so that calls for MORE crafting, am I right?!

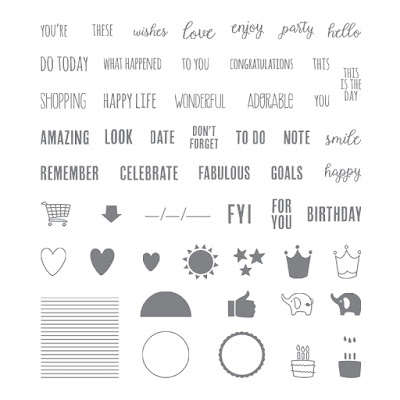
The Stamp Review Crew is featuring a sneaky little stamp set called Tabs For Everything. This set can sneak it's way into just about any creation, and it has stamps that coordinate so very well with so many other sets!

https://www.stampinup.com/ecweb/ProductDetails.aspx?productID=143907&dbwsdemoid=2010774
I mean, really. How many critters can you put that crown on? And the birthday cake? Pandas holding cake. Cake on the Happy Birthday thinlit. Hearts, and stars, and a sweet circle. THEN all those adorable and usable words, in different fonts!!

For those who are new to the Stamp Review Crew, here is a little background. We are an international group of Stampin' Up! demonstrators that gets together on the first and third Mondays of every month to do a blog hop. Each hop features a single stamp set to give you loads of inspiration for that set! The hops are archived at the Stamp Review Crew blog, and you will be able to click through each hop at any time, going directly to the posts for that hop whenever you want! And you can click on the banner of this post to go to the master blog roll for this hop also.

If you are following along in order, you just arrived from Kelly Kent's blog. Kelly is a superstar and I am sure that she came up with some gorgeous stuff!

Mt first project is inspired by that famous quote about pineapples: Be a pineapple- Stand Tall, Wear a Crown, and Be Sweet on the Inside.  That pretty much says it all!

I paired the crown images with Fruit Basket stamp set, which is freaking adorable all by itself! Since both sets are photopolymer, this was super easy to stamp.

There is a vellum Eastern Medallion die cut, and a Gold Foil Tailored Tag punch embossed with the Pinewood Planks embossing folder.

I carried the images to the inside of the card, and added a sentiment from the Fruit Basket stamp set.

Then, I discovered that all of the little images and the single words fit on the bottle labels from Bubble Over!

And there is a solid thumbs up image in Tabs For Everything, and an outline thumbs up image in Bubble Over. So cute! They are the same size, but ever so slightly different, so they don't actually layer together perfectly.

I finally decided to use the Lovely Laurel dies as they were designed to be used. Oh, my! These are awesomely easy to use!! I am telling you, you gotta get these. You get maximum bang for minimal effort.

I couldn't stop at just one! The watercolor layer on both cards features the smooshing technique. Smoosh your inkpad onto a nonporous surface (acetate, acrylic block, craft mat, etc), spritz with water, then smoosh the watercolor paper into the puddles of ink. Dry and repeat until you get the look you are trying to achieve.

All of the images on these labels are from Tabs For Everything.

Another poppin good inside! The sentiment is built with Tabs For Everything also.

That is it for me. And now, Mickey Robert's! This is one hardworking and talented lady!

http://juanacreate.blogspot.com/2017/08/stamp-review-crew-window-shopping.html

http://addinktivedesigns.com/2017/08/21/the-stamp-review-crew-window-shopping/


http://www.stampinup.com/ECWeb/default.aspx?demoid=2010774

4CQ4DJHN

If you have seen something you need for your crafting life, just click the image in the supply list below and it will take you to my store! If you order less than $150, please use this month's Host Code, which can be found at the top of the sidebar on the right.

And be sure to check the box allowing me to contact you when you check out. I can't send you a thank you card if I don't know your address! And I promise to only send you happy mail, no junk mail :)
Friday, February 2, 2018

Love For My Man #2

I am on a mission to shower my man with a bunch of cards, tags, and treats in the 2 weeks leading up to Valentine's Day. And I am going to share the papercrafting part of that with you :)

 I have already shared a few of the other cards I made for this mission, you can find those posts here:
For the Love of Flannel
Ridiculously Happy 
Amazing card and Love You card
Paper Pumpkin Valentine Slider 


This time I used the December My Monthly Hero kit from Hero Arts. I love the stencil and dies in this kit! The inks are from this kit, and from some of the past kits also. This is actually the second version of this card. I wanted to try this in non-pink tones.

Here is how I made this card:
  1.  Cut two 4"x5¼" pieces of white cardstock and prepare one standard A2 cardbase.
  2.  Lay the stencil over one the white layers and sponge on the 3 colors. 
  3.  Using the dies from the kit, diecut the window outline from the sponged layer. Lay this layer onto the other white layer with edges all flush. Lay the window lattice die in the negative space from the outline die and tape in center with washi. Remove the sponged layer and diecut the plain white layer. 
  4. Adhere the layers together and stitch around the edge. 
  5. Sponge some light blue ink directly onto the card base front, being sure to stay away fromt eh edges.
  6. Adhere to the card base.
  7. Use the Delicata Gold Glitz and Copper ink to stamp the stars from the kit in the spaces of the lattice onto the card base.  
  8. Stamp the sentiment from the kit in Gold Glitz ink, diecut with the oval Stitched Shape. Adhere to card with foam tape or dimensionals.

Here is the first version. I think is is my favorite of the 2, but the other color combo is better for a masculine card.

You can help support my blog by using the affiliate links below. I do purchase everything I use myself, and am not compensated for any of my blogging. I only use things that I love :)
LinkWithin

Related Posts with Thumbnails