


Hey Festival Friends!! This past Christmas, I decided to invite some
crafty friends to join me in a Festival of Christmas with a themed
limited run series of social media hops. It was so fun that we decided
to do more limited run series!
And it is time for another one: For the Love of Summer. There are four episodes in this series, and this one focuses on Wanderlust.
Summer is full of outdoor glory. So many places to visit, near and far! Amusement parks, county and state fairs, parades, fireworks, state and national parks, flea markets and garage sales, roadside stands and farmers markets, and road trips. Even though things this year are drastically different, we will get to do these things again. Let's remember them now, and relive some of those good times.

I will always want to visit the ocean, or really any water source. I love the water. In it, on it, or just near it-that is where I want to wander!
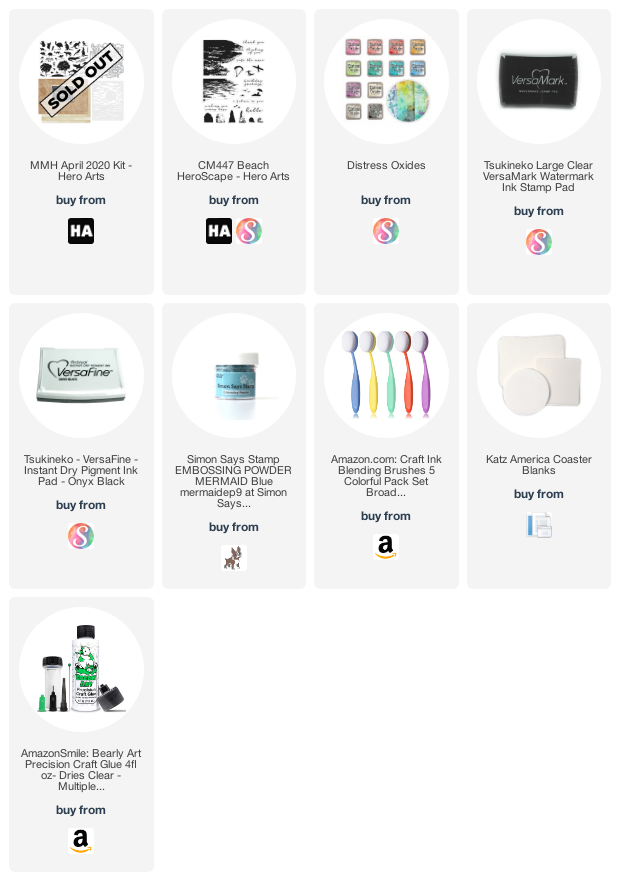
So, this card just started as playtime with the April 2020 My Monthly Hero kit. I love the stencil that came with it, and I wanted to see if I could make it work on a Slimline card. They are all the rage right now.
- I sprayed the stencil with some Pixie Spray and stuck it to a long piece of craft cardstock.
- Then I used Festive Berries, Spiced Marmalade, Squeezed Lemonade, Cracked Pistachio, and Salty Ocean Distress Oxides to blend through the stencil.
- Next I shifted the stencil down a fee inches and blended on some Frayed Burlap to create a sandy beach.
- I cut this panel down the smallest of the Trinity Stamps Stitched Slimline dies.
- For the dolphin, I smooshed some Versamark ink on a scrap of paper, covered with embossing powder, and heat embossed.
- Then die cut the embossed scrap with the dolphin die, and a piece of coaster blank with the same die, and glued them together.
- I glued the dolphin to the stenciled panel, then added the sentiment with Versafine Onyx Black ink using my MISTI for perfect placement.
- I cut a piece of Sahara Sand (SU) cardstock to 7"x8.5", and scored at 3.5" to create the cardbase.
- Inside the card, I used the ink still on the blender brushes with the stencil to add some fun to it. And a sentiment in Versafine Onyx Black.
- Next, I glued some coaster blank to the back of the main panel for dimension and glued that to the cardbase front.

I had a little bit too much Pixie Spray on the stencil and the adhesive stuck to the panel, so I used a sanding block to lightly sand it away, however I caught an edge of the dolphin with it too. After it was all assembled! Figures.

I continue my love affair with stenciling on the inside of my cards. This time I took it a little too far maybe. It is still pretty though!

And I made a coordinating envelope with the Trinity Stamps Slimline Envelope die set.
Ok, that is it for me! Don't miss the rest of the hop at the end of this post. I have provided a list of the supplies I used for you below.
Some
of the supplies listed below are affiliate links, some are not. If you
use an affiliate link here to make a purchase, I may get a small
compensation. I only use things that I love, and do not create paid
posts.
Blog Roll:
Tanya Boser- that's me!
Instagram Roll:

No comments:
Post a Comment