Fall is almost here, in the northern hemisphere. And for those in the southern hemisphere, spring is about to blossom! I love the transition seasons, and there are so many wonderful reason why. Lots of New Starts, so that is our opening gambit for the Festival of Fall!

My Crafty Festival of Friends and I are doing another series of blog hops. This one is every 2 weeks on a Friday, and it spans a whole lot of stuff. Be sure to subscribe to us all to be sure to catch all of the projects.
Want to see the creation process? Watch this video!

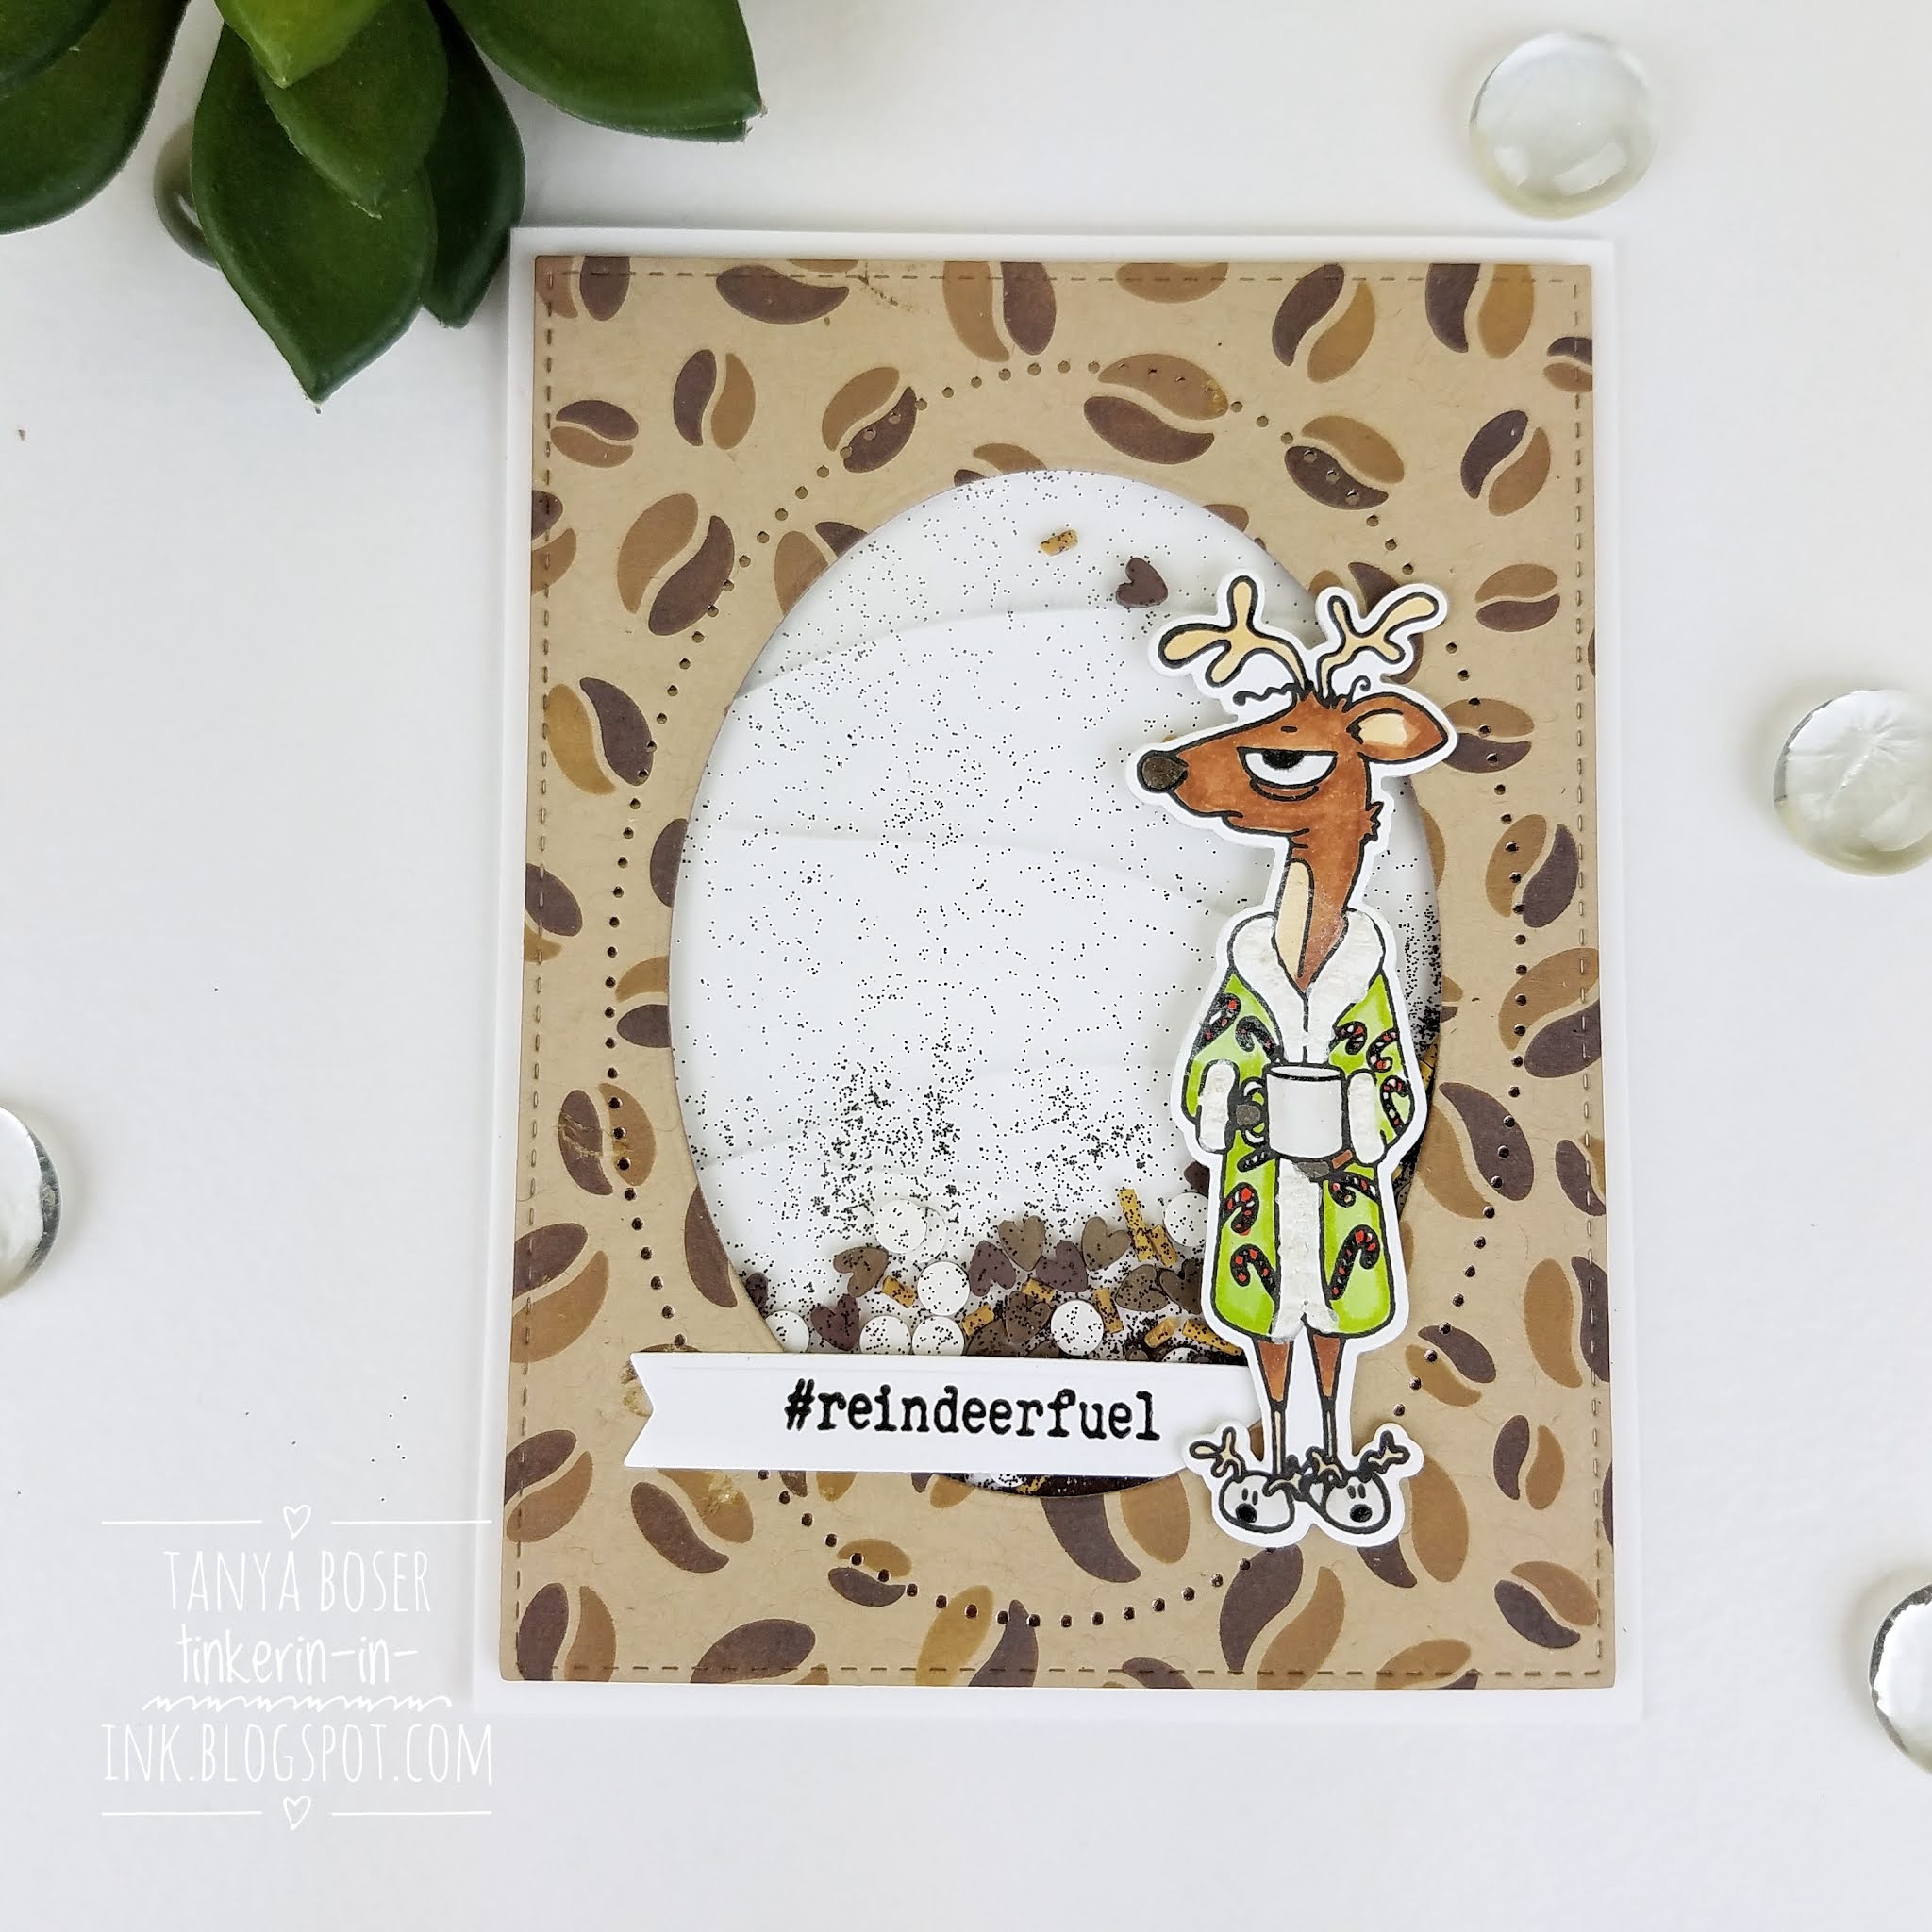
This is a super simple card. Stamped and Copic colored image with a white heat embossed sentiment popped on top of this 5x7 card.

The shoe image is from Picket Fence Studios: Walk, Crawl, Run
The sentiment is from Simon Says Stamp: Fall Frenchies- a favorite of mine.

The sentiment inside is from My Favorite Things: Be an Original, which is full shoe references.

This is my first effort at creating a shaker pocket with upcycled stamp packaging and a bag sealing tool. Check out that video at the beginning of this post to see the process.

I recently got several cardstock packs from Tonic Studios, including several mirror cardstocks. Seems the perfect time to use them with the layered sentiment dies from Honey Bee Stamps: Special Teacher!
This is Spring Silver mirror card, layered into white and vellum cardstocks.

The sub-sentiment on the front and inside are from the Honey Bee Stamps: Special Teacher stamp set- gold heat embossed.

This time, I had a play with the Spellbinders Glimmer of the Month kit: Have a Crafty Day glimmer plates. The kit has on large background and several sentiment plates in this kit. I used the background plate with the Prism foil to create this background on a light pink cardstock.
The foiling resists ink, so I was able to ink blend the panel with Wilted Violet, Picked Raspberry, and Spun Sugar Distress inks. Add some spritzing with Pearlized water, and you have a lovely background!

This mirror cardstock is Petal Pink, which is another holographic paper that ranges from purple to pink- love it! So many colors it will work with!

That Honey Bee Stamps: Special Teacher set has loads of great sentiments, and I used a few more on this card, also heat embossed.
I am so glad you stopped by! Be sure to check out the rest of the hop, the full list of stops is at the end of this post.
Thank you to everyone that has used my affiliate links. I really appreciate it! Leave me a comment to let me know if you made a purchase with my links, and I will send you a card!
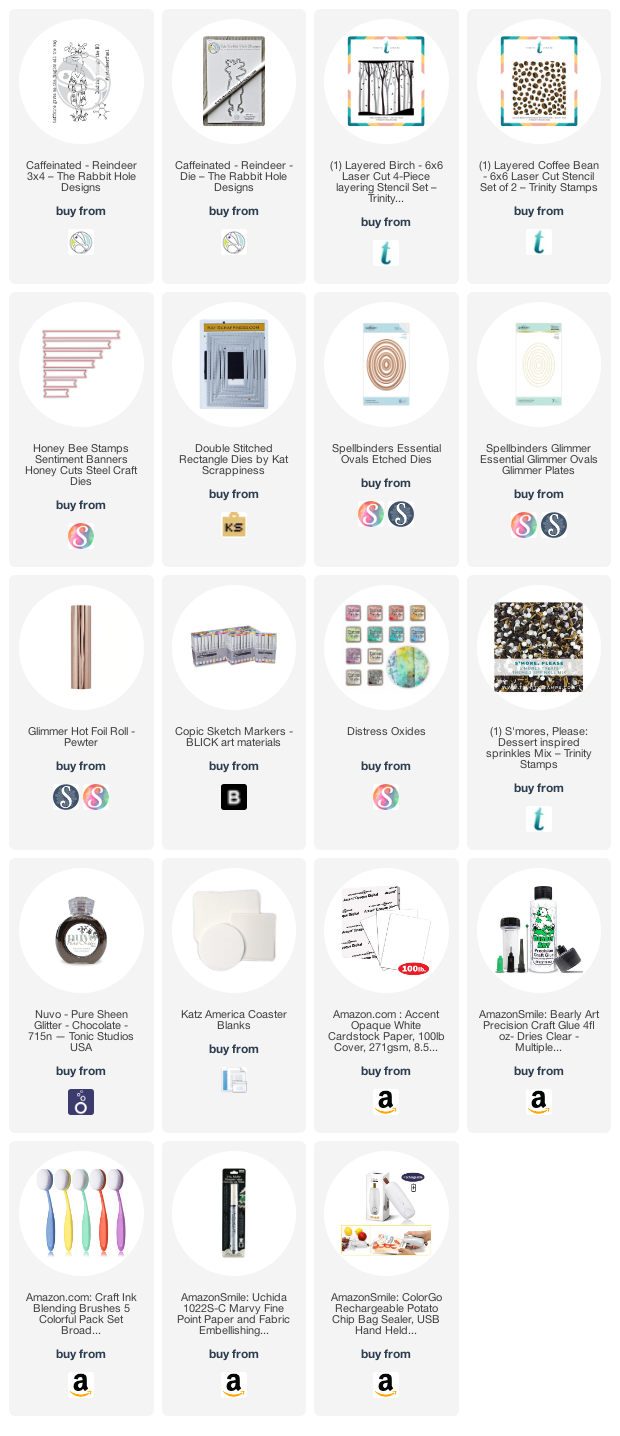
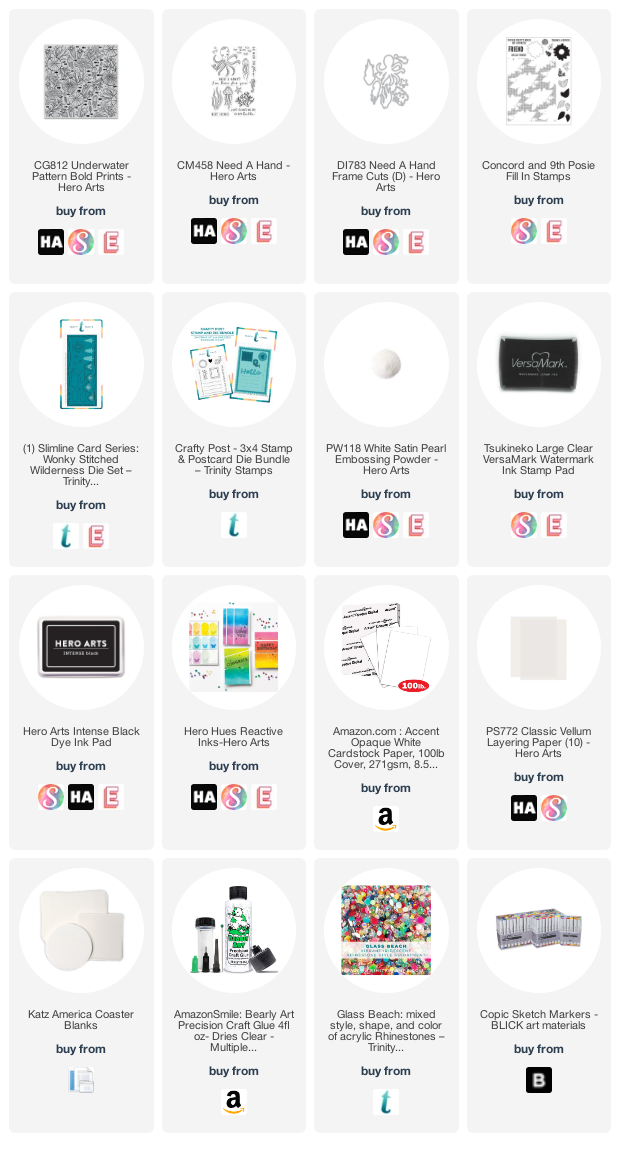
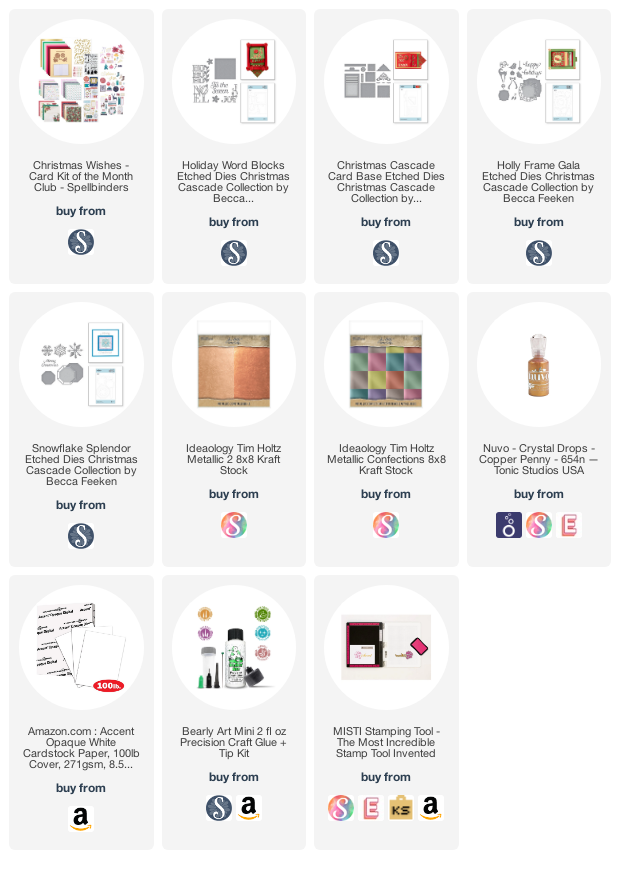
Some of the supplies listed below are affiliate links, some are not. If you use an affiliate link here to make a purchase, I may get a small compensation. I only use things that I love, and do not create paid posts.
Blog Roll: