Sunday, September 30, 2018

Stamp Review Crew: Buffalo Check

https://stampreviewcrew.blogspot.com/2018/11/first-frost.html
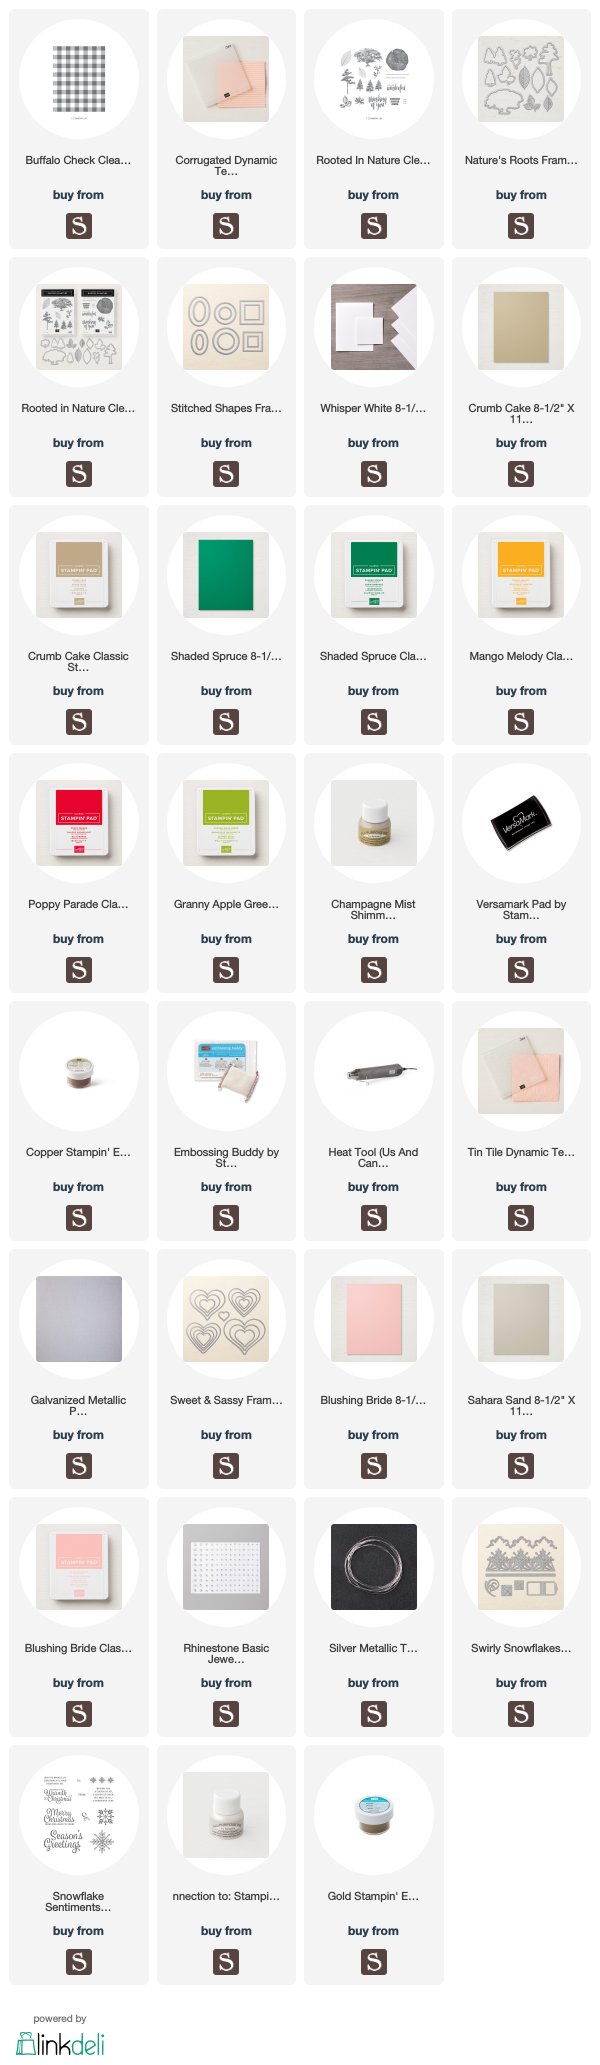
October is here! And we are reveling in the season. What is better in autumn than a warm and cozy flannel? I think this may be the first time we feature a background stamp here, but this one goes with everything! So here we go with Buffalo Check!https://www.stampinup.com/ecweb/product/147794/buffalo-check-clear-mount-stamp-set?dbwsdemoid=2010774

For the newbies:
What is the Stamp Review Crew, you ask? We are an international group of Stampin' Up! demonstrators that gets together to do a blog hop on the first and third (and sometimes on a fifth) Monday of each month. For each hop we chose a single stamp set for us all to use, and then we let our creativity loose! We have a blog with all of the hops archived, so you can hop through any of the hops any time. Click here to go to the blog to see all of the hops! To go to the specific post for this hop, click here, or on the banner above.

If you are following along in order, then I am the first stop! If you started somewhere in the middle,  you have just arrived from Mickey Roberts blog. Go Mickey, you're so fine!!

Let's start with a nice autumn/masculine card.

The Corrugated embossed panel started as white cardstock, was sponged with Crumb Cake ink, spritzed with water, then dried with a heat tool. There are also spatters of watered down Champagne Gold shimmer paint.

The leaves started as white cardstock sponged with Mango Melody and Poppy parade (my new favorite combo for sunsets, autumn leaves, and fire!) And some in Granny Apple Green and Mango Melody. Spritz and spatter with Champagne Gold shimmer paint. Embossed and diecut with Rooted in Nature leaf dies. (The leaves were actually leftovers from a different project. Love it when things are all ready to go!)

The green panel is Shaded Spruce stamped with the Buffalo Check in the same color, then diecut with the largest square in Stitched Shapes.

The sentiment is from Rooted in Nature, Copper heat embossed on vellum, then fussy cut. I am loving this look lately!

How about a feminine card? This is Blushing Bride. And the Galvanized cardstock with Tin Tile embossing folder.

I adore all of this texture with the soft color palette!

And now we are on to a Christmas card. The snowflakes and the flannel are all the same piece of white cardstock. I started with a 4¼"x5½" panel of Thick Whisper White and diecut the snowflake border.

The snowflakes were masked off with blue painters tape and copy paper, then the Buffalo Check was stamped with the Stamparatus and Versamark ink 3 times (to make sure there was excellent ink coverage) and then Gold heat embossed.

Before the mask was removed, Poppy Parade ink was sponged over the embossing.

The sentiment is from Snowflake Sentiments and is Gold heat embossed, then diecut with an oval from Stitched Shapes.

I also cut the white panel (the whole thing) two more times. Then I glued all of them together for added depth.

And the snowflakes, they had to have some shimmer too! I watered down some Frost White shimmer pain and brushed it on with a paint brush. It looks fabulous in real life. Maybe you can see a touch of it here.

 In the past, embossing the inside of a card has been something I avoided. But I have found that if I heat the heat tool up for 30-45 seconds, at least, before embossing, then the paper warps less. And then if you let the paper rest and cool down for a couple hours, you will find that it goes right back to a nice flat paper. And then it looks lovely 😊

That is all I am sharing this time, but stay tuned for more projects with this amazing background stamp!

Next up is Ann Schach! She will blow us all away, I am sure!


Tuesday, September 25, 2018

Kindred Stamps Release: The Horror!

Hello Kindred friends!! It is release week, and I have the honor of featuring The Horror!, which showcases all kinds of scary characters and monsters. It also has loads of awesome, and versatile, sentiments. I had a hard time stopping once I got started 😀

That is quite a pile of projects, right?! Well, let's go into some detail.

The first project I finished was this creepy birthday card. Perfect for all of your horror fanatics! A small confession, I haven't seen any of the movie franchises featured here. I had to do an internet search to figure out how to color them! Too funny, right?!

I kept the background pretty simple, just a large polka dot embossing folder, and watered down Frost White shimmer paint spattered over the black and light gray cardstocks.

The detailed red trim is a die from a Spellbinders Small Die of the Month kit, and I thought it looked like drops of blood.

And here are the Copic colors I used to color the creepy clown:
  • Face and Gloves: C01, 0
  • Nose/Mouth: RV29, R37
  • Hair: E35, E08, R59
  • Balloon: RV29, R37, R59
  • Collar: V01, V06
  • Jacket: V06,B05
  • Pants: Y11, Y15, Y17
  • Shoes: V06, V09
  • Buttons: YR23, YR04
For the teeth, I used Clear Wink of Stella.

The sentiment was stamped in Versafine Onyx Black on the card base, and on a scrap of cardstock laying in my scrapheap leftover from a card I made with Happy Haunting. I love it when I can use something I already put the time into!

Inside got spatters too, and the clown stamped tone-on-tone on the gray cardstock.

Then, I pulled a tag out of my stash, stamped it with a Hardwood background stamp and the sentiment in black ink. Then I added some leaves leftover from another project, and popped this scary dude on top!

Copic colors for him:
  • Face: E11, E13
  • Scars: E55
  • Shirt: YG95, G94, RV29, R37
  • Pants: E55, E13
  • Hat/shoes: C05, C07
  • Glove: E13, E17
  • Eyes: C01
These are going to hang on a front door. Maybe mine, maybe my daughter-in-law's. They would be seen by a bunch of people at her house! She lives across the street from an elementary school!

I used the Ornamental die from Concord and 9th. Perfect size! And more spattering with the Frost White shimmer paint. I mean, I already had it out. 😄

Let's do close ups of each of them, shall we?

Our fanged friend is all ready to butter you up!

The bats are made out of black cardstock spritzed with a shimmer spray, then punched out with a bat punch from my stash.

Vampire Copic colors:
  • Hair/Pants/Jacket: C05, C07, C09
  • Skin: C01, 0
  • Reds: RV29, R37, R59
  • Purples: V01, V06

All of the sentiments are white heat embossed directly on the ornaments.

Masked Overalls dude Copic colors:
  • Mask: W01, W02, W03
  • Hair/Eyes: E47, E49
  • Clothes: YG95, G94
  • Knife: C01, C05, RV29
  • Shoes: C05, C07
  • Skin: E11, W01
Each ornament is backed with a different color cardstock that shows through the peek-through elements.

Copic colors for Hockey Mask dude"
  • Mask: W01, 0, RV29, C05, C07
  • Eyes: C01
  • Skin: E11, W01
  • Hair: E47, E49
  • Knife: C01, C03, RV29
  • Jacket: YG95, G94
  • Shirt/Pants/Shoes: C03, C05, C07
The toppers for these ornaments are made with silver foil cardstock. I tried it with glitter paper first, but this looks better.

Copic colors for this mummy:
  • Wraps: W01, W03
  • Skin: E15, E17, E27

Black and gray bakers twine works well with all of these ornaments.

Green Grrr fellow Copic Colors:
  • Hair/Clothes: C05, C07, C09
  • Skin: YG95, G94
  • Pegs: C01, C03
This is where I stopped. I still have a pile of colored and cut out characters to use on more projects real soon!

The entire Kindred Stamps September release will be available Friday, September 28 at 8am PST/11am EST. Be sure to check out the Kindred Stamps blog on Friday for the full product release as well as the complete line up of all the Kindred Stamps Design Team projects from release week! If you visit and comment on all of the designers' blogs this week, you could win $15 in Kindred Stamps shop credit! So join the Fan Club and release event, show the design team some love, and get ready to empty those wallets this Friday!

Monday, September 24, 2018

Kindred Stamps: Inseparable Friends

Autumn has begun in earnest here. And I love it!! It is being reflected in my creative pursuits lately, too.  I mean, look at this color palette!

The stamp set is Inseparable Friends from Kindred Stamps. This fox and puppy duo is a classic, and brings up all kinds of lovely feelings.

Let's start with the card. There is a rectangular copper heat embossed frame image stamped on watercolor paper, then about 3 layers of watercoloring in the center of this card. Followed by lots of spattering! I used Cajun Craze, Pumpkin Pie, and Crushed Curry inks.

The fox and puppy were colored with Copics.

Fox: E08, R59,R20, R22, W01, C05,C07
Puppy: E13, E35, E18, W01, E49

I used the same coloring for all of the images in these projects.

 There is some Bright Copper shimmer paint spattering here too. Love that stuff!


 And the sentiment is white heat embossed directly on the watercolor panel. Sometimes you don't need another layer. 😉

Here is a cute tag with that foxy friend! Leaves were definitely called for, don't you think? I had just gotten the Concord and 9th Thankful Leaves bundle, and the entire September 2018 release, so I had to use them! They really make this stamp set shine.


The fox's little friend could not be left out, and he got some glam with a glitter paper leaf diecut!

Here they are, side by side. They make such adorable little tags!!

I hope you enjoyed this autumn overload. Be sure to leave a comment below to tell me how you will use this set!

Sunday, September 16, 2018

Stamp Review Crew: Country Home

https://stampreviewcrew.blogspot.com/2018/11/first-frost.html
Now that everyone has had a chance to at least look at the new Holiday Mini products online at least, let's begin the play! We are going to start with Country Home. It is just so autumnal, and so fun to color! It is a lovely opening act.

https://www.stampinup.com/ecweb/product/147678/country-home-photopolymer-stamp-set?dbwsdemoid=2010774

What is the Stamp Review Crew, you ask? We are an international group of Stampin' Up! demonstrators that gets together to do a blog hop on the first and third (and sometimes on a fifth) Monday of each month. For each hop we chose a single stamp set for us all to use, and then we let our creativity loose! We have a blog with all of the hops archived, so you can hop through any of the hops any time. Click here to go to the blog to see all of the hops! To go to the specific post for this hop, click here, or on the banner above.

If you are following along in order, then you have just arrived from Lauren Alarid's blog, and I am certain that her project was stunning!

OK, I will be the first to admit that this is a time consuming card to make. There are layers and layers of techniques and fiddling. But I love it!! And I would absolutely make this card again. Because it was fun. And that is what this craft is all about for me. And probably you too.

I started this with a 4¼"x5¾" panel of white cardstock, and stamped the botanical image four times. I left a section about 1¼" wide open in the center for the sentiment.


The botanical arrangements were colored with Stampin' Blends in Cherry Cobbler, Old Olive, Pumpkin Pie, Crumb Cake, and Daffodil Delight. I also used some of the Bright Copper shimmer paint to add color to the berries with a watercolor brush.

And yes. I did fussy cut this. I have been doing it more lately, and I have to say, I really don't mind it anymore. I will still buy dies if they are available, but I won't shy away for the fussy cutting anymore.

(disclaimer: I still have the first version of the Stampin' Blends and only have 3 sets of the new ones, so the colors may be slightly different if you use the newest version. But equally lovely, I am sure!)

The sentiment strip started as white cardstock, and was sponged with Pumpkin Pie and Cherry Cobbler, then spritzed, and Copper Heat embossed with the sentiment.

The background was created by applying a wass of Crumb Cake and watered down Bright Copper shimmer paint onto a watercolor paper panel. This was dried with a heat tool (because I am always in a hurry), then spattered with the shimmer paint. And then it was embossed with the Tin Tile embossing folder (on my top five list for this catalog!).

Isn't that Bright Copper shimmer paint stunning on the Crumb Cake?! I adore this stuff!!


This card started with white cardstock covered with watered down Bright Copper shimmer paint. When it was dry, Texture Paste was applied through a Pattern Party mask. I was going for something a little more simple this time. I am not sure I succeeded.  😏

The botanical image and the milk can were stamped individually on watercolor paper with Versafine Onyx Black ink, the clear heat embossed. The images with watercolored with ink from the lids of various ink pads, and the berries are again the Bright Copper shimmer paint.

The images were then fussy cut and adhered together.

There is also a 1/8" strip of Copper foil paper along the edge of the textured panel.

The shimmer on this background is awesome in real life. LOVE. I think I will be using the shimmer paints loads and loads this season.

Were did I get the little sentiment diecut? From Bunch of Banners! I love it when I find something in my stash that works perfectly!

You maybe can't see it in these photos, but the back white panel is embossed with the Subtle embossing folder. 

I love how crisp the black sentiment looks on the Crumb Cake!

Tell me what your favorite thing about these cards was in the comments, I would love to know!

Next up is Linda Callahan, and I can't wait to see what she makes with this set. I am sure it will be gorgeous!


Friday, September 14, 2018

Inky Friends Holiday Showcase: Takeout Treats

https://myinkyfriends.blogspot.com/2018/08/2018-holiday-catalog-showcase.html
Hello friends! Are you ready to explore the Holiday catalog? I bet you are! The Holiday catalog is always my favorite with my favorite season on the horizon. Plus, when it gets cold outside, I have more time to play with my crafting goodies. OK, really that is in like, January, but I can make Christmas cards in January. I have to prepare for the coming season, right?!

My Inky Friends and I are each picking a favorite item from the Holiday catalog to feature, so you will get lots of ideas for a variety of products in this catalog.

If you are following along in order, you have just arrived from Sara Mattson-Blume's blog where she used Alpine Adventure (which I love and can't wait to play with when it comes in my next order on Tuesday!) Sara is also the master organizer of these hops, kudos to her hard work!!


I chose the Takeout Treats bundle. I think this thing is going to be a hit! It is just big enough to put a few candies in, is quick to assemble, is self closing and easy to open and close repeatedly, and the stamps are truly for all occasions!


Let's start with a simple treat box for any occasion and is gender neutral.

The diecut sentiment panel was white cardstock sponged with Crushed Curry (actually leftover from another project-yeah me!) and Gold heat embossed.


I did use the Diagonal Stripes background stamp in the Stamparatus on the box pieces, masking each section off with a piece of masking tape and copy paper. This kept the pattern going in the same direction.Would I do this for a dozen treats? Heck no! But for a special one or two. Yes. Yes, indeed!

You can use the same die I used for the sentiment panel to create a window in the box. I backed this one with vellum, you do have to trim off a bit of one of the side flaps to do this, or it will show through the window.

I will be filling this little box with chocolate kisses. If I could find them wrapped in green foil, it would be perfect! You know the theme, Snowman kits with cocoa and marshmallows, and reindeer poop with chocolate covered anything. SO many ideas!!

I sponged the box and stamped words from the set all over. This would work for just about any of those themes I mentioned earlier 😁

These boxes really are quick and easy, so here is one more super simple one. You could make a pile of these really fast!

OK, so we do need at least one card idea with this bundle! Here is a rather gender neutral, dare I say masculine, card!

The background is a watercolor wash of the Gray Granite with the hearts stamped in Lovely Lipstick, Cajun Craze, Grapefruit Grove, and Crushed Curry. Then spattered with water and dried, and spattered again with Bright Copper shimmer paint that is mixed with a little water.

Some Corrugated Sahara Sand layered with a vellum heart and banner Copper heat embossed with more images from the stamp set, and the card is done!

Next up is Sharleen Luciano with the Frosted Floral suite. I can't wait to see what magic she creates with it!

https://kittystamp.blogspot.com/2018/09/2018-holiday-showcase-blog-hop.html

https://www.lilyinkpad.com/2018/09/my-inky-friends-2018-holiday-catalog.html


LinkWithin

Related Posts with Thumbnails