Monday, February 26, 2018

Galactic Adventures Pop Up Birthday

Are you a Sci-Fi fan? Space adventures and galactic journeys tickle your fancy? Well, there are oodles of people in my family that are all over every one of the these movie series! Which makes the Galactic Adventures stamp sets from Kindred Stamps must-haves for me!

I didn't mean to, but I used images from all three of these stamp sets:
 
I had stamped out and colored a pile of these images right after I got the stamp sets in early February, and I am finally using some of them! I had actually had this card in mind for a while, and just had an opportunity to figure out the measurements a few days ago. This card is for my future son-in-law, as he is nuts for these galactic heros... my daughter got him a Star Wars toaster for his birthday 😉

  • Start with a 4¼"x7" piece of cardstock, score on the long side at 1½" and 5½".
  • Use a decorative edge die to cut the middle section only, using the Partial Die Cutting Technique. I used the Papertrey Ink To the Point Edgers dies for this card. Then trim off the excess on the two side panels. 
  • Cut a piece of cardstock to just to 4½" wide and several inches long, and score at ¼" and 4¼". Crease well. Apply Tear and Tape or Scor-Tape on the ¼" flaps. Then you can trim each tier down to whatever size you need and it is all ready to be adhered to the inside of the card.
  • Figure out the placement of your images, and adhere to the tiers. 
  • Open the cardbase up, and start adhering your tiers, the furthest back and tallest tier first. Line the outer edge of the flap up with the side crease and adhere (the tier will be face down while being adhered), then fold the tier in toward the center. Take the next tier and line the outer edge of the flap up with the edge of the back tier and adhere, then fold the tier in towards the center. Repeat this process until all tiers are adhere. Line the flaps from the other side up even with the bottom of the card, remove the adhesive backing, and fold the other side of the cardbase down over the flaps to adhere them all at once. 
  • Open it up and marvel at the adorable card you just made!


Look at that, it folds flat to mail!!

And fits in a standard A2 envelope. Gotta love a good mailable card.

Concord and 9th has a super clever die set that makes creating this style of card so easy! It is definitely on my wish list!

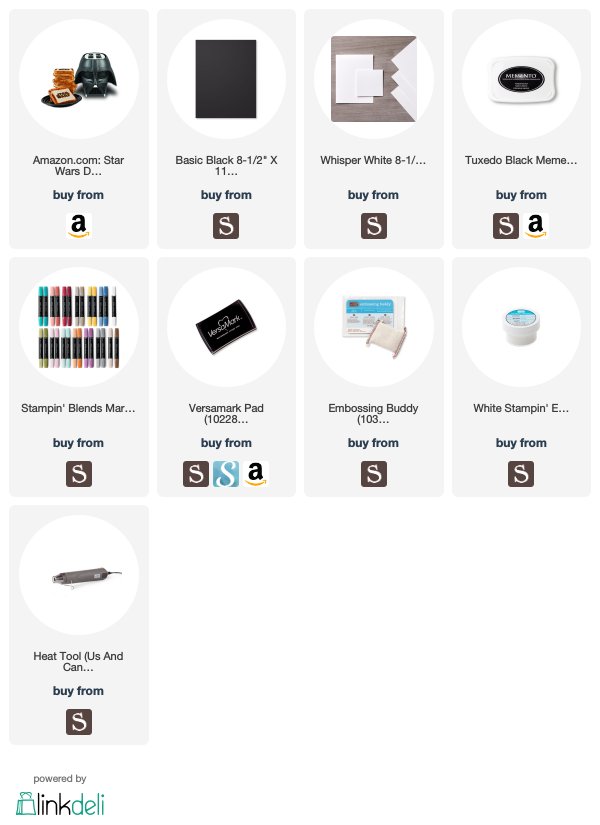
Here is a clickable supply list for the supplies I could create affiliate links for. Help me buy more stamps, so I can share more ideas with you 😉
Sunday, February 25, 2018

Papertrey Ink February Blog Hop Challenge: Sweet Bunnies For Babies

Oh spring, you are a sorely missed friend! I spent almost 2 hours today with the snowblower clearing our driveway. So the Papertrey Ink February Challenge blog hop served up just what I needed.

https://blog.papertreyink.com/2018/02/february-2018-blog-hop/
The challenge was to create something with an Easter theme. I'm feeling it! Now, I don't really send Easter cards. I have made several of them, but they sit in my stash unused. Maybe this year I will actually mail them!

However, I do need some baby cards. Two of my co-workers just has sweet little baby girls. Scratch that, three of my co-workers!

This stamp set is from the Make It Market Mini Kit: Wee Folk. I fell in love with it a couple years ago, I think, and have used it a couple of times. I need to take it out for some serious playtime soon. Today was a short playdate 😁

I made myself a jig for the MISTI to create a wreath with any stamps. You can buy one, but I just made one with square dies and a double layer of cardstock.

I also used the Woodgrain Impression Plate. LOVE this thing, and I would say this is a must have for any stamper.

More of the same stamping on the inside.

 I have created a clickable supply list below for things that I could. These are affiliate links, and do help to support my crafting, so please feel free to shop with them!


Friday, February 23, 2018

My Inky Friends Challenge #3

http://myinkyfriends.blogspot.com/
Are you experiencing some winter doldrums, like me? Are your friends and family skipping off to warmer climes and leaving you to the daily grind? I feel ya, friend! I have a serious itch to bug out to the south for some vitamin D! That would be sunshine, not Dilaudid, for my nursing friends out there 😉

Well, My Inky Friends and I are going to help you focus on the good things about winter. Bear with me, I know it is February.... embrace the confines of your home! You have spent much effort and time to create a space you enjoy, and toys you like to play with! And there are so many movies adn series to binge watch on Netflix! Come summer, you are going to be too busy with all that messy outdoor stuff.

Funny story: Wednesday on my break at work, I was searching flights for the next day since i have a week off, and found some fairly reasonable rates to Fort Lauderdale and Orlando from our little airport in town (2-3 flights out a day). And found out one of the doctors I work with was going to Orlando the next day and invited me to join her family. I really wanted to go and texted my hubby to see if he could pull it off. He couldn't, and I briefly considered going anyway. Honestly, I was still thinking about it Thursday morning. But decided it would not be nice of me.  Later that morning, I decided to run to town for some craft supplies.... and I could not find my keys to save my life! Yup, the hubby took both sets to work with him! He works 45 minutes away... and we live 10 miles from town. I texted him telling him he was just making sure I didn't fly away without him! 😂😂😂


http://myinkyfriends.blogspot.com/

This month we are doing a sketch challenge. It is such an awesome way to jump start your creativity!


I am still in a bit of a mojo slump, so this sketch was very helpful! Sometimes there are just not any stamp sets speaking to me, or I am just so tired from my real job, the creativity has to be a bit forced. And no, that does not take the joy out of it!


Can you see all the texture in the background panel? I like white space, but it has to be interesting white space.

I used several die sets, sorry. I have them, I am gonna use them. And we have so many amazing dies to chose from!

  • The "best" was stamped in black on watercolor paper using a MISTI (I will be getting a Stamparatus in March, yeah!!).
  • Then watercolored with ink squeezed onto the ink pad lids and a tiny paintbrush. 
  • I dried this really well with my heat tool then wiped with the Embossing Buddy. 
  • And stuck it back in the MISTI and stamped with Versamark and Clear heat embossed. 
The stamp positioning tool really makes this a sharp and vibrant image!

Be sure to head on over to the My Inky Friends challenge blog to see the rest of the design team's projects, and to submit your own!


http://www.stampinup.com/ECWeb/default.aspx?demoid=2010774
 4CQ4DJHN


If you have seen something you need for your crafting life, just click the image in the supply list below and it will take you to my store! If you order less than $150, please use this month's Host Code, which can be found at the top of the sidebar on the right.

And be sure to check the box allowing me to contact you when you check out. I can't send you a thank you card if I don't know your address! And I promise to only send you happy mail, no junk mail :)

Sunday, February 18, 2018

Stamp Review Crew: Petal Palette

https://stampreviewcrew.blogspot.com/2018/01/picture-perfect-birthday.html
Hello friends! Are you enjoying your February? Is it cold and blustery, or warm and sunny? Are you starting to see some garden bounty, or are you planning your future garden and dreaming of fresh tomatoes and beautiful flowers?

Well, the Stamp Review Crew is warming up our February with the lovely Petal Palette stamp set! I love this set, and the coordinating dies are going to be staples in my craft room for a long time to come.

For those who are new to the Stamp Review Crew, here is a little background. We are an international group of Stampin' Up! demonstrators that gets together on the first and third Mondays of every month to do a blog hop. Each hop features a single stamp set to give you loads of inspiration for that set! The hops are archived at the Stamp Review Crew blog, and you will be able to click through each hop at any time, going directly to the posts for that hop whenever you want! And you can click on the banner of this post to go to the master blog roll for this hop also.

If you are following along in order, you just arrived from Stesha Bloodhart's blog. Not only is her photography spot on, her creations are to die for!

I am currently in a but of a crafting slump...so I have not made as many projects as I usually do. I was supposed to go to a Going Away party for a co-worker who is moving away, but Mother Nature dumped about a foot of snow on us today and the party was cancelled.

Yes, we are Minnesotans, and we get to work and school through whatever we have to. However, we are smart enough to prioritize our risky travel, and some people would have had to drive 60 miles to get to the party. We are pretty spread out up here.

Why the lead-up story? Well, this is the card I created for my co-worker. I have actually worked with her off and on since 2004, I think. Nurses are rather mobile, changing positions fairly frequently. Val and I worked together in an Urgent Care before working together in this ER for the last 5+ years. I am going to miss her! And I am unlikely to move to South Dakota... so I probably won't work with her again.

This card has a lot die-cutting and watercolor, some of my go-to techniques when I am not feeling the mojo. But please don't blame the stamp set! I blame February.... we still have at least 2 months of winter left here...

Inside, I used sentiments from Wild About Flowers. I love that set, but I think I have used the sentiments more than the images!

http://tinkerin-in-ink.blogspot.com/2018/02/SSlove.html
I also made this scrapbook page/wall art yesterday for a different blog hop. I could not resist using this set here! Check out the beautiful story behind the photos here:
http://tinkerin-in-ink.blogspot.com/2018/02/SSlove.html


And now, Ann Schach! I can't wait to see what layering genius move she has come up with this time 😊


http://juanacreate.blogspot.com/2017/08/stamp-review-crew-window-shopping.html

http://addinktivedesigns.com/2017/08/21/the-stamp-review-crew-window-shopping/


http://www.stampinup.com/ECWeb/default.aspx?demoid=2010774

4CQ4DJHN


If you have seen something you need for your crafting life, just click the image in the supply list below and it will take you to my store! If you order less than $150, please use this month's Host Code, which can be found at the top of the sidebar on the right.

And be sure to check the box allowing me to contact you when you check out. I can't send you a thank you card if I don't know your address! And I promise to only send you happy mail, no junk mail :)


Scapbook Sunday: Love

Welcome scrappy friends! We are back to give you another Sunday full of motivation and inspiration for your scrapbooking. I know that having a deadline to create a page is very motivating for me, even if I am throwing it together last second 😉
The theme this month is LOVE. Well, really, what else could it be in February, right?! And there are so many kinds of love to celebrate and commemorate!

If you are following along in order, you just arrived from Andrea Tracy-Tucker's blog. Gor-geous, right?!

My page is actually going to hang on the wall in an 8'x10" photo frame. It is my current favorite way to do memory keeping.

The handsome fellow in the middle of these photos is my 25 year old son. The past November, he went from being a bachelor with no children, to a step-father to 4 children aged 5 to 14! He stepped right into this with only minor bumps and push-backs from the kids, and they LOVE him. These photos are actually from August, before the wedding. How many young men do you know that would be up for this challenge? Plus, he knows that he will never have any children other than these, as his wife had to have a hysterectomy at a young age.

I am so proud of this young man. He has such a big heart, and understands having clear and healthy boundaries for these kids, which makes them feel safe, secure, and loved. Plus he knows how to have fun!

I also love these kids!! So full of life, and uniqueness, and laughter!

The how for this page:
  • Watercolor paper is the base, and there is a wash of Fresh Fig, Berry Burst, and Sweet Sugarplum as the background.
  • Eastern Medallions, Sassy and Sweet, and Petals and More dies to cut various shapes with vellum, Gold Foil cardstock, and colored cardstock. Embossed the heart die cut with the Layered Leaves embossing folder.
  • Heat embossed the sentiment from Petal Palette in white on black cardstock.
One more shot, because I can't waste a good photo! 😎

I am currently in love with Foil cardstock die cuts... and Glimmer paper diecuts! SO lovely!

And now, to one talented and hilarious lady, Cathy Caines!! Seriously, she has a gift.😍

http://www.inthecatcave.com/2018/02/Scrapbookfb2018.html

 Tanya Boser -You are here

If you have seen something you need for your crafting life, just click the image in the supply list below and it will take you to my store! If you order less than $150, please use this month's Host Code, which can be found at the top of the sidebar on the right.

And be sure to check the box allowing me to contact you when you check out. I can't send you a thank you card if I don't know your address! And I promise to only send you happy mail, no junk mail 😁

Monday, February 12, 2018

Love For My Man #6

 I am on a mission to shower my man with a bunch of cards, tags, and treats in the 2 weeks leading up to Valentine's Day. And I am going to share the papercrafting part of that with you :)

I have already shared a few of the other cards I made for this mission, you can find those posts here:

For the Love of Flannel
Ridiculously Happy
Amazing card and Love You card
Paper Pumpkin Valentine Slider
Arabian Nights
Lucky Stars
Wild About You
Galactic Love

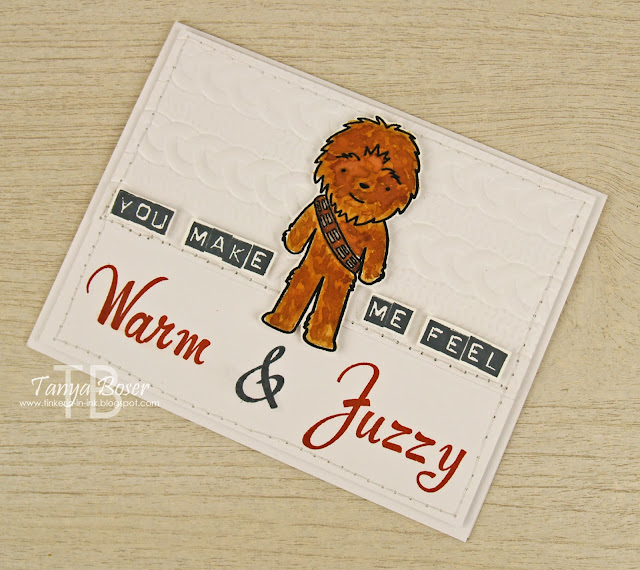
Galactic Adventures: The Third from Kindred stamps. This furry warrior is so fun to watercolor, and to use alcohol markers with! Sci-Fi and Space Cowboys forever!~Tanya Boser from tinkiner-in-ink.blogspot.com
 I had another play with the Kindred Stamps that I got last month, this time with Galactic Adventures: The Third. I could not resist that furry fella and had to watercolor him too.

I used several Stampin' Up! inks to color this fella, including Baked Brown Sugar (retired) and Cajun Craze.

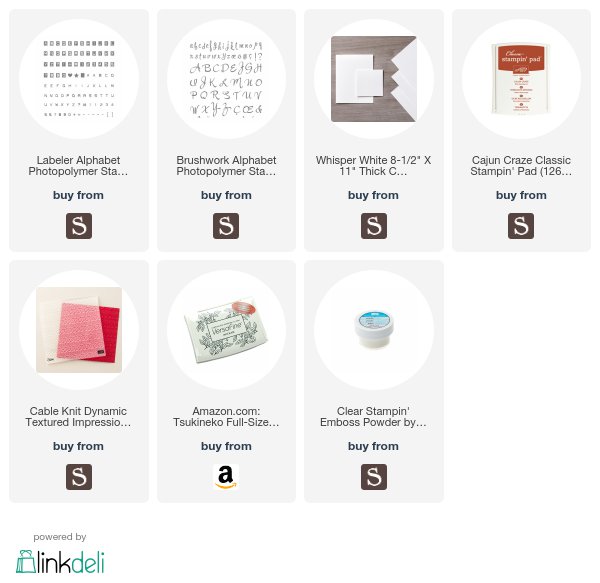
The sentiment in created using the Labeler Alphabet and the Brushwork Alphabet, which are very handy for creating custom sentiments. I find myself reaching for them more and more lately!

Galactic Adventures: The Third from Kindred stamps. This furry warrior is so fun to watercolor, and to use alcohol markers with! Sci-Fi and Space Cowboys forever!~Tanya Boser from tinkiner-in-ink.blogspot.com
 Inside I used some of the sentiments included in the Galactic Adventures: the Third stamp set, as they are perfect!

Galactic Adventures: The Third from Kindred stamps. This furry warrior is so fun to watercolor, and to use alcohol markers with! Sci-Fi and Space Cowboys forever!~Tanya Boser from tinkiner-in-ink.blogspot.com
Here is another close up of this furry warrior!

I have been working on my alcohol marker skills, so be looking for more of these critters in the near future!

You can help support my blog by using the affiliate links below. I do purchase everything I use myself, and am not compensated for any of my blogging. I only use things that I love :)

Saturday, February 10, 2018

Love For My Man #5

I am on a mission to shower my man with a bunch of cards, tags, and treats in the 2 weeks leading up to Valentine's Day. And I am going to share the papercrafting part of that with you :)

I have already shared a few of the other cards I made for this mission, you can find those posts here:

For the Love of Flannel
Ridiculously Happy
Amazing card and Love You card
Paper Pumpkin Valentine Slider
Arabian Nights
Lucky Stars
Wild About You

I recently discovered a new-ish stamp company called Kindred Stamps. I love their Pop Culture stamps, and actually bought quite a few of them last month. What Sci-Fi geek can pass up all of the  space, time travel, and fantastic magical themed stamps?!! Not this one. 😎😍

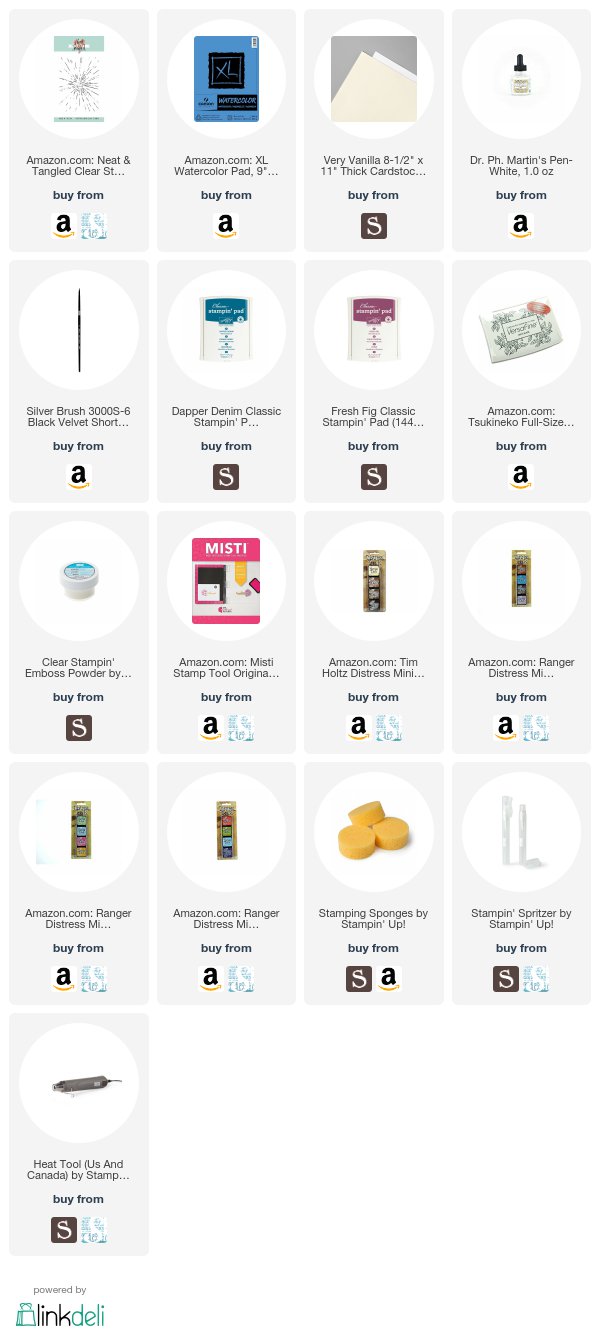
I have seen lots of fabulous alcohol marker coloring with this set, but frankly, I am not that good at that kind of coloring yet. And I don't have the right colors yet. So watercolor it is! And I love to watercolor anyway. 😁
  1. I created a fun background by starting with a 4"x5¼" panel of watercolor paper, taping it down to a board, and sponging with Dapper Denim and Fresh Fig ink. 
  2. Then I spritzed with Pearlized water, dried with a heat tool. 
  3. Spattered with water and dabbed it away. 
  4. Took some white Dr. Ph. Martin's Pen White ink, dropped onto a non-porous surface, and added a little water with a paint brush to thin it out a bit. Then spattered on the background to create stars. Dried with a heat tool again.
  5. Stamped the Neat and Tangle background stamp Time Warp in Versamark ink in the center of the watercolored panel, White heat embossed. 
  6. Took a scrap of watercolor paper, sponged with Fresh Fig, spritzed, dried, and die cut a heart. 
  7. Stitched around the panel. Adhered to cardbase.
  8. Stamped the characters from Kindred Stamps Galactic Adventures in Versafine Onyx Black ink on watercolor paper, Clear heat embossed. Watercolored with various Distress Inks, then fussy cut.
  9. Cut a ½" strip of black cardstock, stamped the sentiments from Galactic Adventures in Versamark, then White heat embossed. Trim down and dovetail. 
  10. Adhere sentiments, characters, and heart to cardfront with dimensionals or foam tape. 
Here you can see the dimension on the card, with all the pieces popped up. I used a sweet sentiment on the inside from Papertrey Ink, but I can't find the set on their site right now, so I didn't tease you with it, lol.

You can help support my blog by using the affiliate links below. I do purchase everything I use myself, and am not compensated for any of my blogging. I only use things that I love :)


Friday, February 9, 2018

Inky Friends: Love it Live it Share It

https://myinkyfriends.blogspot.com/2018/01/love-it-live-it-share-it-blog-hop.html
Me and my Inky Friends have put together a hop for you featuring all kinds of goodies from the 2018 Occasions Mini! Come join us for loads of inspiration.

If you are following along in order, you just arrived from Sara Mattson-Blumes' blog where she featured the We Must Celebrate stamp set. Lovely, right?!

The set I chose to use is Waterfront. There have been some amazing cards made with this set already, and it works brilliantly as a scene builder with none of the usual fussiness. I love the loose watercolor feel of this set. I, however, have been entirely too busy creating treats and cards for my hubby lately to really have done this set justice, for which I apologize. I only have one project for you today.


Blending and simple stamping with Stampin' Up! Waterfront stamp set create easy and beautiful scenes. Even beach scenes! ~Tanya Boser for Inky Friends
 I was totally channeling a sunset on the beach with this card. Dreaming of warmer climes, and thinking back to our "year of cruising". Sigh...it has been a year since our last cruise, and it feels so long ago! I wanna go on a cruise so bad right now! But, the bank account says no. Mean bank account! 😞

So the next best thing it to make a beach scene, right! This was pretty simple.
  • Blend some Crushed Curry, Peekaboo Peach, and Tangerine Tango for the sunset.
  • Stamp the beach image in Soft Suede, and the palm trees in Early Espresso. Die cut with an oval from Stitched Shapes. 
  • Stamp the sentiment in Early Espresso, die cut with a circle from Stitched Shapes. 
  • Cut a 4"x5¼" panel of Thick Whisper White, emboss with Seaside embossing folder. Stitch around the edges and pull tails to the back. Adhere to a Thick Whisper White card base. 
  • Pop the sunset image and the sentiment up on dimensionals and adhere to card over a snippet of the Burlap ribbon. 
  • All done!

Blending and simple stamping with Stampin' Up! Waterfront stamp set create easy and beautiful scenes. Even beach scenes! ~Tanya Boser for Inky Friends
In case you wanted a closer look, here you go! Now, if you all could magically transport me to this location, I would greatly appreciate it! But you should know, I haven't shaved my legs since, like, August. 😎

Now, let's head over to Mickey Robert's blog. I can't wait to see what she does with Truly Tailored!

http://www.paperconversation.com/2018/02/inky-friends-love-it-live-it-share-it-blog-hop-truly-tailored.html

https://myinkyfriends.blogspot.com/2018/01/love-it-live-it-share-it-blog-hop.html


https://www.stampinup.com/ecweb/default.aspx?demoid=2010774

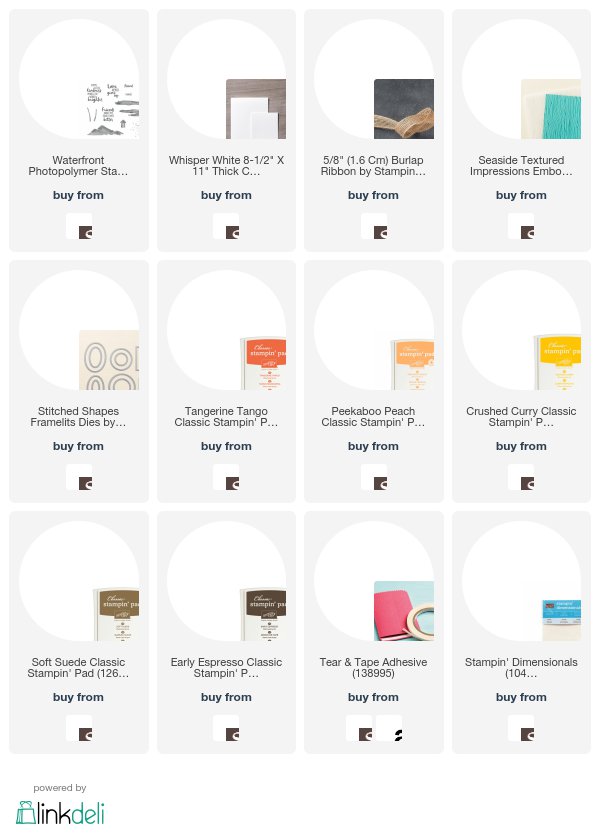
If you have seen something you need for your crafting life, just click the image in the supply list below and it will take you to my store! If you order less than $150, please use this month's Host Code, which can be found at the top of the sidebar on the right.

And be sure to check the box allowing me to contact you when you check out. I can't send you a thank you card if I don't know your address! And I promise to only send you happy mail, no junk mail :):)

Wednesday, February 7, 2018

Love For My Man #4


I am on a mission to shower my man with a bunch of cards, tags, and treats in the 2 weeks leading up to Valentine's Day. And I am going to share the papercrafting part of that with you :)

 I have already shared a few of the other cards I made for this mission, you can find those posts here:
For the Love of Flannel
Ridiculously Happy 
Amazing card and Love You card
Paper Pumpkin Valentine Slider 
Arabian Nights
Lucky Stars


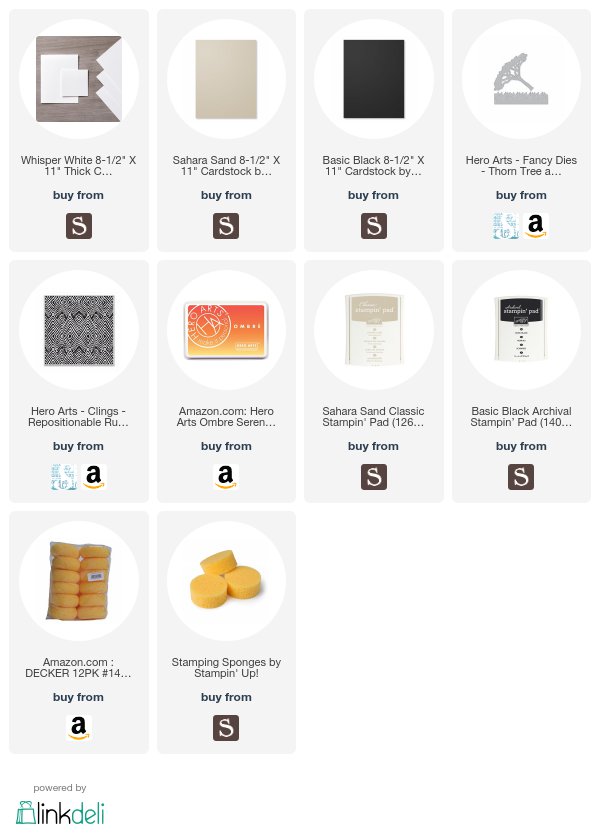
The June 2017 My Monthly Hero kit from Hero Arts is absolutely stunning, and I am so glad I am subscribed to this kit. It is a fabulous kit for your money. And has lots of great add-ons that you can get even after the kit sells out. Well, this kit sold out so fast!

BUT, Hero Arts polled the subscribers and asked which kit was our favorite, then picked the 2 most popular to to release in the 2018 Hero Arts catalog! And this is one of the two.

Tickled me excited! This means I can share my projects with you all without the guilt of being unable to hook you up with your very own 😁 Well, after February 15th, which is when they release the new catalog.


I used a couple of add-ons that you can get right away. The Thorn Tree and Grasses die set, the Serengeti Sunset Ombre inkpad, and the Tribal Stripes Bold Background stamp (linked in the supply list below).
  1. I sponged the inks from the ombre inkpad onto some white cardstock, then used the circular die from the kit to cut it out.
  2. Stamped the Tribal Stripes in Sahara Sand ink on Sahara Sand 4"x5¼" cardstock piece. 
  3. Diecut a Thorn Tree from black cardstock. 
  4. Stamped some trees from the kit inside a standard A2 cardbase with the ombre inkpad.
  5. Adhered all the pieces to the front of the card.
  6. Stamped the sentiment from the kit in black ink on the sunset circle.
They almost look psychedelic! But I like the sunset feel they have. This has a great masculine feel to it, and appeals to my sense of adventure. I can't wait to give it to my sweetie!

Be sure to come back again soon to see more projects in this mission!

You can help support my blog by using the affiliate links below. I do purchase everything I use myself, and am not compensated for any of my blogging. I only use things that I love 😊


Monday, February 5, 2018

Love For My Man #3

I am on a mission to shower my man with a bunch of cards, tags, and treats in the 2 weeks leading up to Valentine's Day. And I am going to share the papercrafting part of that with you :)

 I have already shared a few of the other cards I made for this mission, you can find those posts here:
For the Love of Flannel
Ridiculously Happy 
Amazing card and Love You card
Paper Pumpkin Valentine Slider 
Arabian Nights


Along with showering my man with crafty love, I have been "shopping" in my craft room lately. It is a good exercise in freedom for me. Really, if I never bought another stamp set or die in my life, I could continue to create with wild abandon! Most of you can feel me there, I am sure. 😏

While "shopping" through my LOVE section, I found the fabulous Going Global stamp set that was from the 2016 Occasions Mini. I am pretty sure I used it once before it retired....

Isn't it fun?! I love all of these images!


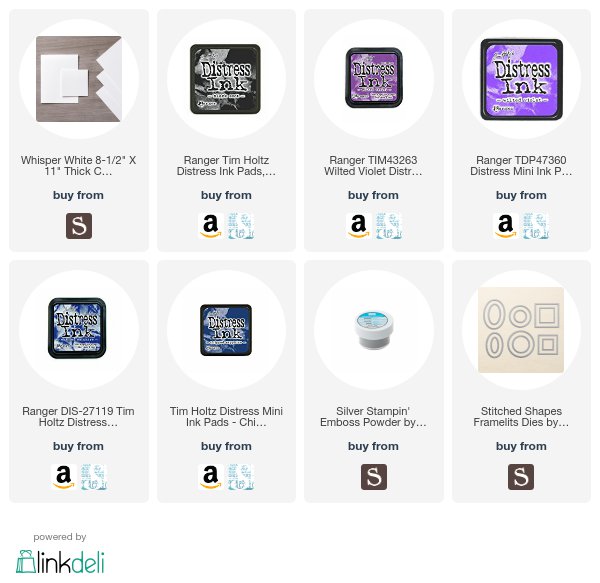
So, I started with the PTI Bookmark #2 die and white cardstock, did some ink blending with Distress Oxides, and sprinkled with some water. You can't see this in the photo, but I also spritzed it with some Pearlized water (Pearl color Perfect Pearls added to water in a spritzer).

After making sure this was good an dry, the constellation is White heat embossed repeatedly. I also took some Dr. PH Martin's Pen White ink, diluted with a little water, and spattered over the background to add more stars. You could use white acrylic paint too, but I gave my bottle to one of my daughter-in-laws and haven't replaced it yet. 😊

The sentiment is Silver heat embossed on white cardstock and die cut with a SU Stitched Shapes die.

The vellum stars are cut out using the PTI Small Sketched Stars dies, and the glittery star enamel dot is from the December My Monthly Hero kit.

That is it for this project, and I hope you are enjoying seeing these projects as much as I enjoyed making them!

You can help support my blog by using the affiliate links below. I do purchase everything I use myself, and am not compensated for any of my blogging. I only use things that I love. 😍


LinkWithin

Related Posts with Thumbnails