Friday, March 29, 2019

Kindred Stamps: Bloom again


We need spring, and Audra is delivering with the new Bloom stamp set! I got to feature this set during the recent release, but I could not stop playing with it. The kids are adorable, the sentiments are sweet, and the flowers are fun andeasy to color. What more could you ask for?!


For this sweet little girl,  I chose the colors from the pattern paper. The sentiment strip was colored with a Copic marker from the color palette for the girl. There is a very pale gray outline around the girl to add a little dimension and the flower centers are dotted with a Sakura gelly roll glaze pen in purple. The sentiment is wait heat embossed.
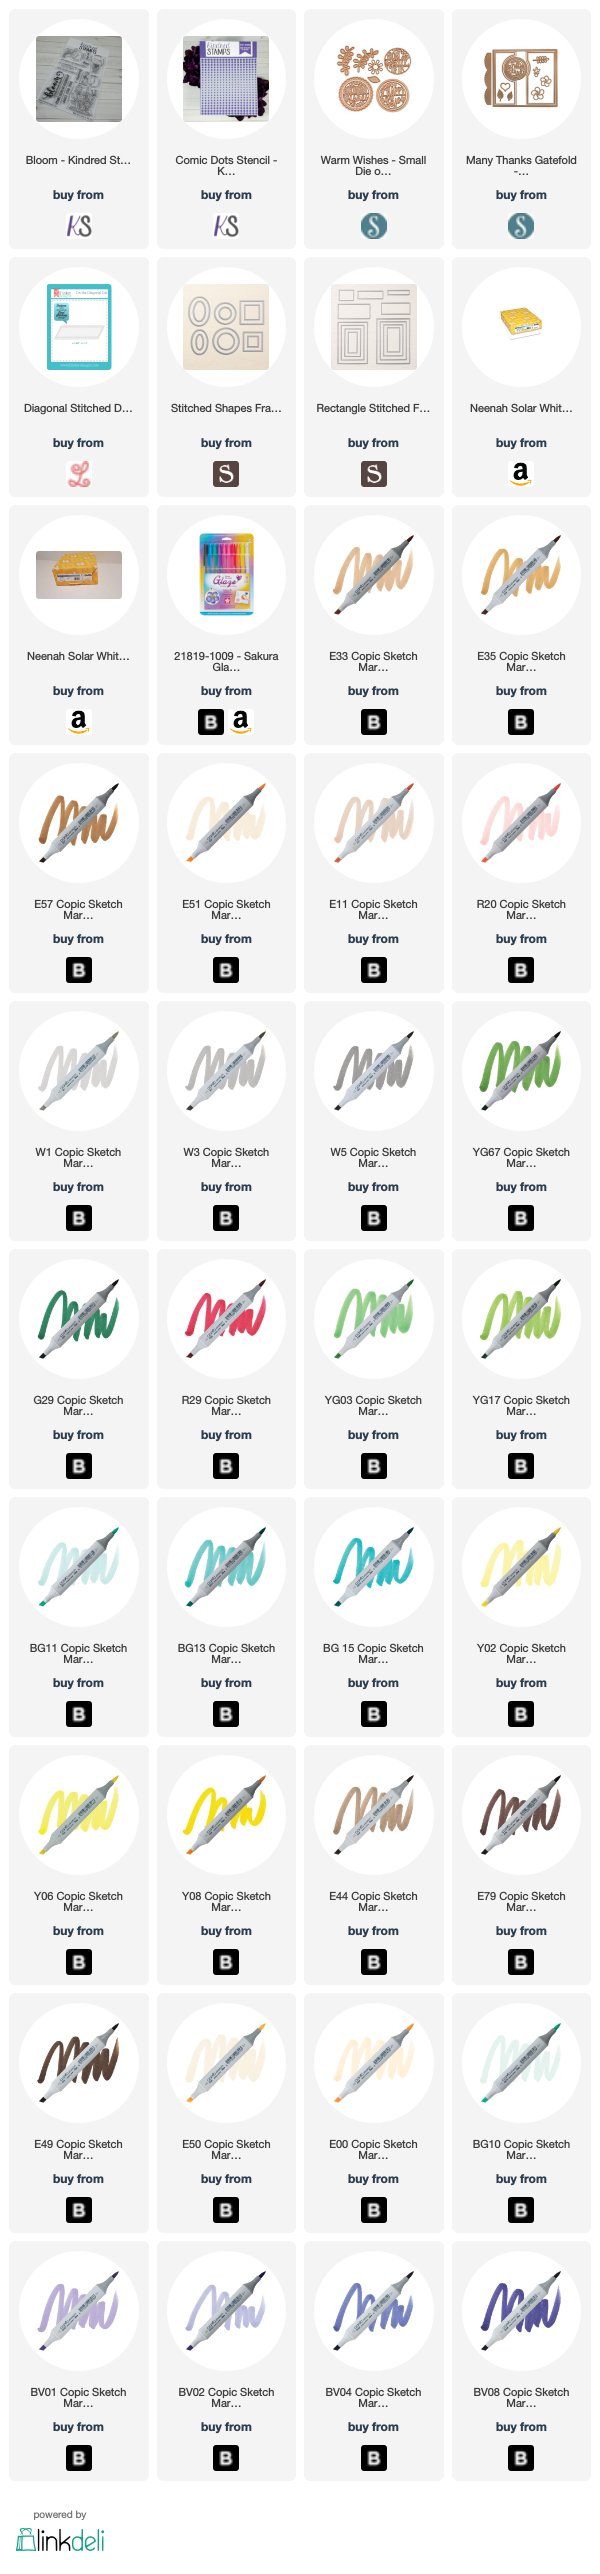
Here is the list of Copic markers I used:
  • Hair: E44, E79, E49
  • Skin: E50, E00,  R20
  • Aqua: BG10, BG11, BG13
  • Purple: BV01, BV02, BD04, BV08

I could not resist that sentiment, it is hilarious. I'm not even sure what location I would use it for but I'm going to find one!

I started by dry embossing a large polkadot pattern on a piece of Bazzill white card stock.

Then I sponged a green ink on a light blue card stock with the Comic Dots stencil. Then I cut this out with a stitched circle die. I cut a smaller vellum stitched circle also.

The sentiment strip was colored with a Copic marker, stamped in Versafine Onyx Black ink, and die cut with a stitched rectangle die.


 This little girl was colored with Copic markers also and here is the list of colors I used:

  • Hair: E33, E35, E57
  • Skin: E51, E11, R20
  •  Hat: W1 W3, W5
  • Water can: YG67, G29
  • Flower: R29
  • Leaves: YG03, YG17 
  • Dress: BG 11, BG 13, BG 15
  • Boots: Y02, Y06, Y08
I did add stripes to the dress and dots to the boots with a white gel pen.

 This finishes up the projects I created with the stamp set this month, but I'm sure I'll find more in the near future. Thanks for stopping by, see you next time!

Friday, March 22, 2019

Dark & Twisty Masculine Card

I think we are due for some fun fantasy themed cards, and I have been thinking about making some magical themed cards for a while. I even bought a few supplies with this theme in mind!

This particular character is one of my daughter-in-law's favorite, and with this background stamp practically burning a hole in my pocket, I had to start with this one.

The background is silver heat embossed on watercolor paper, then watercolored with Shaded Spruce and Gray Granite ink.


This dark fellow is colored with Copic markers. Here are the colors:
  • Hair and Clothes: C1, C3, C4, C5, C6, C7, C9
  • Skin: E50, E00, R20
The sentiment is stamped with Versafine Onyx Black ink and clear heat embossed.


I created a video showing the whole process! Please remember to go to my YouTube channel and subscribe so you don't miss any of my new videos.

Here is a clickable list of the supplies I used.


Wednesday, March 20, 2019

Kindred Stamps Release: Bloom


Today I get to show off the fresh and fabulous Bloom stamp set from Kindred Stamps. It releases on Friday, March 22. The stamps in this set are not pop culture related, but t they are still adorable! And so very spring. I could not wait to play with them!


This project is a bright bridge card. I used a super simple fancy fold, perfect for a beginning stamper, and just as fun for a seasoned stamper.

Part of the magic of this fold is that it lays flat and fits in an A2 envelope, perfect for mailing without a lot of bulk!


I was feeling the orange this time, and kept my color palette pretty simple. The images are all colored in shades of yellow and orange with Copic markers, and our little girl is a brown that could represent many ethnic groups.


The diecut background element really helps to highlight this very feminine card. The big floral bouquet is adhered to an extra internal bridge to add even more depth and detail to this card.


My next projects was done on Neenah Solar White #110 cardstock because it can handle very light watercoloring and is that lovely bright white. I actually did all the cutting first, then the inking and coloring.


The flowers are stamped in Versamark clear embossing ink, then they are Copper heat embossed. I used ink squished onto a nonporous surface (the lid of the inkpad in this case), and a watercolor brush to color all of the flowers. Here is a list of the stuff I used.
  • Poppy Parade, Flirty Flamingo, Crushed Curry, Lemon Lime Twist Stampin' Up! inks with a watercolor brush
  • Nuvo Crystal Drops in Ripened Pumpkin, Red Berry, Bubblegum, and Morning Dew
  • Brutus Monroe Copper Penny embossing powder


The floral panels were popped up with coaster blanks I cut to size, and adhered to a 4"x5-1/4" panel that had been sponged with Lemon Lime Twist ink, spritzed and spattered with water. I then heat embossed this sentiment with copper embossing powder. After assembling the card, I added centers to the flowers with Nuvo crystal drops. Then I set the card aside to dry so I wouldn't smear those drops. :-)

This may be my favorite of the projects. I took a piece of construction paper that my grandchildren had finished playing with, and created a packet to hold seeds. This is the same size as an A2 card so it could fit in a standard envelope.

I used washi tape to mask off a uniform at border around the front and just the triangle for the inside. Then I sponge do with three colors of ink and blended with an ink blending tool. These areas were then spritzed with water and spattered.

I used liquid glue to adhere the front to the back along the right hand and lower edge to create a pocket.


The image of the little boy was stamped with Momento tuxedo black ink on Neenah solar white 80 pound card stock and colored with Copic markers. Here are the colors I used:
  • Hair: E33, E35, E57
  • Pot: YR14, YR24
  • Dirt: E44, E49
  • Leaves: YG03, YG17
  • Pants: B23, B37
  • Skin: E50, E51, E11, R20
  • Shirt: YG17, YG67, G29
  • Shoes: W1
The leaves and the circle dies our from spellbinders small diet the month kit and large diet of the month kits from December 2018. The banner is from Concord and 9th's Holly Jolly banner die. The sentiment on the banner is stamped with Versafine onyx black ink.

That's all I have for right now but I already have several other projects created to share with this stamp set. Look for those soon!

The entire Kindred Stamps March release will be available Friday, March 22nd at 8am PST/11am EST. Be sure to check out the Kindred Stamps blog on Friday for the full product release as well as the complete line up of all the Kindred Stamps Design Team projects from release week! If you visit and comment on all of the designers' blogs this week, you could win $15 in Kindred Stamps shop credit! So join the Fan Club and release event, show the design team some love, and get ready to empty those wallets this Friday!


Sunday, March 17, 2019

Stamp Review Crew: Geared Up Garage

https://stampreviewcrew.blogspot.com/2018/11/first-frost.html
Muscle cars, gears and grease, and all things automotive coming your way! We are featuring Geared Up Garage this time.  I like a sporty looking car, I'm not ready to be boring. And I know a lot of people that feel the same way. You don't have to be a guy to enjoy this set. But it is awesome for masculine cars!


OK, time to start seeing the inspiration!

If you are following along in order, then you have just arrived from Stesha Bloodhart's blog. Isn't she amazing?!  

I chose to go classic red hot rod over an interesting background. I had planned to do some dry embossing on the background after I did my stamping, but I forgot until I had glued it all down! I hope you all forgive me.😉

I stamped the splotchy image in Grey Granite a few times and glued the gears over it.

The car is stamped is Versafine Onyx Black on watercolor, then watercolored with Poppy Parade ink and silver and frost white shimmer paint.

The sentiment is white heat embossed on a piece of white cardstock sponged with Poppy Parade and Grey Granite, then spritzed.

Inside, I stamped the splotchy image again, then stamped the sentiments from Strong and Beautiful and Amazing Life in black and Poppy Parade.

That's it for me,  next up is Cindy Elam with her charming and beautiful creation!


Saturday, March 9, 2019

Kindred Stamps: Slay in the City


Sometimes my dark humor needs an outlet, and this card is a perfect example! A perky blonde running around saving humanity. Snark included! I am using the Slay stamp set from Kindred Stamps.


Let's start with the background.

It started as a panel of white cardstock and was ink blended within an inch of it's life with Blueberry Bushel, Blackberry Bliss, and Black Soot.

Then spattered with water and dabbed off.

Then liberally spritzed with some Pearlized water. (Perfect Pearls Pearl color added to a spray bottle of water).

Dried with heat tool.

Background stamped in Versafine Onyx Black ink.

Die cute with a stitched rectangle die, and a black mat with a larger die.

The sentiment strip is inked blended with Black Soot, spattered, spritzed. White heat embossed, and die cut.

Our perky blonde is colored with Copics:
  • Hair:YR21, YR23, YR24
  • Skin: E50, E00, R20
  • Stake and Boots: E55, E57, E59
  • Clothes: C0, C1, C2, C4, C5
Her eyes are accented with black and white Sakura Gelly Roll Glaze pens.


Sometimes we need to encourage a friend by reminding them that they can be so fierce that they are scary!

Or just send them a card with their favorite stake wielding blonde!

If you were inspired to create something with this set, or any other set, be sure to share it and tag it with #kindredstamps so we can all see it too!


The affiliate links below may provide me with a small income with no additional cost to you, and will help to support my Blog, YouTube, Instagram, and FaceBook contributions.


Sunday, March 3, 2019

Stamp Review Crew: Amazing Life

https://stampreviewcrew.blogspot.com/2018/11/first-frost.html
Welcome to the start of a new month! I am always happy to see March roll around because it mean that the majority of our -10 weather is over. Yes, I talk about the weather a lot. We have a lot of weather to talk about.

But how about we talk about the Amazing Life stamp set?! I love the big and beautiful sentiments in this set, and the swirls and curls don't hurt! But my favorite  part is the die set sold in a bundle with these stamps: the Stitched Rectangle dies! Of, course. 😁 Now I don't always have to go to my sewing machine.


For those that are new to the Stamp Review Crew, we are a group of current and former Stampin' Up! demonstrators. We get together ever first and third Monday of the month to feature a single stamp set. Our goal is to inspire you, one stamp set at a time!

If you are following along in order, then you have just arrived from the amazing Lou Kitzelman! She is in the midst a balmy summer right now, and I will admit to some weather envy. But she makes up for it with her gorgeous projects!


I have been craving color lately, so I went right for a rainbow effect. There are only 3 ink colors in that blended background.

Poppy Parade, Crushed Curry, and Pool Party. They do wonderful job of creating a full rainbow! Work smarter, no harder.

After sponging all the colors on the cardstock, I spattered it with clear water, dabbed it off after a few seconds, then spritzed with Pearlized water.

And I just had to use some honest to goodness real stitching on this panel.


I used Copic markers to color the flowers and the letters in the word "cake". I had already taken the plunge and purchased nearly every color of Copic, so I have not invested in the Stampin' Blends when they were re-released, so I only have the old version and not very many of those. If you are in the same boat, here are the colors I used:
  • Cake and letter C: BG10, BG11, BG32
  • Letter A: YR12, YR18
  • Letter K: YR61,R24
  • Letter E: YR61, YR12
  • Orange flower: YR18, R24
  • Yellow flower: Y13, Y18, YR12
  • Leaves: YG13, YR07
  • White dots: Sakura Gelly Roll Glaze white

The inside of this card is the real wow, though. I have been seeing so many wonderful interactive cards lately, and I just had to figure out how to do this one. There is a convenient die set from Lawn Fawn that makes a mini pop up box, but I took the long way.


Here is my figuring.
  • Start with a 3"x6¼" piece of cardstock. 
  • Score the short side at ½" and 3"
  • Score long side at ½", 1¾", 3¼", and 4¾"
  • Trim out as shown
  • Adhere the little side tab to form a box shape.
  • Adhere the 2 triangles that form the bottom of the box to the inside of the card, lining the center fold up between the two triangles.

The rainbow blending was done directly on the card base. The flowers and cake were fussy cut, and I was able to stamp the flourishes on the cardbase after the box was adhered. I used some snips of acetate and glue dots from a Paper Pumpkin kit to adhere the banner above the cake.

I really enjoyed creating this card, and I hope you loved it too!

Next up is Jay Soriano! He is so innovative, I just love everything he does.


The affiliate links below may provide me with a small income with no additional cost to you, and will help to support my Blog, YouTube, Instagram, and FaceBook contributions.  Some of them are just a convenience for you with no compensation for me. 


Friday, March 1, 2019

Kindred Stamps: Llama Get This Straight

I am playing with Llama Get This Straight, and I decided to make a shaker card this time. This adorable llama just cries out for bright colors and bling!

The shaker body was made with 4 layers of white cardstock diecut with a coverplate and then a stitched rectangle die. There is a piece of acetate between the top two layers.

The sequins are from my stash, and were chosen to match the colors I used to color the blanket.

 You can see some gray streaks on the white frame, which was a complete accident.

I had used the coverplate to die cut a watercolored panel I had stamped with Versafine Onyx Black ink, and there was some ink left on the coverplate die. But I really like it!

You could replicate it but gently swiping a gray ink pad over some white cardstock.


The llama and tassels are colored with Copic markers:
  • Face and fur: W00, W01, W03, R20
  • Green: G03, G05
  • Yellow: Y17, Y38
  • Purple: V17, FV2
The llama and the tassels were fussy cut. I also used Sakura Gelly Roll Glaze pens in clear, black, and white to add accents to the llama.

The sentiment strip matches perfectly because I used V17 to color a scrap of white cardstock before I white heat embossed the sentiment on it. This was then diecut with a stitched rectangle die from my stash.


I kept it super simple on the inside. We all need birthday cards, right?!

So, does this llama look ready to party? I sure think so!

The affiliate links below may provide me with a small income with no additional cost to you, and will help to support my Blog, YouTube, Instagram, and FaceBook contributions.

LinkWithin

Related Posts with Thumbnails