Sunday, October 4, 2020

Pumpkins, and Plaids Two Ways

 Two of the things in autumn that I can never get enough of are pumpkins and plaids. They are life!!

Autumn is such a glorious time of year. I love everything about it. Except that my asthma. But then, that is an issue all year round. So, suck it up, Buttercup! 

And I wear plaid flannel shirts all year long. I think there are currently nine flannels in my closet right now.  And I am drawn to a good multicolor flannel. Flannels and tank tops, they work for every layering need! And plaid stamps of all kinds. Especially the builder type. 


So, when I got the Pumpkin Hair stamp from The Rabbit Hole Designs, I thought I would make a card quick. Well, that turned into four cards! Check out the video.

Let's start with the watercolor painted plaid background. Don't let all the colors intimidate you, it is really easy to do. I used  a variety of watercolor mediums to create it, and it was so fun!

I also watercolored this grumpy pumpkin several times, and fussy cut it for this card.

I also pulled out one of my go-to design techniques: white satin pearl heat embossing the background with a stamped image. 

I also pulled in some Concord and 9th stamps and dies. Shop your stash, folks! There are so many great products out there!

No plaid on this one, but you know I had to make at least one slimline card!


I  kept this one looking very clean and simple. I have been practicing that look, and I think I am finally getting good at it, lol!

This is a 5x7 or A7 card, as are all the non-slimline cards in this post. The plaid non this card is created using two sets from Concord and 9th, because I am a little extra 😉


I  stamped this  plaid with Distress Oxides and Encore Silver ink. 

Now, I did  share this card in an earlier post. Butt I thought it was worth including here, as it is in the video. I love how the swirls in this stenciled background work with the design!


Pickett Fence Studios has some gorgeous sequin mixes that come in a compact case, so cute! I used the Candy Corn Shot mix here. 


If you want to see how I created the swirled background, here is a video. I used a panel leftover from this crafting session to create the pumpkin swirl card. 

I hope you are all finding ways to enjoy this beautiful season, and are recharging  your batteries a little each day. Until next time, happy crafting!

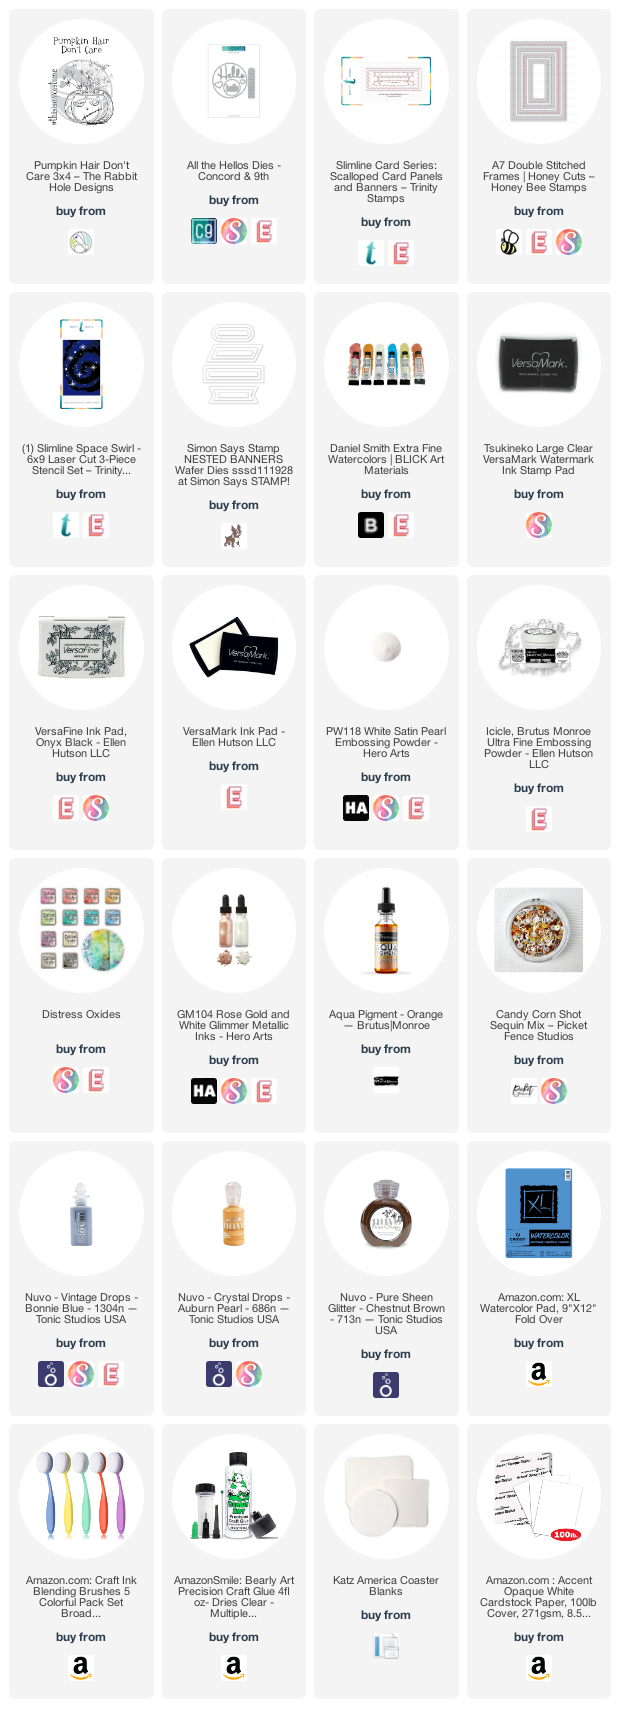
If you are interested in the supplies I used, I have provided links below.

Some of the supplies listed below are affiliate links, some are not. If you use an affiliate link here to make a purchase, I may get a small compensation. I only use things that I love, and do not create paid posts.

Supplies:
Wednesday, September 30, 2020

Festival of Fall: Spooky Fun


There are always so many awesome spooky stamps out there, and never enough time to play with them! Let's make anytime cards, birthday cards, encouragement, and Halloween! Or not cards at all. Decor, treat holders, and gifts. Let your inner spooky out!


 This episode of the Festival of Fall is not on a Friday, and I can't remember why. We had a reason, I just don't remember what it was, lol. Well, we are definitely aiming for a fun time this round. The older I get, the more I love the spooky stuff and playing with those supplies. I need more reasons to use them!

Let's start with this witchy card that uses supplies from all over the place.  She is from the Sassy and Crafty company and is colored with Copic markers and fussy cut out. 


The sentiments are from an Ink Road Stamps set, Empower. I love the sass and snark you can find with The Ink Road Stamps!


The fancy frame is created with t he  Spellbinders Spider Web Corners dies. I added some extra fun with Nuvo Glitter Drops in Silver Crystal in a  few spots on the spider web frame.


I could not resist this snappy sentiment for the inside. It is another one from the Empower stamp set.


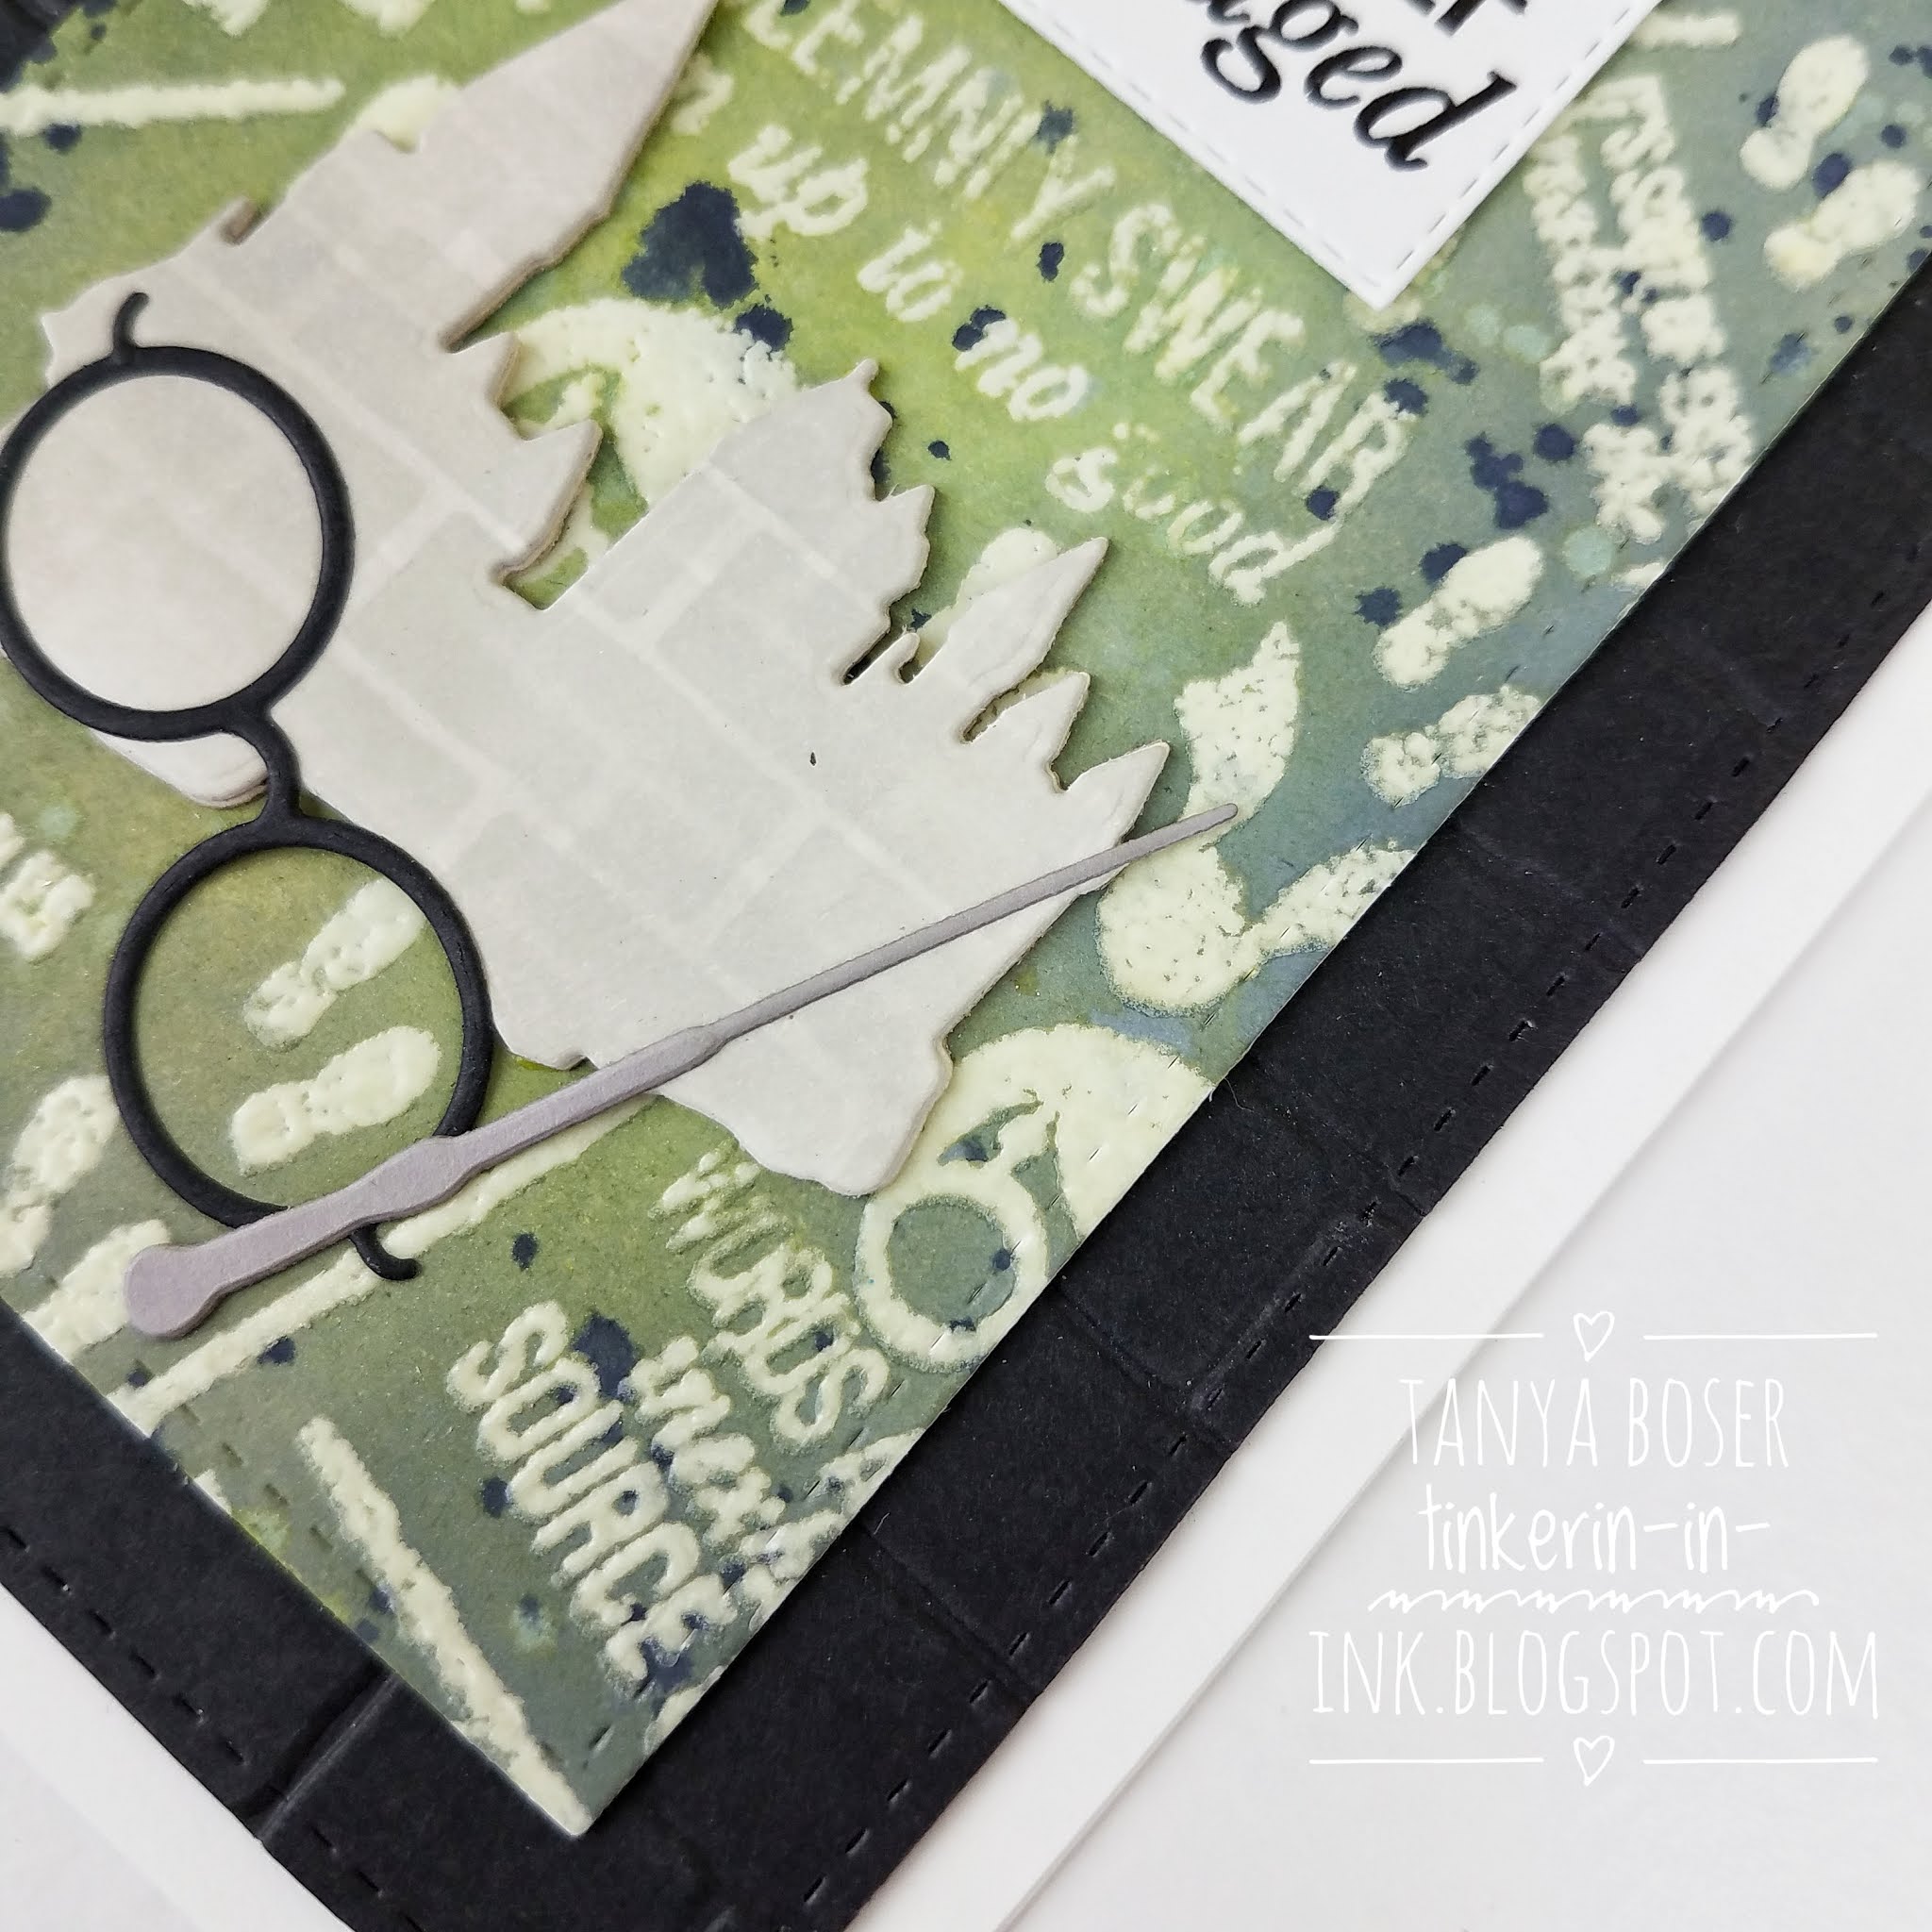
And then there is this wizard themed card. I have been snatching up and hoarding any supplies I find  that are wizard themed as this book and movies series was a great way for us to spend time together as a family while my kids were growing up. And I still  enjoy it! This was a  card  I actually created  for a coworker that was leaving our department for a new job. 

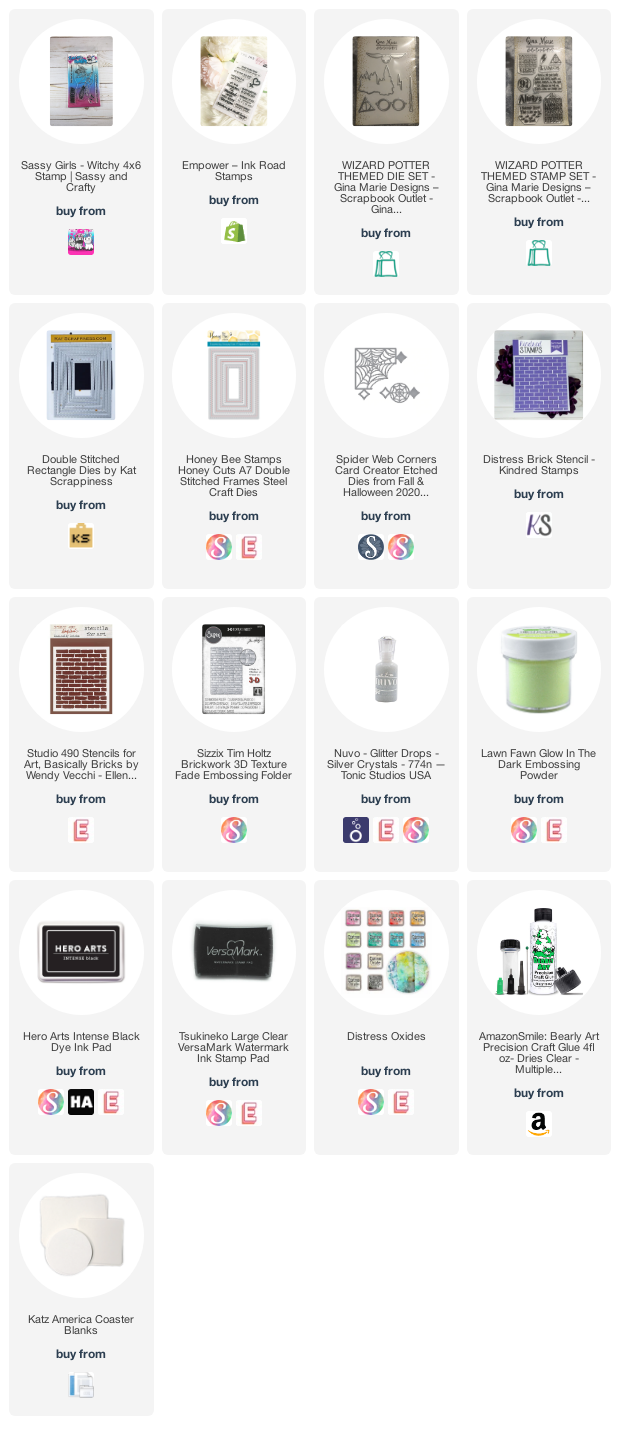
Some of the supplies  are not available anymore, namely the stamps. They  were from  The Ink Road Stamps also, but as it is a one woman company, stamps rotate out of stock and get retired depending on  demand and storage space. I am certainly glad I got these! I did do some ink blending with Twisted Citron and Black Soot on this background.

The castle,  glasses, and wand are all from a Gina Marie Designs die set. LOVE this die set. Linked below, my friends. And there is a similar stamp set!


I finished this card off by using the brick stencil again on the inside with a little Pumice Stone Distress Oxide. 

Check it out! Glow in the Dark embossing powder!! I have released my inner child, and I love it!!

I had so much fun digging through my stash and mixing new with old to create these cards. I really want to play with more of the spooky stuff in my stash. How about you?!

The rest of the blog roll is at the end of this post, so don't forget to check it out.

If you are interested in the supplies I used, I have provided links below.

Some of the supplies listed below are affiliate links, some are not. If you use an affiliate link here to make a purchase, I may get a small compensation. I only use things that I love, and do not create paid posts.

Supplies:


Blog Roll:


Friday, September 25, 2020

Crafty Christmas Club: September


It is the 25th of the month, and time for another Christmas card hop!

The Crafty Christmas Club gets together on the 25th of each month to share a Christmas creation, because getting ahead of the game reduces the stress of the holiday season. And gives us all a reason to play with our seasonal products all year long! Play along with us by tagging your creations on social media using the #craftychristmasclub2020 hashtag!

 
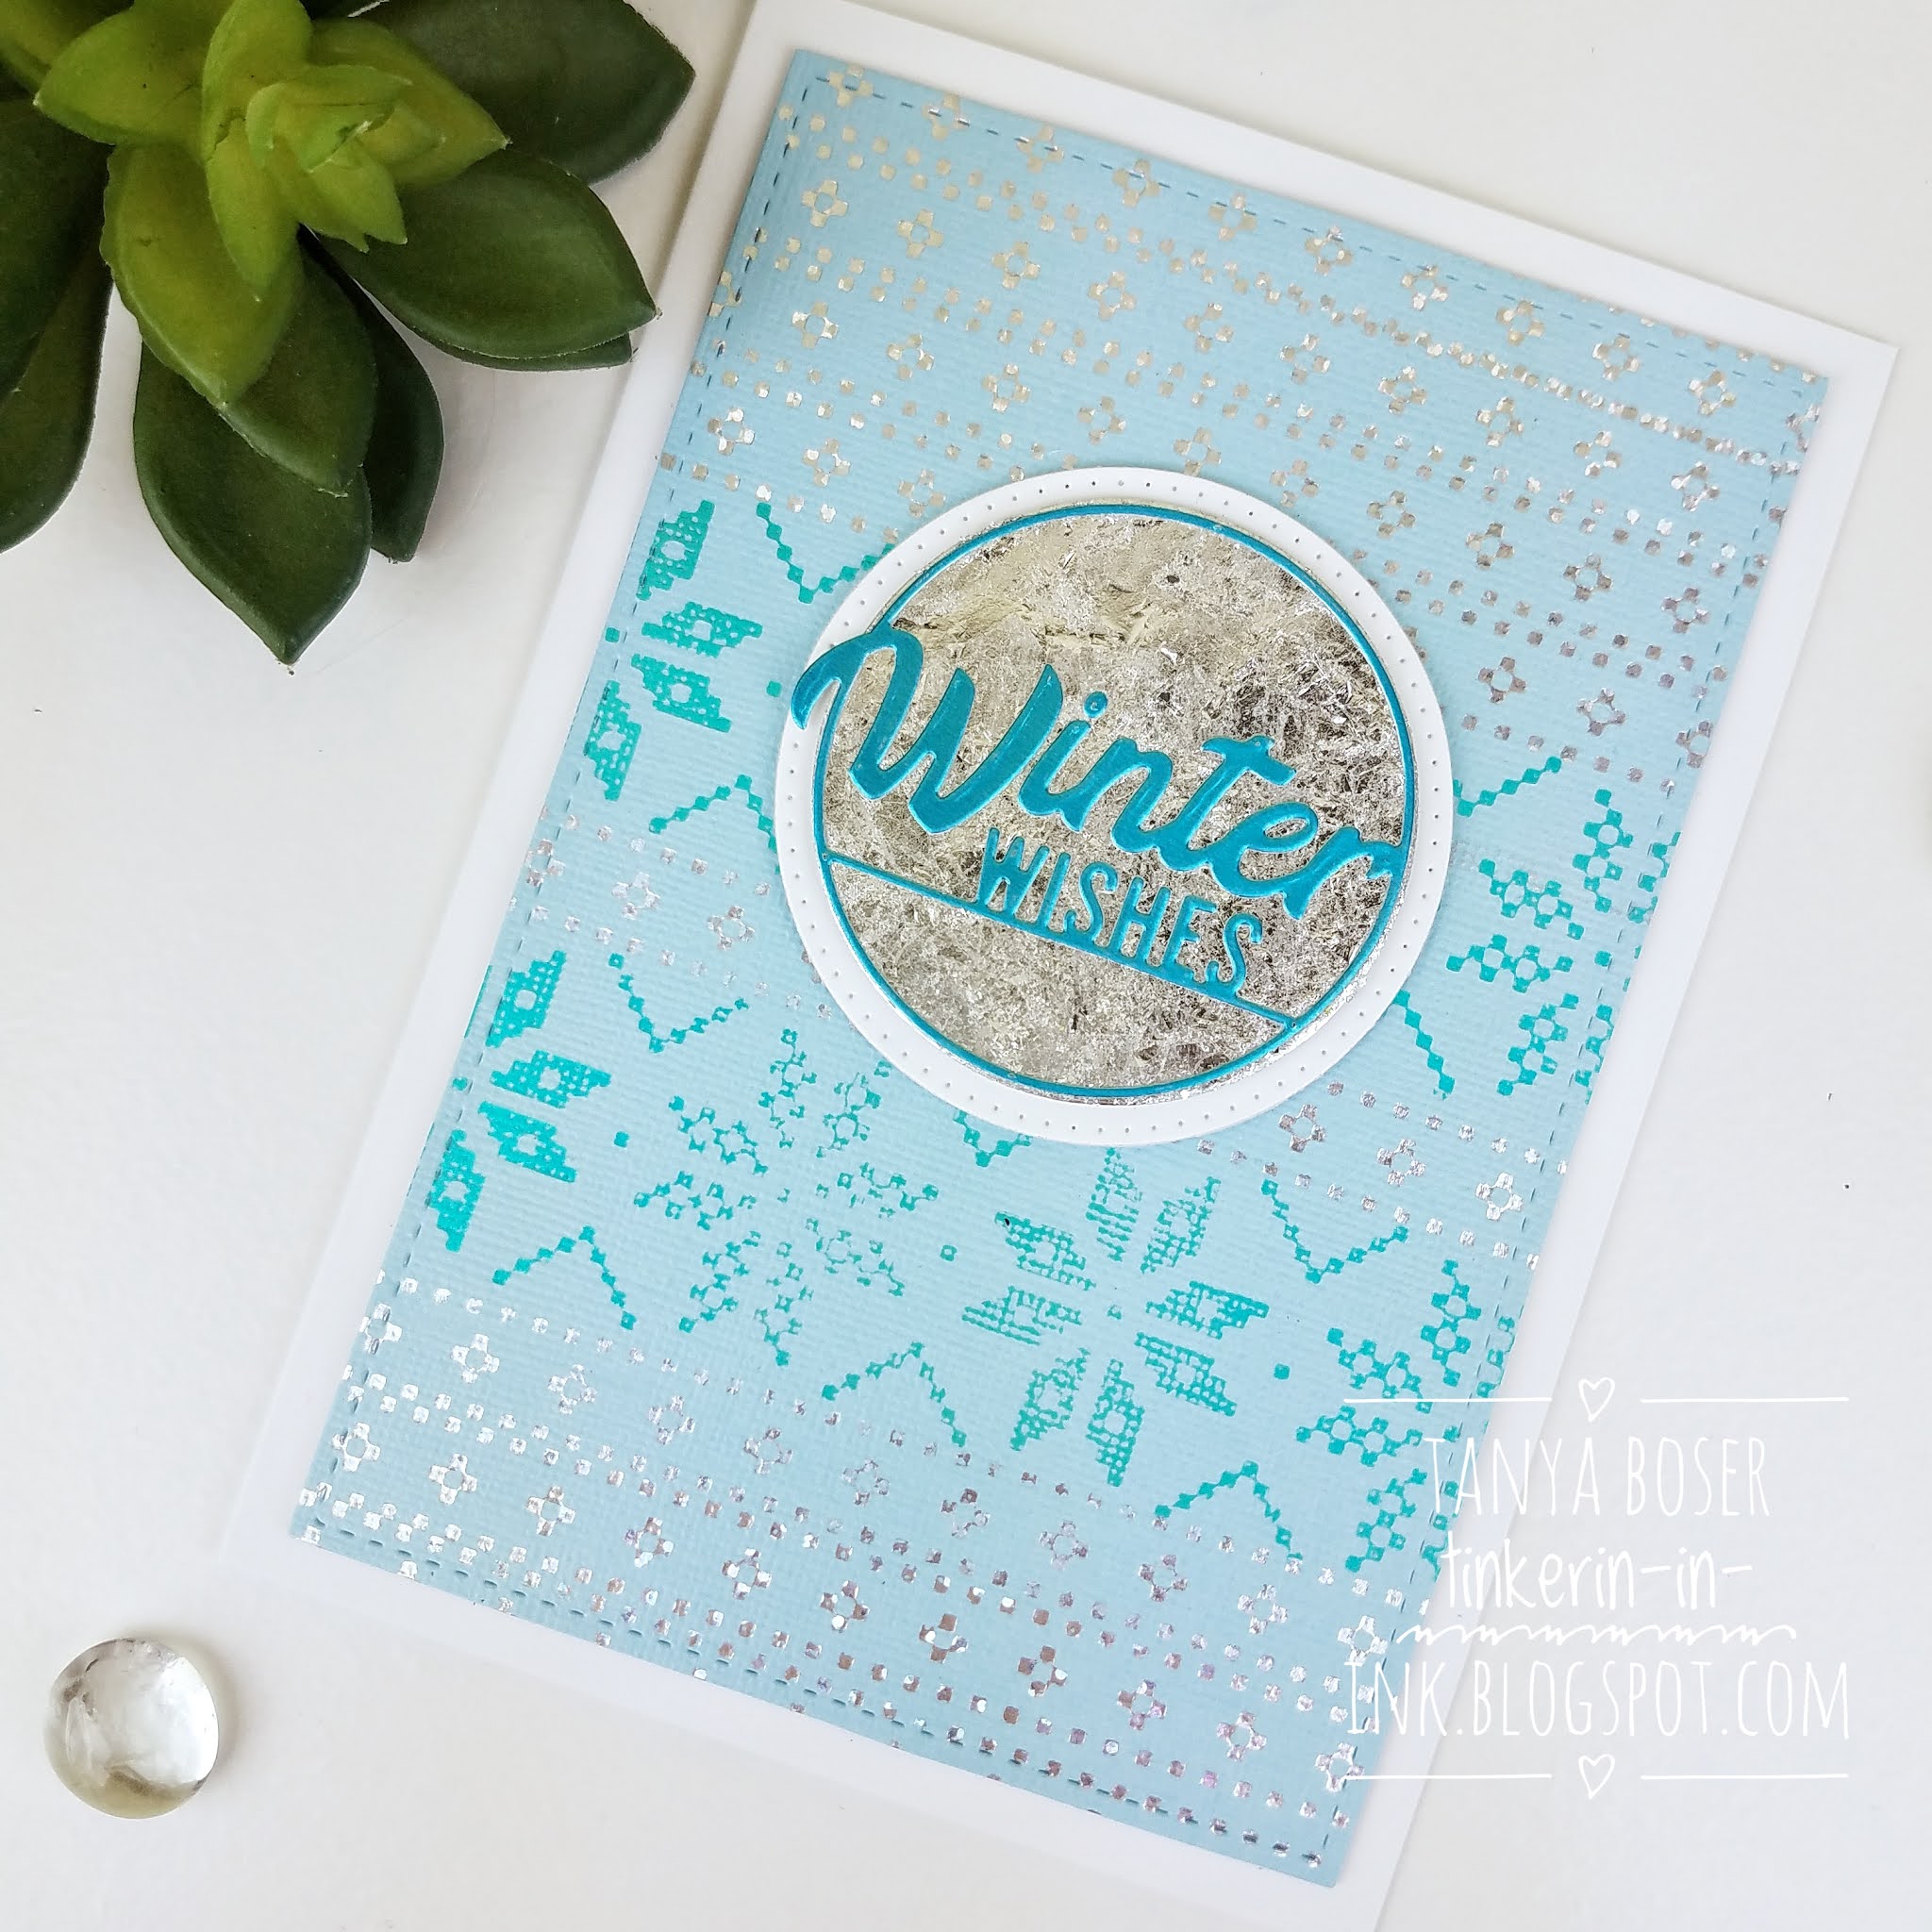
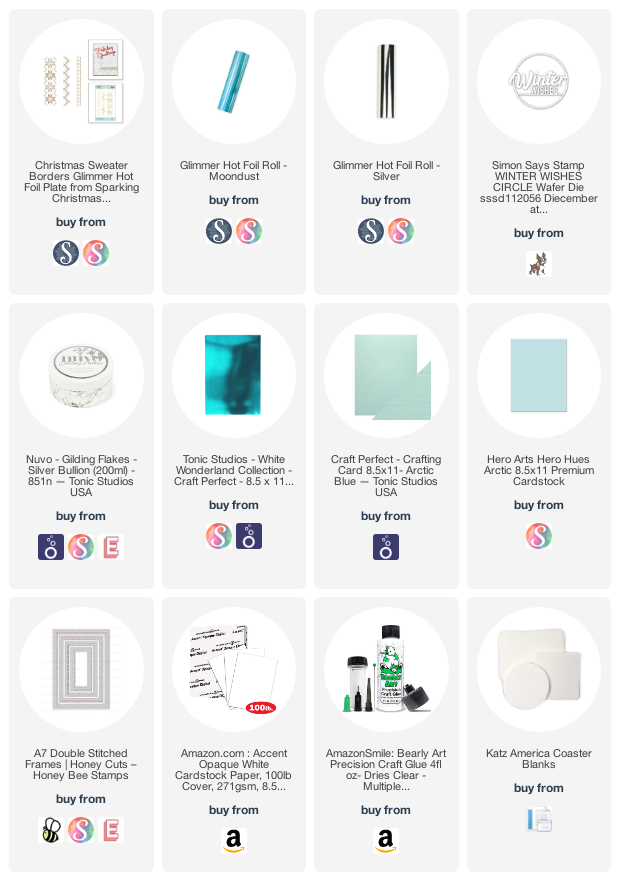
This card started out as just a play session with the new Christmas Sweater Border hot foil plates.  I foiled this textured cardstock from Tonic Studios repeatedly in Silver and Moondust foil with the border foil plates. I loved it so much, I did make it into a card.

I had also experimented with the Nuvo Gilding Flakes and sticker paper to create full sheets of gilded paper, so I used some of that to create a background for this delicate die cut sentiment. The Tonic metallic cardstocks are luscious, and work perfectly with this delicate die!

This is a 5x7 card, so I did use the Honey Bee Stamps A7 Double Stitched Rectangle dies to cut out this panel. 

So there you go, another fun Christmas card!

The rest of the blog roll is at the end of this post, so don't forget to check it out.

If you are interested in the supplies I used, I have provided links below.

Some of the supplies listed below are affiliate links, some are not. If you use an affiliate link here to make a purchase, I may get a small compensation. I only use things that I love, and do not create paid posts.


Supplies:


  Blog Roll:

Sunday, September 20, 2020

Glorious Mermaid


What a Glorious Mermaid! This is a new release from Jane Davenport on Spellbinders.


Watch this video for all the details! 


This is certainly a glorious and glamorous mermaid, and I wanted to give this card a  very fantasy like feel, thus the  blue skin tone! 

The Sparkling Sea embossing powder add a subtle sparkle to the background, and the Sakura Stardust Gelly Roll accents on the fussy cut mermaid are a great combination. 


And the Copic blending in her tail could not have turned out better! Just the way I envisioned. 


 I am especially happy with the way the fin turned out. I love it when a plan comes together! (bonus points if you get that TV series reference. And yes, this dates me...)

Thanks for stopping by, and I hope you come back again soon. September is packed with goodness :)

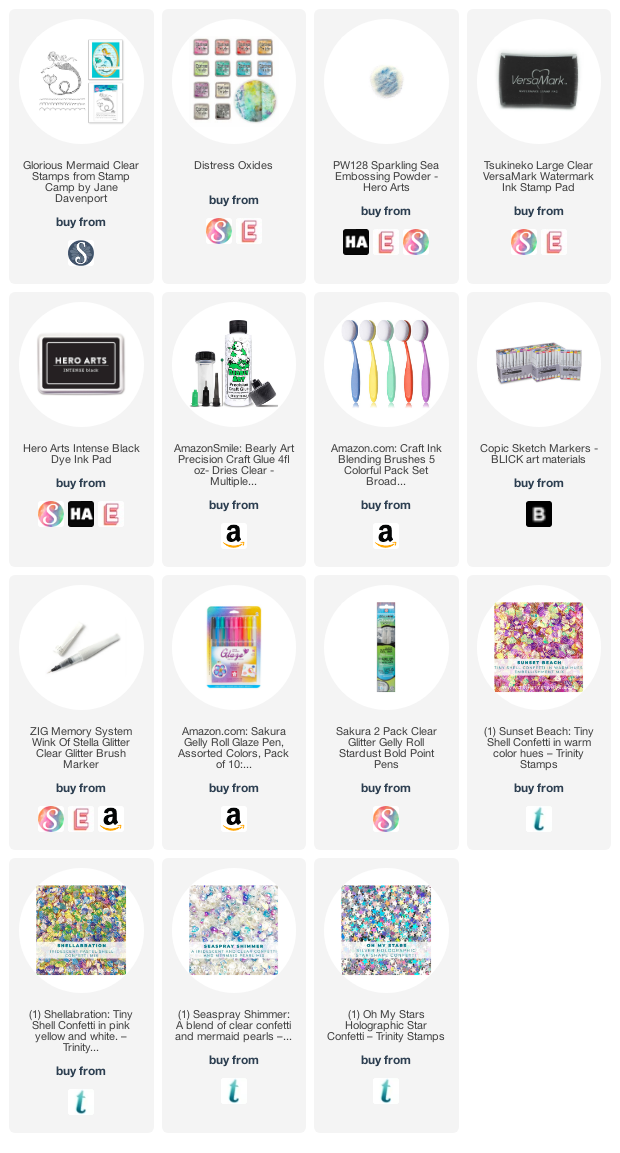
If you are interested in the supplies I used, I have provided links below.

Some of the supplies listed below are affiliate links, some are not. If you use an affiliate link here to make a purchase, I may get a small compensation. I only use things that I love, and do not create paid posts.

Spellbinders did send me this stamp set to share with you. 

Supplies: 
 

Crafty Friends: Picket Fence Studios


Welcome! It is the 20th of the month and time for another Crafty Friends blog hop!


Welcome to the monthly Crafty Friends Blog Hop!  We feature a different brand each month, with a limited time COUPON CODE for our viewers. How awesome is that?!


We are featuring Picket Fence Studios this time, and they were  kind enough to off a 20% discount to our viewers.


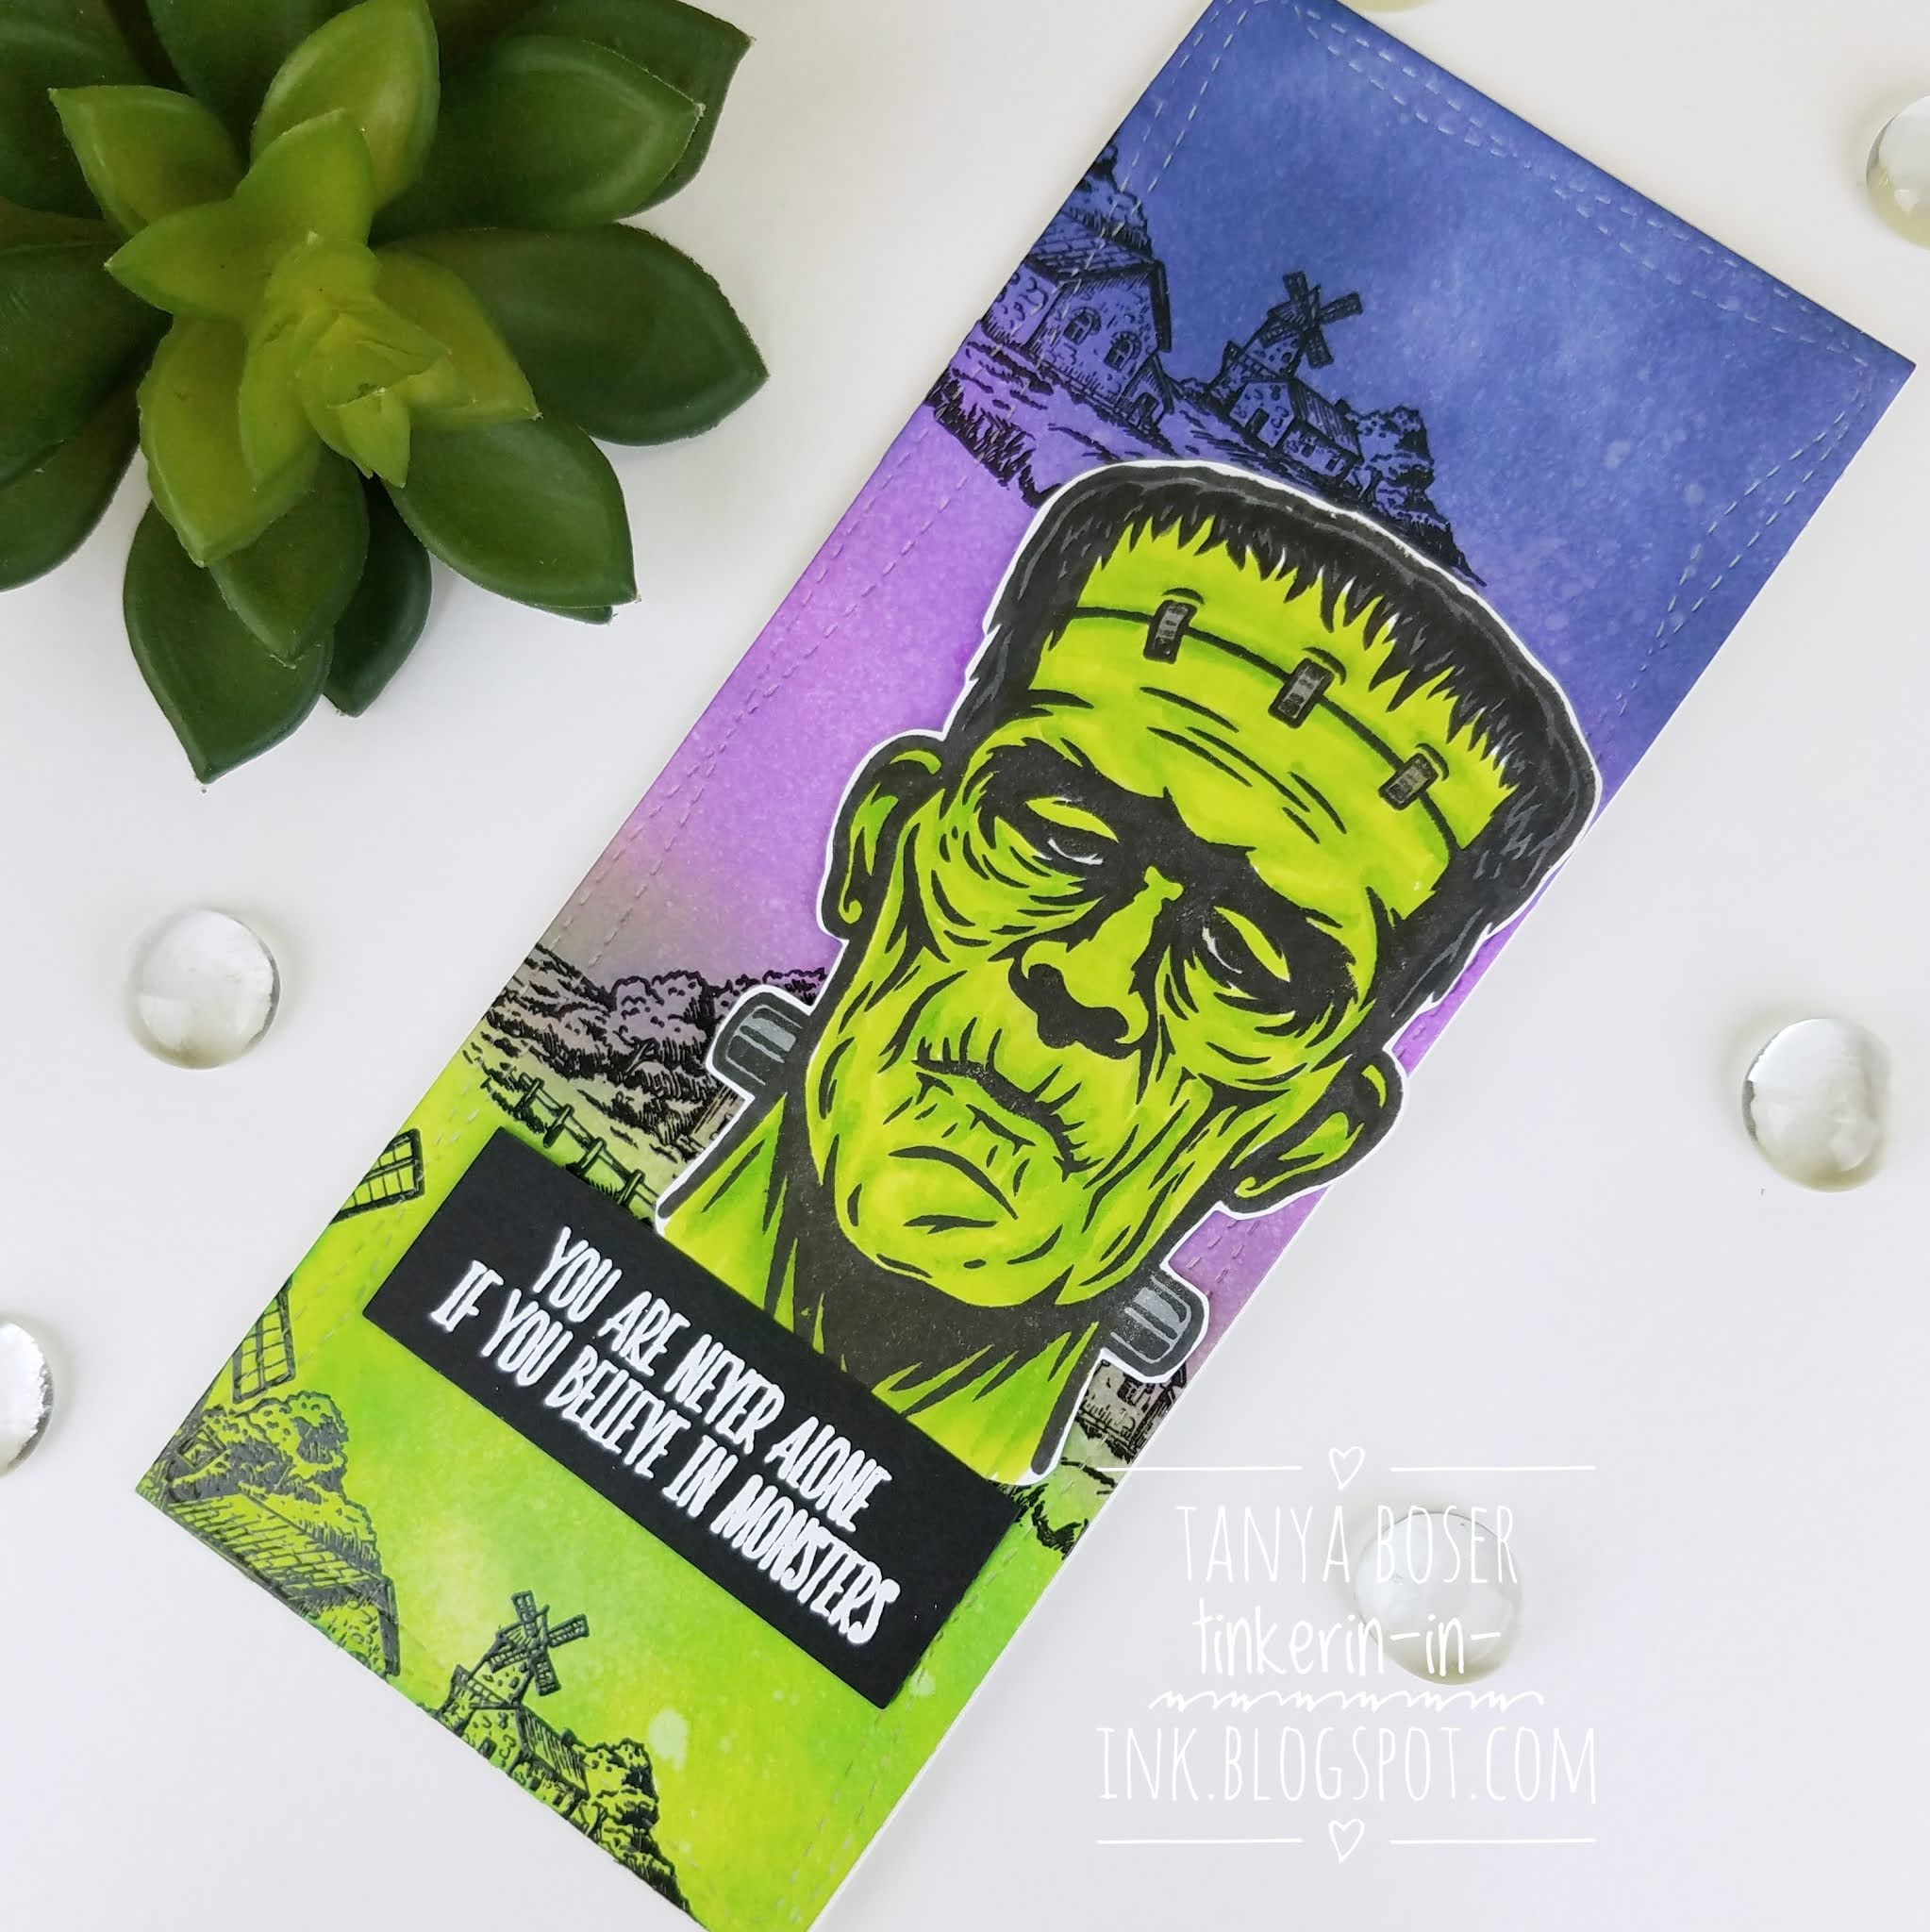
I have a couple of cards using the Franken Cute set. I had to have this set as soon as I saw it!! Love! Check out this video for all the details.

This is the slimline version of the card. I found a great windmill stamp to use on the background, which is blended with Mowed Lawn, Wilted Violet, and Chipped Sapphire Distress Oxide inks.

 The windmills are the perfect accent for this big fella!

He colored up pretty. easily and quickly with Copic markers. I followed the artist's guidance for the shading. 


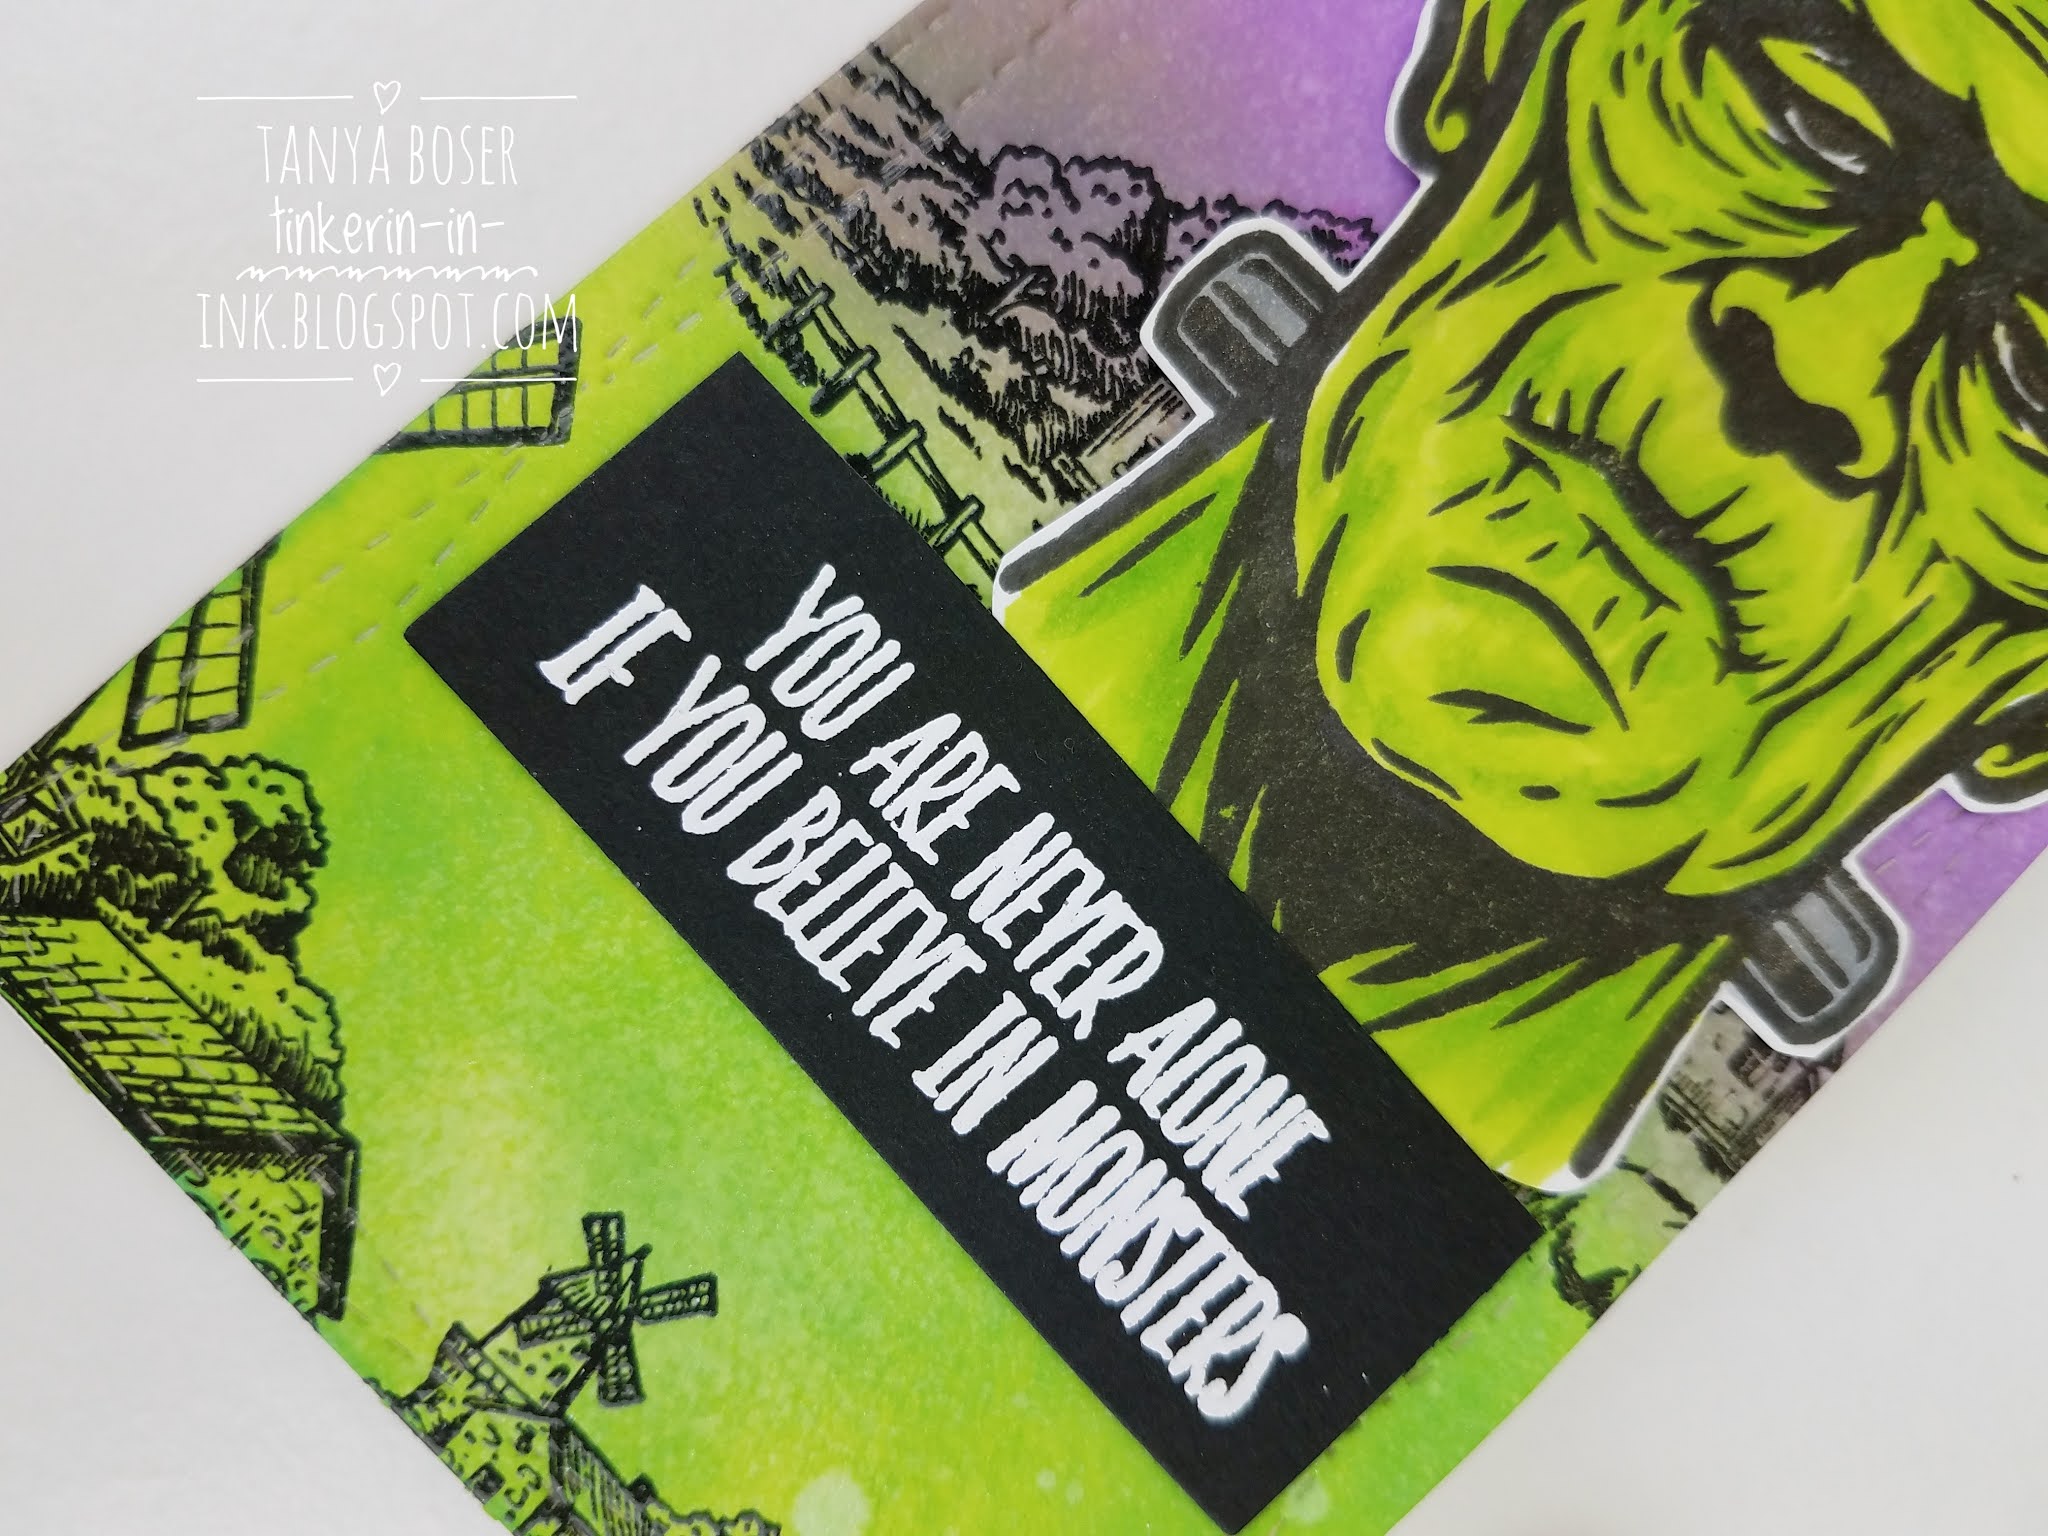
This is one of the many awesome sentiments in this stamp set.


And another one on the inside.


 This is the 5x7 version. I only used one windmill image, and added glow in the dark green apple Nuvo Crystal drops. And fussy cut the sentiment.


I am telling you, these sentiments are all winners!


I got a little carried away with the videos. I have another one to share!


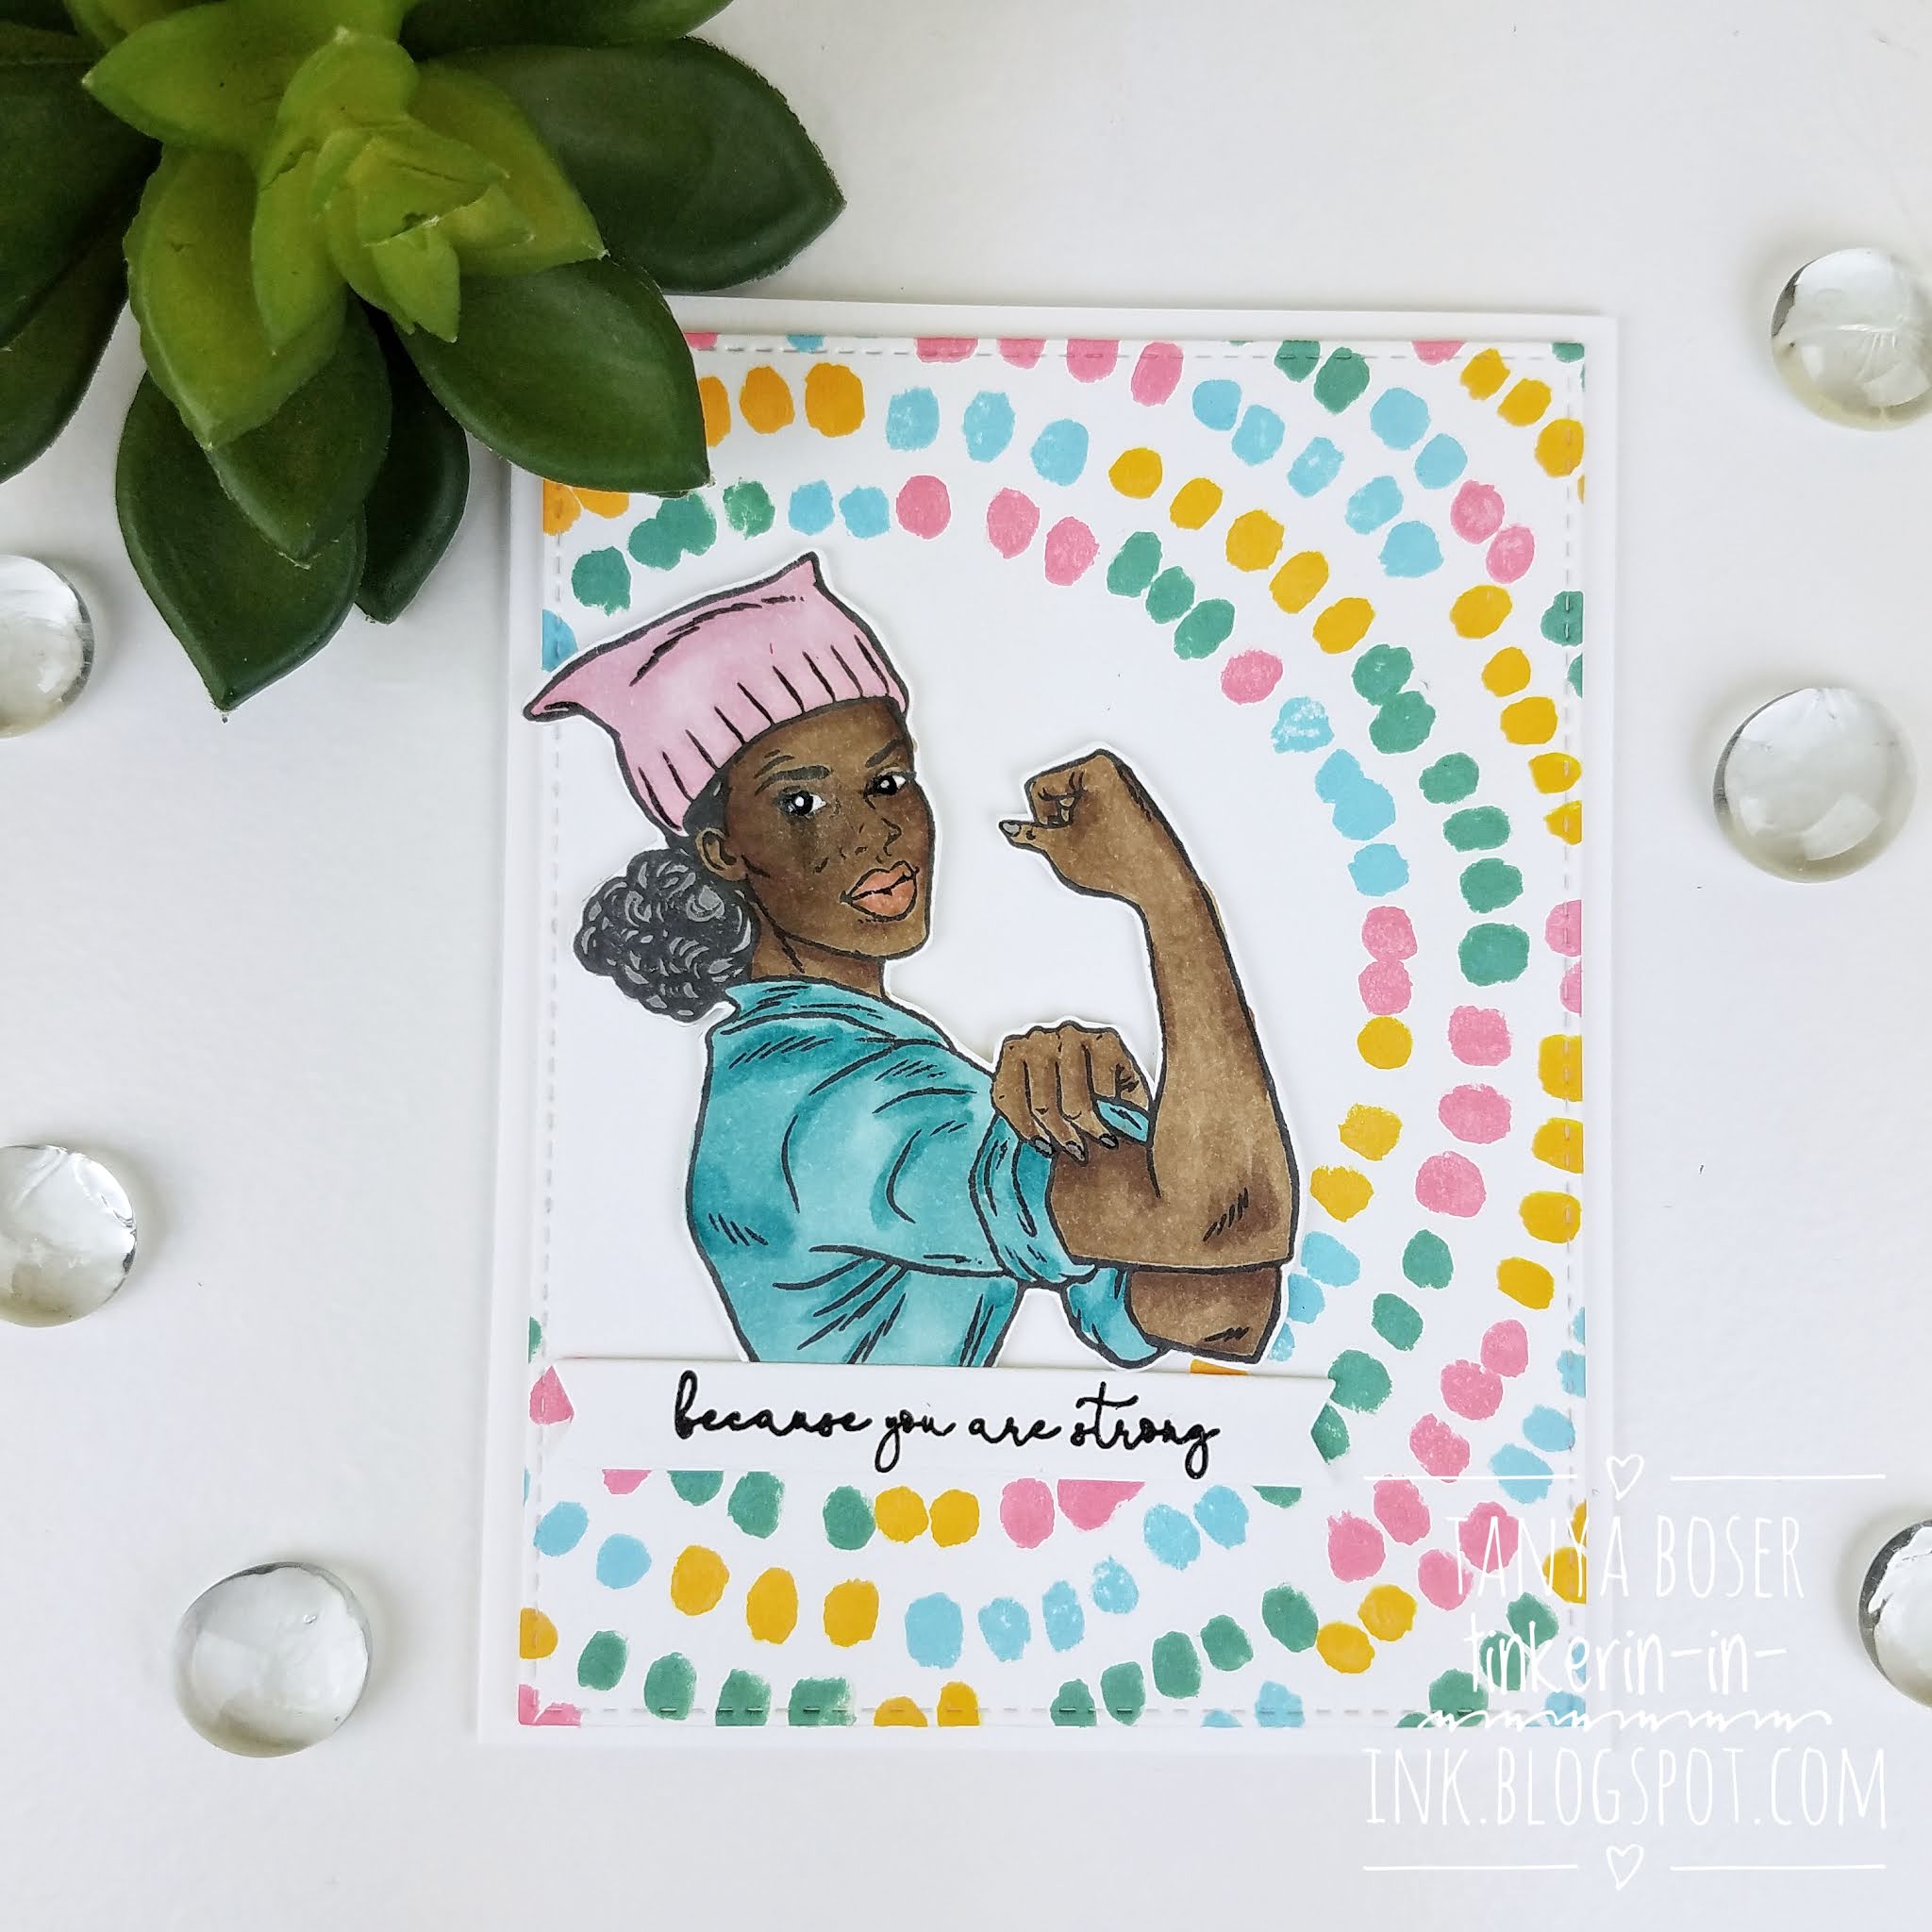
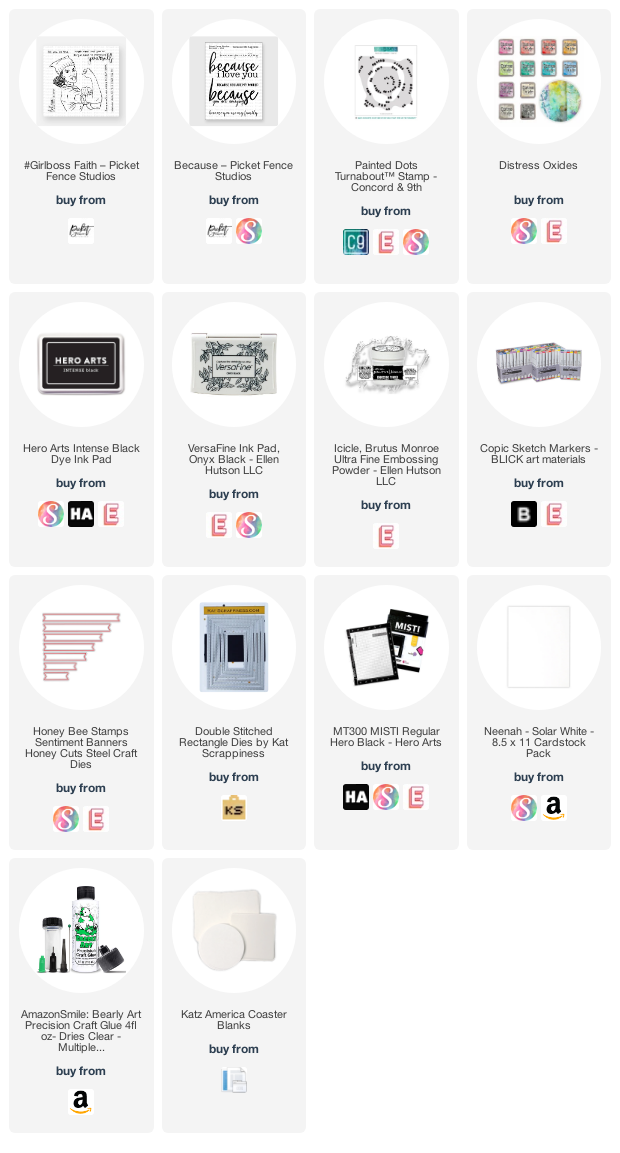
I love this ethnic Rosie the Riveter style stamp: #Girlboss Faith. I do apologize for the messed up coloring. I was adding the finishing touches with a black Gelly Roll pen, and it smeared! So sad! It was already glues together.


I was going with some bright, but somewhat autumnal, colors. After I colored this lovely lady with Copics, I did a quick fussy cut. The background is the created using the Painted Dots Turnabout. from Concord and 9th. The sentiment is from another Picket Fence Studios set: Because.


I finished this card off with one of the sentiments from the set,  and a scrap of the Painted Dots background.

The rest of the blog roll is at the end of this post, so don't forget to check it out.

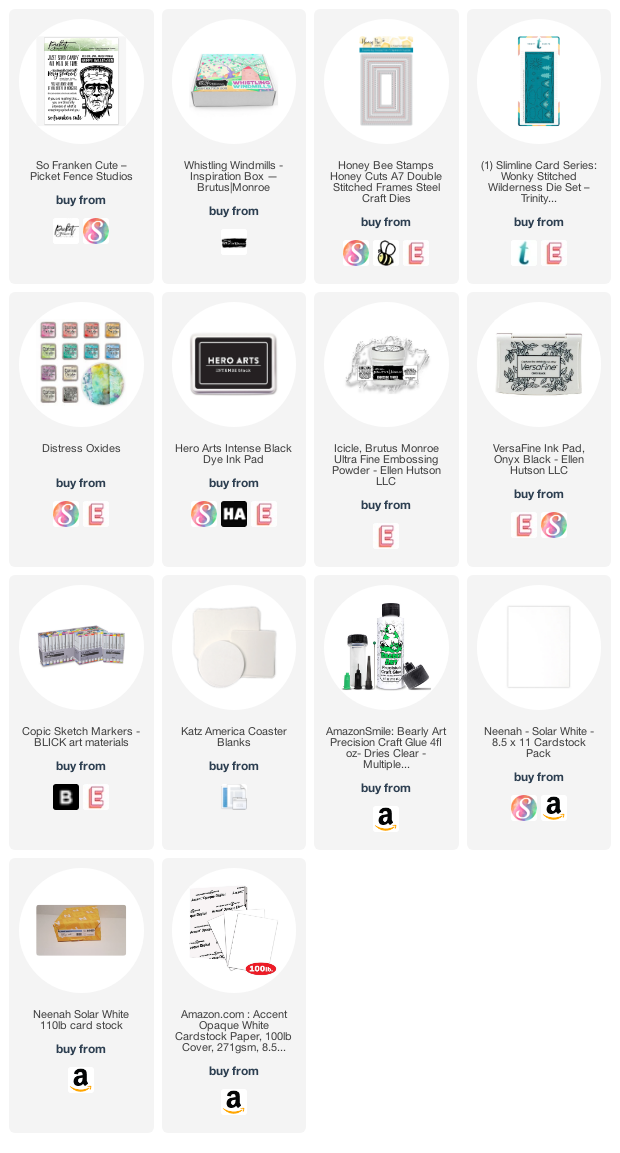
If you are interested in the supplies I used, I have provided links below.

Some of the supplies listed below are affiliate links, some are not. If you use an affiliate link here to make a purchase, I may get a small compensation. I only use things that I love, and do not create paid posts.

Supplies for Franken Cute cards:


Supplies for Strong card:


Blog Roll:

LinkWithin

Related Posts with Thumbnails