Friday, February 25, 2011

Happy Birthday SA Blog Hop!


Welcome to another Stampin' Addicts Blog Hop! Stampin' Addicts is 2 years old already, can you believe it?! We all wanted to celebrate it with everyone so we are going to share some of our favorite techniques with you all and have a lot of fun doing it :)

If you started at the beginning of the hop, then you probably just came from Rhonda's blog The Stampin Bunny where she shares some Baby Wipe creativity. So cute!!

I will be showing you some projects featuring the Faux Reverse Letterpress technique. I LOVE this technique. It has drama and texture. What more could I ask for?!


My #3 child, Dakota, turns 19 in a couple weeks. I couldn't resist making a birthday banner for him using the Petal Cone die. This is only one quarter of the banner. I wanted you to be able to see the details. Lots of bold color and fun masculine textures here :) 


And Dakota loves to cook and to try to come up with his own recipes. I found this blank notebook at a local print shop for $1.50 and knew I had to use it for this project. So this is one of the things he will get for his birthday :)


 And how about a little Easter carrot? This is with the Petal Cone die again. Don't you love how the woodgrain texture plate with tone on tone Peach Parfait give it such a great texture?


 And last but not least, here is a project I have been meaning to do for months now. I thought it would be a really time consuming project, but I made this one in less than an hour!
Check back later this week for more info on recipes and instructions on these projects!

And on with the show! If you would like to see the roll call and links to all of the blogs in one spot, go here. The next stop is Mary's blog where she will be featuring Shimmer Paint. Oh, man! I love that stuff too!!


Next Blog------->


<-------Previous Blog


Tuesday, February 8, 2011

Masculine Valentine


Valentine's day is fast approaching and I have a lot of guys to prepare cards for! And I have been wiped out of Valentine cards by people at work. Don't get me wrong, I love that they sold, but now I have to make more for me! And I made some extras for work, just in case ;)
And as you can see, I am still using the heck out of the First Edition DSP. It takes color so well and is so easy to work with. I will be very sorry to see it go.


I like layers :) Layers are fun. And I really like to pop them up. The circles are the 2½" circle punch and a 2¼" circle, then the Designer Label punch. And the Heart to Heart punch made the large heart in the corner. The other 2 are Glimmer Paper punched with the Small Heart punch. This is a very punchy card!


More hearts! And a ¼" strip of the inked First Edition DSP. I made a list of sentiments that I can hand write for my customers if they want me to. There are just so many things you can say and only so many stamps you can use! That's what coordinating markers are for!
  • Stamps: Grateful Greetings, In Stitches JW (unmounted and cut apart)
  • Paper: Naturals White, River Rock, Poppy Parade, Early Espresso, First Edition DSP, Glimmer Paper
  • Ink: River Rock, Poppy Parade, Early Espresso
  • Other: Brayer, 2½" Circle punch, Designer Label punch, Small Heart punch, Heart to Heart punch, circle cutting system, Poppy Parade ribbon, Stampin Dimensionals, Sticky Strip

The dashed lines on the sentiment are actually the straight stitch stamp from the In Stitches JW that I unmounted. I love that wheel! But as you can see, I was having a little trouble getting my stitches straight.... oh well. It just adds character, right ;) See, I can't make anything without inking the edges and having stitched in some way or fashion!

Friday, February 4, 2011

White Water Rafting MDS page

Time for another MDS scrapbook page! I think I have the hang of it now. And I think I will get more done this way too.  This is another page from my Utah trip from 2009. This time on the raft!


 The nice young man rowing our boat actually spent some time in Minnesota as a teenager with family, but really it was in the cities, aka Minneapolis/St. Paul. We live way far away in the sticks! Closer to Canada than the cities, lol!
I just bought a bunch of MDS downloads, mostly DSP and embellishments. I am having so much fun with them! And no need to hoard as I will never run out this way :) All of the supplies listed are in MDS.


And page 2, which was really easy to do, just made a copy of the first one and tweaked the photos. Of course, I think it needs more stuff, but it will come!
  • Stamps: Always, Texture, Greatest Moments
  • Paper: River Rock, Pear Pizzazz, Very Vanilla
  • Ink: River Rock, Pear Pizzazz, Very Vanilla
  • Other: MDS software, Pear Pizzazz seam binding ribbon, Stitches and Staples, Basic Rhinestones 
I challenge you to give this amazing tool a try!

Wednesday, February 2, 2011

Bridal Veil Falls MDS

So I have had the My Digital Studio (aka MDS) program for well over a year and I have resisted learning how to use it for a long time. I like to feel the product in my hands and the look of the finished product. That being said, I have seen some amazing things done with it! So I have decided to try to expand my experience and tackle the job of learning and using MDS myself. I have several people to blame for this....Krystal D, Yapha, Chipper, Debra Burgin... those are just a few of the culprits...you all know it!


This is probably my first page. I can't say with certainty that it is my first because I may have played with MDS a little when I first got it and I just don't remember. I think I like this quite well! No mess to clean up either :)
This is from my trip to Convention in 2009. My hubby and I had never been away like this before and we had so much fun! I have been meaning to do a scrapbook of this trip for a long time. I guess it's time to start.
Now, will I ever get it printed? I don't know, but I may well recreate it with paper and real embellies! I can see myself using this as a planning tool for club, and maybe to create books in multiples for family.

Friday, January 28, 2011

Sale-A-Bration Blog Hop!!!


It's time for another exciting Blog Hop! The ladies from Stampin Addicts have been working hard to show you some fabulous ideas for all the fun stuff you can get for free during Sale-A-Bration!
If you are following the hop in order you probably came from Cindy's blog where she did some totally inspiring work with A Flower for All Seasons.  Don't you just love her stuff!
I will be featuring Itty Bitty Bits which is a really fun and versatile little set! It even has some matching punches and buttons!


This card is made with a little one-sheet-0wonder action going on. I made an 8½"x11" piece of patterned paper using the Itty Bitty Bits stamps, then cut it apart for couple of projects. The scalloped half circle is actually from the Petal Cone die!

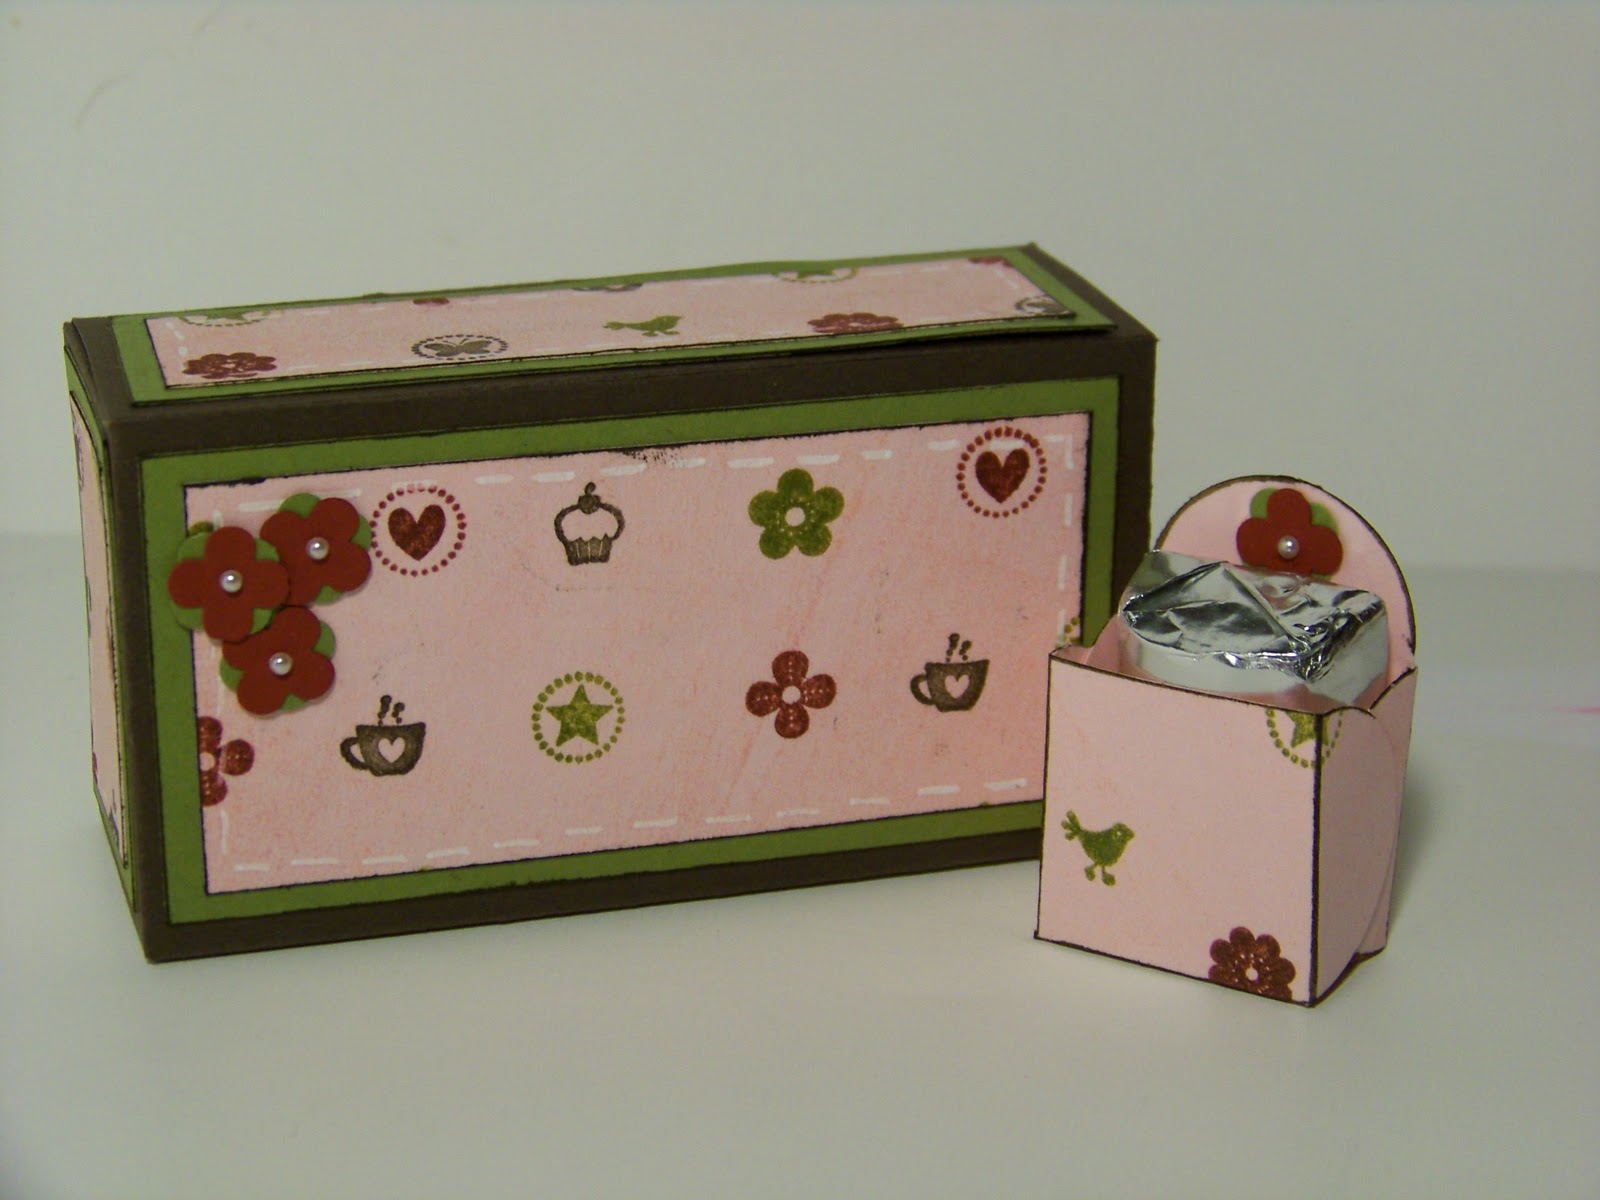
And I just had to make more of those little Nugget Boxes :) they really aren't that much work and are so darn cute you may find yourself looking for excuses to make them, lol! And did you know that six of these little boxes will fit in the Box #2  die box? How sweet is that?!


This is a Petal Cone I made with some smooth cardstock that I used the Lots of Love Letterpress Plate on. I have been using the heck out of that thing lately! LOVE it! And these cones hold 20 Hersey's kisses very nicely :)


Ok, this project is stretching it a little bit, but the First Edition DSP is stamped with polka dots from Filled with Love, and inked before the flower layers were cut out. The polka dots could easily be stamps from Itty Bitty Bits, and I really wanted to show you all this wreath! It is made with 36 paper flowers hot glued to a 9" willow wreath I got from the Dollar Tree. I adore this wreath! It is going to be hanging above my stove again shortly!
I hope you enjoyed your stop here :) I will be sharing the recipes and how-tos for these projects during the week following the blog hop. Now hop on over to Sara's blog to see what she has done with Tart and Tangy! It is so yummy you won't want to miss it :)
Happy Hopping!
For the master list of links to this hop, click this image:


Tuesday, January 25, 2011

Rivers of Love Nugget Boxes


One of the projects we made at club this month was this cute little box that will hold one Hersey's nugget. Not my original idea, but so much fun! I must admit that my color scheme was started by looking through my scrap files to find a color I had a bunch of scraps of  :) Thus the River Rock base!


These little cuties are made using the Petal Card punch and trimming one flap off before assembly. It takes 2 punches per box. Assembly is the same as with the Petal Card die shown in this post. And the hearts are made with the fabulous new Glimmer Paper! The Marina Mist paper was punched with the ¾" circle punch.


Here is a peek inside the little box. I used little snippets of Sticky Strip to adhere these together for time saving reasons. But a liquid glue of your choice would work just as well.


And one more view so you can see it better :) I made a pile of these in about 45 minutes with a bunch of scraps!

Sunday, January 23, 2011

Rose Book Box


Chery Cobbler is such a wonderful red, don't you think? So deep and rich and elegant. This is a sample I made for a wedding favor. The bride will be carrying deep red roses and the bridesmaids will be wearing black gowns. This just felt so right!


I embossed the Cherry Cobbler cardstock with the Manhattan Flowers embossing folder, then inked the raised parts with Cherry Cobbler ink. Then I assembled the box. I thought about using the 5/8" Satin ribbon, but I wanted something more delicate. Seam Binding ribbon would have been a good choice also, however it doesn't come in white. So taffeta it is! Instructions for making this box can be found here.


And here is the inside. I kept it the same as the Lots of Love book box from the other day :) Now what will you fill yours with?

LinkWithin

Related Posts with Thumbnails