This version has just a few steps, and if you wanted to do this on MDS, it would be even less steps.
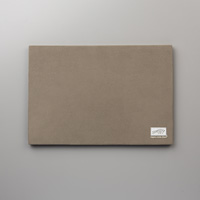
- I printed the Back to Black fruit pattern on Crumb Cake cardstock, then cut a 4"x5¼" panel after the ink dried.
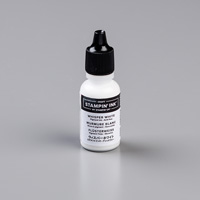
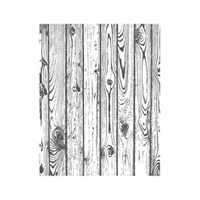
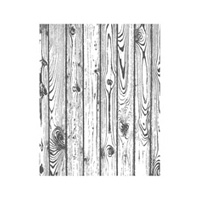
- Stamp the Woodgrain background in Whisper White ink. Or before you print the DSP, add the digital Woodgrain stamp in Whisper White. I realized while writing this post that the Woodgrain stamp is only available as an MDS download now, but you could certainly use the Hardwood stamp instead...
- Outline the panel with Signo white gel pen. Adhere to a Whisper White card front.
- Stamp "happy" and "have a" and "birthday" from Endless Birthday Wishes in Tuxedo Black Momento ink onto a scrap of Crumb Cake cardstock. Diecut with the 1½" circle from Circle framelits. Diecut the next size larger circle in Whisper white.
- Use paper piercer and the Essentials Paper Piercing Pack to pierce a circle border on the Crumb Cake Circle, then outline with Signo white gel pen.
- Layer circles together, but don't glue yet. Lay on the circular fruit on your panel. Decide of you need to trim one edge to match the way it lines up on your panel. It will just depend on where you cut the pattern. Now adhere the circles together with dimensionals and then adhere to card with more dimensionals.
Peek inside!
Quick tip for getting your Whisper White ink, or any ink for that matter, to dry faster: lay in on the keyboard of your laptop. Just warm enough to speed up the dry time without warping the paper. I do this all the time. Ok, not on every card. But quite a few, lol!


1 comment:
I have been wondering how to use this DSP. Thanks for sharing such a great idea. I might try and run the Crumb Cake ink pad over the paper version and see if I can achieve the same effect. Will definitely be trying out printing DSP from MDS on different coloured card stock.
Post a Comment