Splitcoaststampers.com has oodles of challenges going on all the time, and I have been honored to be asked to be a Creative Crew member from May-August 206, which means I will be creating a project for each of the Creative Crew monthly challenges in those months.
This card is created for this challenge:
CCREW0616HF, CreativeCrew, SUO or SUM - Holiday Focus: Graduation! Tell us what card you love from the catalog (be sure to include the page number). CASE it to make a graduation card!
My inspiration was on page 22 of the new catalog, isn't it darling?!
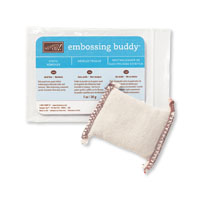
There is a lot going on here! Heat and dry embossing, glitter, Wink of Stella, and Perfect Pearls!
Here is how I did this:
- Cut a piece of Kraft cardstock to 8½"x6½", score 8½" side at 4" and 8" to create a 4"x6½" top fold card base with a ½" flap to fold up into the card interior.
- Cut a piece of vellum to 1"x6½" and stitch or adhere to the ½" interior flap. Stamp the stars in Versamark on the vellum flap and gold heat emboss. Then stitch or adhere the sides to create a pocket that will hold money or a check.
- Cut a piece of Whisper White to 3¾"x6¼". Cut a piece of Basic Black to 3½"x6", then cut a diagonal strip off the bottom. Eyeball where the diagonal edge will lay on the white piece, then stamp the stars in Versamark and Gold heat emboss.
- Use the Lucky Stars embossing folder to emboss the Black piece, then score 2 lines about ½" apart perpendicular to the diagonal line. You can use your paper trimmer or the Simply Scored Board. Stamp the sentiment in Versamark between the scored lines and Gold heat emboss.
- Stitch around the Black panel with sewing machine and white thread.
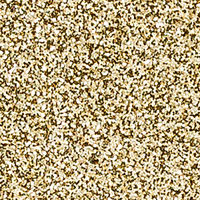
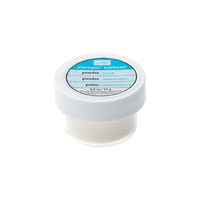
- Stamp the large and small solid balloon images from Balloon Celebration in Versamark on vellum, then sprinkle with Clear embossing powder, then a smidgen of Gold Glitter, heat set. Color the back of the balloons near the bottoms with Gold Wink of Stella.
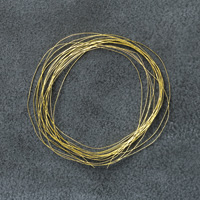
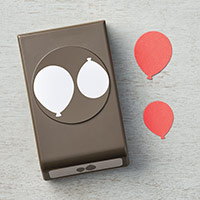
- Punch the vellum balloons and one small balloon from the Gold Glimmer Paper with the Balloon Bouquet punch. Apply a titch of Tear & Tape to the back of each and attach a piece of Gold thread to each. Adhere to the left side of the Black panel.
- Apply dimensionals to the back of the Black panel and adhere to the White panel. Wrap the ends of the Gold threads attached to the balloons around the the bottom edge of the white panel and secure with some Washi or Scotch tape.
- Spatter the embellished panel with Gold Wink of Stella and/or Gold Pearlized water (Gold Perfect Pearls added to water in a spritzer bottle).
- Adhere embellished panel to the card base. All done!
In this angled view, you can see the shimmer on all kinds of areas, and the embossed stars, and the dimension a little better.
So, what do you think? Are you ready to give this a try? Maybe not so elaborate, but with the pocket on the inside for cash or a check.
As always, if you have seen something you need for your crafting life, just click the image in the supply list below and it will take you to my store! If you order less than $150, please use this month's Host Code, which can be found at the top of the sidebar on the right.
And be sure to check the box allowing me to contact you when you check out. I can't send you a thank you card if I don't know your address! And I promise to only send you happy mail, no junk mail :)










No comments:
Post a Comment