Sunday, March 3, 2019

Stamp Review Crew: Amazing Life

https://stampreviewcrew.blogspot.com/2018/11/first-frost.html
Welcome to the start of a new month! I am always happy to see March roll around because it mean that the majority of our -10 weather is over. Yes, I talk about the weather a lot. We have a lot of weather to talk about.

But how about we talk about the Amazing Life stamp set?! I love the big and beautiful sentiments in this set, and the swirls and curls don't hurt! But my favorite  part is the die set sold in a bundle with these stamps: the Stitched Rectangle dies! Of, course. 😁 Now I don't always have to go to my sewing machine.


For those that are new to the Stamp Review Crew, we are a group of current and former Stampin' Up! demonstrators. We get together ever first and third Monday of the month to feature a single stamp set. Our goal is to inspire you, one stamp set at a time!

If you are following along in order, then you have just arrived from the amazing Lou Kitzelman! She is in the midst a balmy summer right now, and I will admit to some weather envy. But she makes up for it with her gorgeous projects!


I have been craving color lately, so I went right for a rainbow effect. There are only 3 ink colors in that blended background.

Poppy Parade, Crushed Curry, and Pool Party. They do wonderful job of creating a full rainbow! Work smarter, no harder.

After sponging all the colors on the cardstock, I spattered it with clear water, dabbed it off after a few seconds, then spritzed with Pearlized water.

And I just had to use some honest to goodness real stitching on this panel.


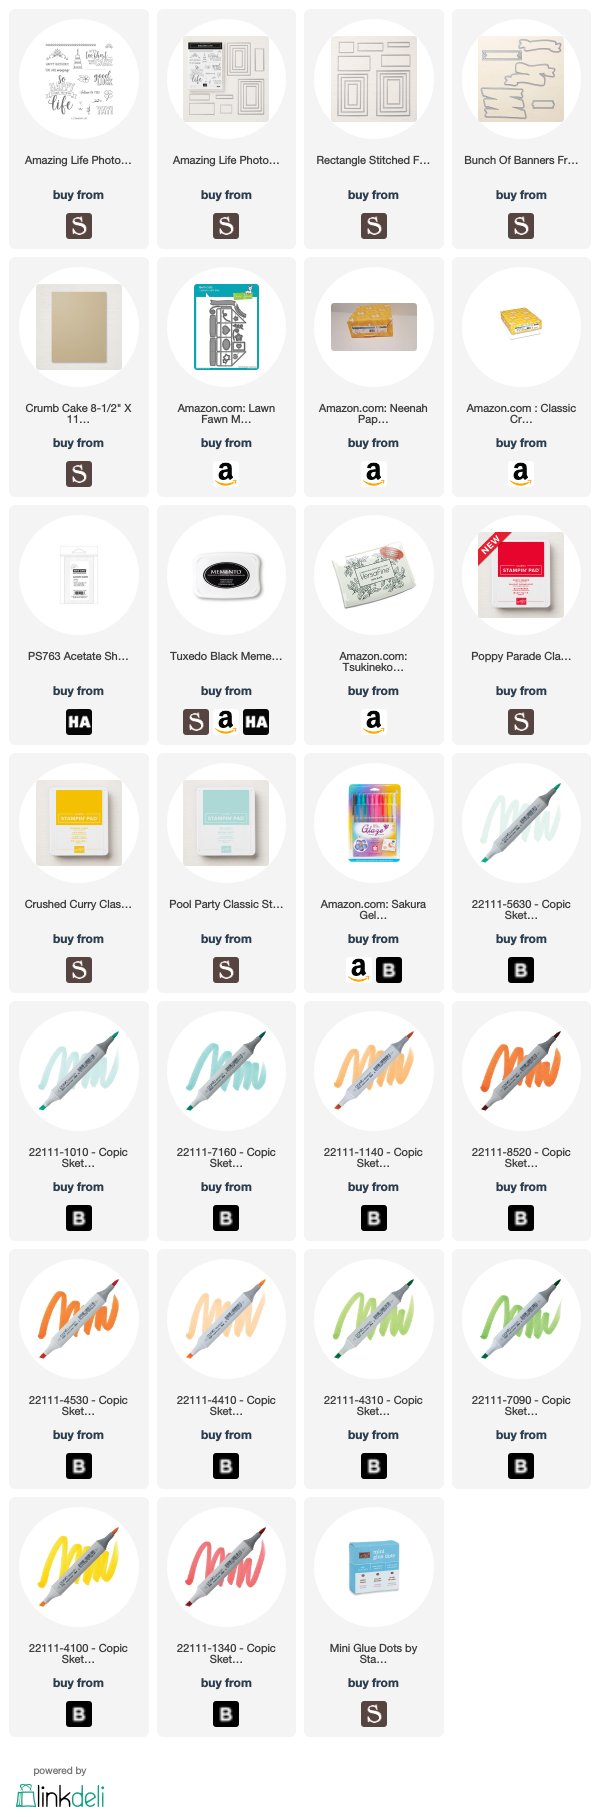
I used Copic markers to color the flowers and the letters in the word "cake". I had already taken the plunge and purchased nearly every color of Copic, so I have not invested in the Stampin' Blends when they were re-released, so I only have the old version and not very many of those. If you are in the same boat, here are the colors I used:
  • Cake and letter C: BG10, BG11, BG32
  • Letter A: YR12, YR18
  • Letter K: YR61,R24
  • Letter E: YR61, YR12
  • Orange flower: YR18, R24
  • Yellow flower: Y13, Y18, YR12
  • Leaves: YG13, YR07
  • White dots: Sakura Gelly Roll Glaze white

The inside of this card is the real wow, though. I have been seeing so many wonderful interactive cards lately, and I just had to figure out how to do this one. There is a convenient die set from Lawn Fawn that makes a mini pop up box, but I took the long way.


Here is my figuring.
  • Start with a 3"x6¼" piece of cardstock. 
  • Score the short side at ½" and 3"
  • Score long side at ½", 1¾", 3¼", and 4¾"
  • Trim out as shown
  • Adhere the little side tab to form a box shape.
  • Adhere the 2 triangles that form the bottom of the box to the inside of the card, lining the center fold up between the two triangles.

The rainbow blending was done directly on the card base. The flowers and cake were fussy cut, and I was able to stamp the flourishes on the cardbase after the box was adhered. I used some snips of acetate and glue dots from a Paper Pumpkin kit to adhere the banner above the cake.

I really enjoyed creating this card, and I hope you loved it too!

Next up is Jay Soriano! He is so innovative, I just love everything he does.


The affiliate links below may provide me with a small income with no additional cost to you, and will help to support my Blog, YouTube, Instagram, and FaceBook contributions.  Some of them are just a convenience for you with no compensation for me. 

Friday, March 1, 2019

Kindred Stamps: Llama Get This Straight

I am playing with Llama Get This Straight, and I decided to make a shaker card this time. This adorable llama just cries out for bright colors and bling!

The shaker body was made with 4 layers of white cardstock diecut with a coverplate and then a stitched rectangle die. There is a piece of acetate between the top two layers.

The sequins are from my stash, and were chosen to match the colors I used to color the blanket.

 You can see some gray streaks on the white frame, which was a complete accident.

I had used the coverplate to die cut a watercolored panel I had stamped with Versafine Onyx Black ink, and there was some ink left on the coverplate die. But I really like it!

You could replicate it but gently swiping a gray ink pad over some white cardstock.


The llama and tassels are colored with Copic markers:
  • Face and fur: W00, W01, W03, R20
  • Green: G03, G05
  • Yellow: Y17, Y38
  • Purple: V17, FV2
The llama and the tassels were fussy cut. I also used Sakura Gelly Roll Glaze pens in clear, black, and white to add accents to the llama.

The sentiment strip matches perfectly because I used V17 to color a scrap of white cardstock before I white heat embossed the sentiment on it. This was then diecut with a stitched rectangle die from my stash.


I kept it super simple on the inside. We all need birthday cards, right?!

So, does this llama look ready to party? I sure think so!

The affiliate links below may provide me with a small income with no additional cost to you, and will help to support my Blog, YouTube, Instagram, and FaceBook contributions.

Monday, February 25, 2019

Kindred Stamps: Hair in the Air


Put your hair in the air, it's party time!  This time I have some quick party favors for you.

Remember those extra Hair in the Air characters I made earlier this month when I was playing around? Well this seems to be the perfect use for them. I used a pillow box die from my stash, and whipped these up quick.

I used some patterned paper for one, and some white cardstock and an embossing folder for the other. You could get really fancy and some inking with a stencil on the pillow boxes.


I love that there are male and female characters in this set. This makes it so easy to make favors for any kind of party!

I used the "party" word from Metal Friends, after a little stamp surgery. I love to customize my sentiment by cutting stamps apart and combining them to suite my needs. Try it sometime, it feels so good!


The female character's box is all blinged out! I found some foiled iridescent paper in my stash along with some vellum and sliver glitter paper. She looks so ready to party!

I did use the Sakura Gelly Roll Glaze pens to add more intensity to them. Black and white to the their eyes, clear over some of the other details, and a little Stardust pen to her hairband.

I really love this set to practice bright color combos and doing the flicking technique for Copic coloring. More reasons to add this little gem to your stash!

Now, let's see what you do with this set.

Monday, February 18, 2019

Kindred Stamps Release: Twoo Wuv

Swashbuckling, sword fights, and Twoo Wuv! I was sooo excited for this release! Check out the Facebook event for the February Release.


For this card, I decided to do some ink blending and woodgrain embossing. I created a hill with a zigzag stitched edge die.


These fellas were a quick color with Copics. I know I wrote the colors I used down, but I have to find them again, sorry!


Inside, I made a shadow box card. The tree silhouette die was the perfect forefront for the inside.


Here is another shot to show the dimension.


I listened to the Fan Club, so here is a party favor! This is a gable box that I made with my Silhouette Cameo, but there are lots of dies and other ways to create a gable box.


I had to make a golden blonde to go with the buttery yellow box.


And some vellum die cut flowers with Nuvo Crystal drops in orange tucked in behind our princess.


For this card, I started with a panel of watercolor paper, did a wash of Cajun Craze to Grapefruit Grove. Then added texture paste with the Comic Dots stencil.

A heart diecut from the center created the perfect space for the sentiment, which is Copper heat embossed.

It needed something more, so I applied some Clear Wink of Stella.


But look how much it looks how this looks with our dashing hero!


He really is quite handsome, isn't he. 😊


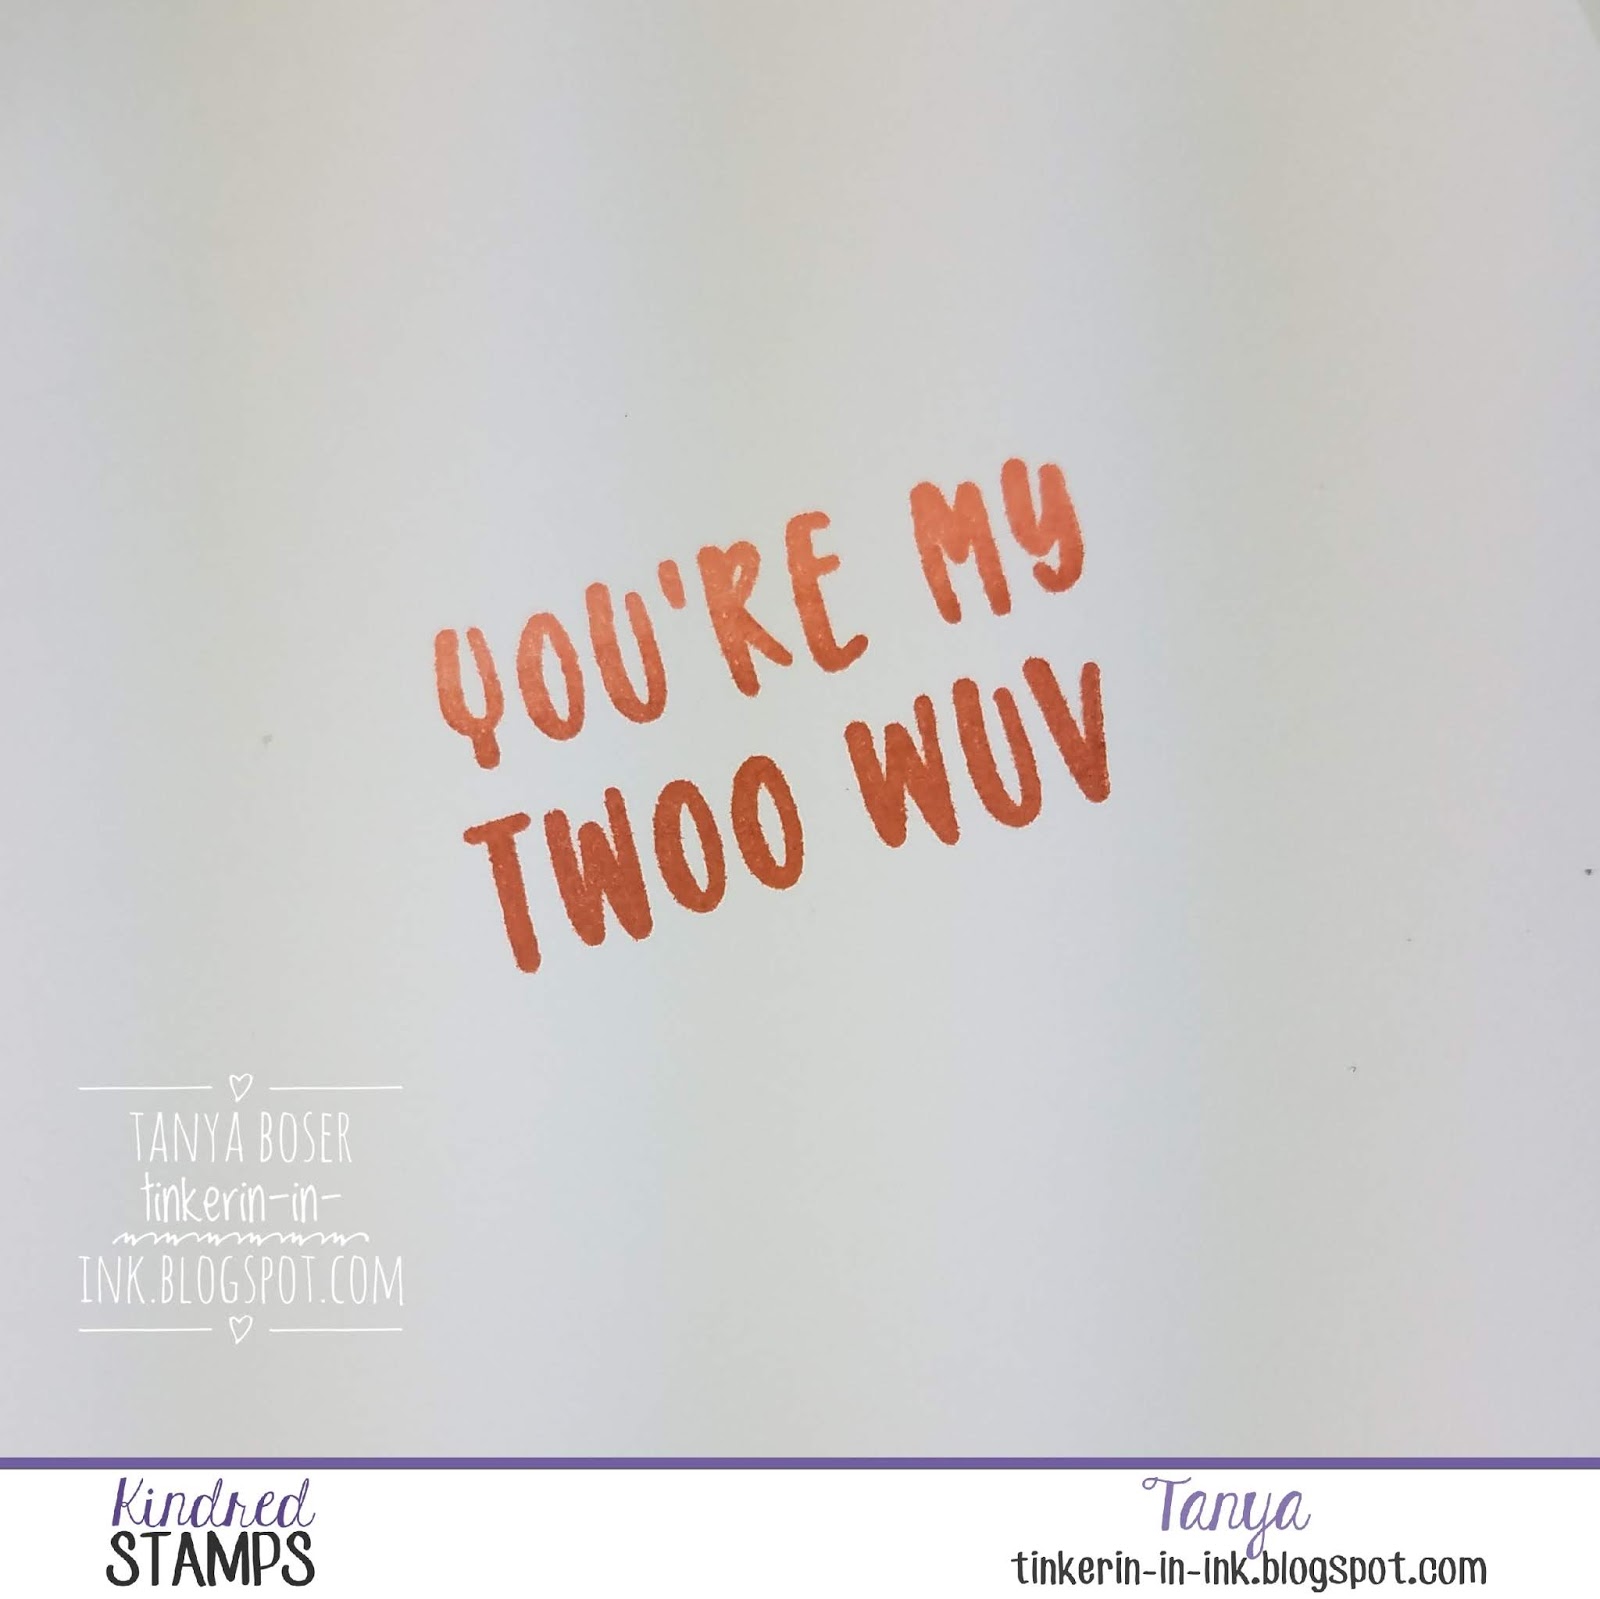
I created a two toned gradient sentiment inside by first inking the stamp with Grapefruit Grove on the whole thing, then added Cajun Craze on the bottom and sponged in the center to soften the transition.

That is all I have this time around. I hope it was inspiring. Again, this stamp set is called Twoo Wuv.

The entire Kindred Stamps February release will be available Friday, February 22nd at 8am PST/11am EST. Be sure to check out the Kindred Stamps blog on Friday for the full product release as well as the complete line up of all the Kindred Stamps Design Team projects from release week! If you visit and comment on all of the designers' blogs this week, you could win $15 in Kindred Stamps shop credit! So join the Fan Club and release event, show the design team some love, and get ready to empty those wallets this Friday!

Sunday, February 17, 2019

Stamp Review Crew: Butterfly Gala

https://stampreviewcrew.blogspot.com/2018/11/first-frost.html
Fun fact: a collective group of butterflies can be called more than one thing. A kaleidoscope, a swarm, or a flutter. But we are having a Butterfly Gala! I guess that means they get to wear their finest clothes and jewels, dance around, and eat delicious food. Oh, wait. That is just a normal day for a butterfly. 😊

Isn't this pretty?! I love the fonts and the sentiments too. So much you can do with this set.

New to the Stamp Review Crew? We are a group of Stampin' Up! lovers, either former or current demonstrators, and we get together on the first and third Mondays of every month to feature a different single stamp set.

If you are following along in order, then you have just arrived from my dear friend Jenny Hall's blog! Stunning, right?!


I was inspired by Lynnea Hollendonner's cards here: https://youtu.be/Ncqxy8TcDFA . I love the clean and graphic style here, but I had to resist the urge to add layers, texture, and dimension. 

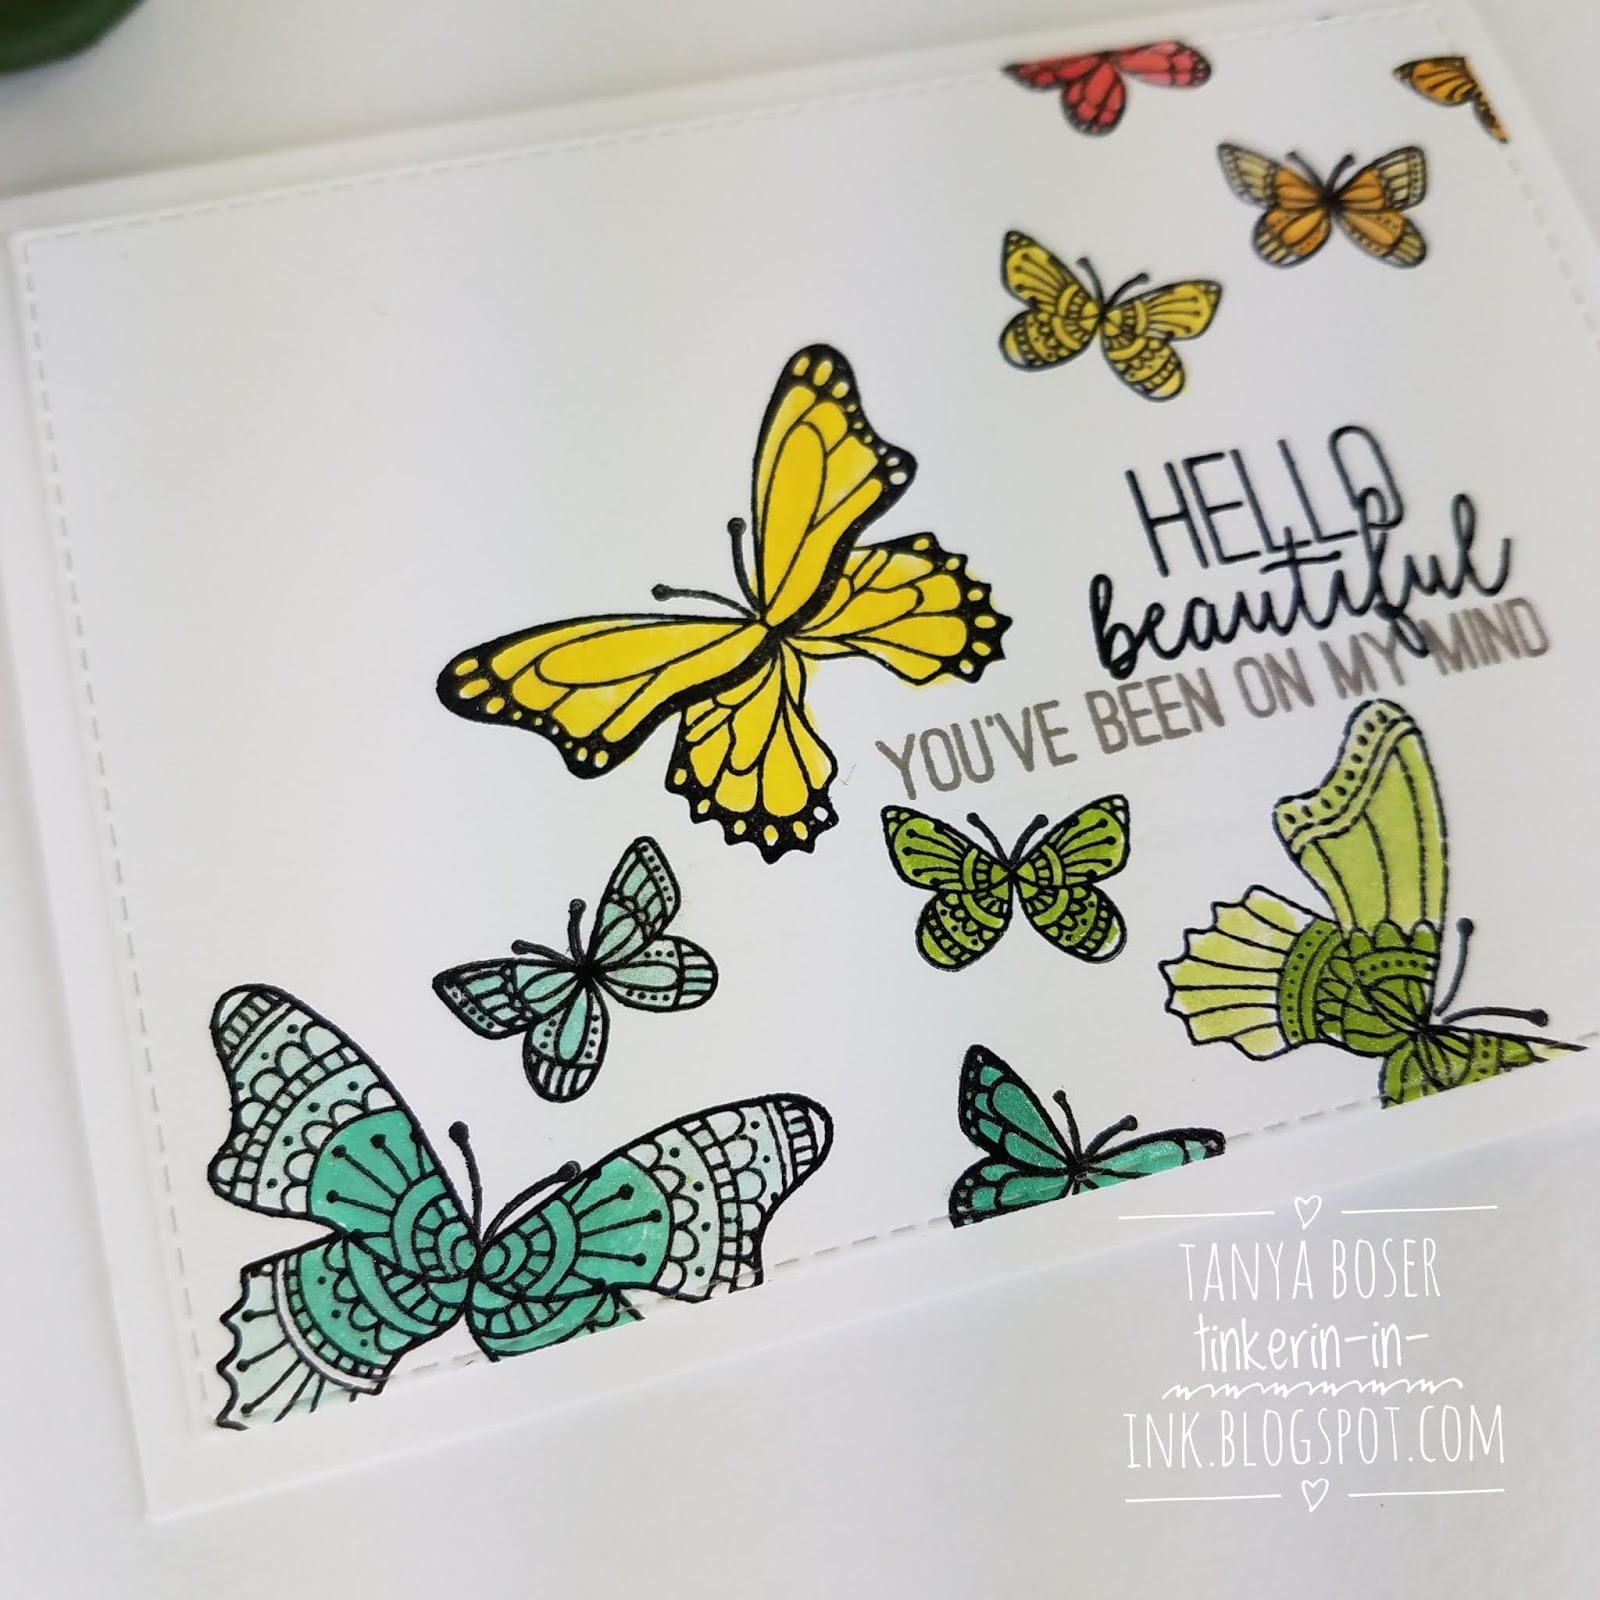
The images are black heat embossed on Thick Whisper White. Then I used a watercolor brush with the tiniest bit of water and reinkers to paint the butterflies. They are covered with Clear Wink of Stella, which you can't see in the photos. You will just have to take my word for it. 

 
I made the sentiment with two stamps, and used Grey Granite for part of it. I wanted there to be some subtle contrast there.

There is a bit of a rainbow theme here too, with the colors of the butterflies.

I finished it off with the largest Stitched Rectangles die. 


Inside, I used the solid small butterfly image to stamp the different colors, then stamped in black ink over the top. If I had been thinking, I could have done that on the front and saved myself some time. 😂

That's it for me! 

Next up is the lovely Lauren Alarid. She always does something amazing!


Monday, February 11, 2019

Kindred Stamps: Building Blocks with Spaceship Paneling and Wreath Stamping


Hello again friends! This post is for everyone that has spent hours in creative play with building blocks!

The Building Blocks stamp set was just begging to be stamped in a wreath pattern. There are templates you can buy, and you can create your own with some cardstock and a square die.

So I started this card by stamping the various blocks using my homemade wreath builder template on a 4" square of white cardstock. Then I colored the blocks with Copic Markers.

Red: R05, R24, R46
Orange: YR15, YR16, YR09
Yellow: Y02, Y06, Y08
Pink: RV02, RV04, RV09

Next the block wreath was cut with a stitched circle die, and at the same time I cut a coaster circle with the same die to add dimension. I glued these together.


The next step was to create the background with the Spaceship Panels stencil and Distress Inks.

The first layer is a blend of Squeezed Lemonade, Ripe Persimmon, and Candied Apple.

Then the stencil was applied and the background was inked again with the same colors. Except I swapped Mustard Seed for the Squeezed Lemonade. I just wasn't getting the contrast that I wanted until I switched to the darker yellow.

This was then die cut with a stitched rectangle die.


For the sentiment strip, I inked up a scrap of paper with Squeezed Lemonade and Ripe Persimmon and flicked some water on it.

The sentiment was stamped with VersaFine Onyx Black, then trimmed out with my paper trimmer. I used a scissor to create the slanted ends.

Now, go forth and create! Be sure to share your creations on Facebook, Instagram, and Pinterest using the hashtag #kindredstamps so we can all see what you have made!

Kindred Stamps is INCREDIBLY careful to avoid copyright infringements. To help, we refer to the stamp sets by their listed name and do not use any character or fandom names. Please do the same 😊

Sunday, February 3, 2019

Stamp Review Crew: A Little Wild

https://stampreviewcrew.blogspot.com/2018/11/first-frost.html
Hey friends! did everyone survive the deep freeze this week? I live in the coldest part of the country, and I got caught with my pants down! On Monday, I had about 20 chunks of wood left. We go through about 12 a day when it is between 0 and 45 F outside. When it is more than -10, we go through significantly more. I was wearing many layers, and rationing the wood, until Thursday afternoon when our wood guy could bring out a partial load! No way was I going to make him go out in -60+ wind chill. We are warm and toasty now, but 54 degrees in the house is not enjoyable. Or conducive to crafting! So, I started my project for this hop after work on Sunday night. I hope it turns out!


If you are following along in order, then you have just arrived from Bronwyn Eastley's blog. I am certain that she made something AMAZING!


This sweet little elephant never forgets a friend!

I wanted to do some ink blending and stenciling to create a leafy feel behind this little fella. I also did some masking to create sentiment spaces.


I had colored this elephant this summer, and I think I used Blends in Smoky Slate.


The sentiments are from Butterfly Gala, and they just seemed perfect for this card!

OK, off to the next blog!

Next up is Dawn Tidd! Love you, lady!


LinkWithin

Related Posts with Thumbnails