I bet there are even more sentiments that would fit in there! And on top of that, Dies by Dave has a die set for Market Fresh :) And I used it for this card!
You will also notice that the sentiment on the strawberry image is not the one on the stamp. Lots of people have commented on the possible interpretations of "Just Ripe for You", so I decided to carefully cut that part of the stamp out with my Snips to start the hole, and my rubber scissor to finish the job. And guess what? There are loads of sentiments that fit in the banner! Anything from And Many More...and Teeny Tiny Wishes, one from Watercolor Wings, several from Sprinkles of Life, and so many more!
This card ended up in a stack of 24 thank you cards I gave to a mommy-to-be at her baby shower. She and her mother loved them all, and helped me destash. She was worried that she has wiped out my stock. Yeah, no. I still have more than that in my stash!! I better get to selling those cards, and sending out thank you cards!
OK, here is how I made this card:
- Cut a piece of Thick Whisper white to 5"x6", score in half, so at 3" on the 6" side. Put the card front into the Brick Wall embossing folder and run through your die cutting machine.
- Either cut a Blushing Bride banner to fit, or use a leftover banner from the Chalk It Up To Love Paper Pumpkin kit. Lay the polka dot mask from Happy Patterns set over the banner and color the dots in with a Blushing Bride marker. Outline with Signo white gel pen. Adhere to the carfront.
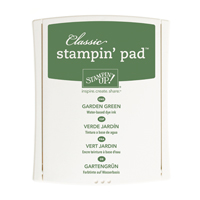
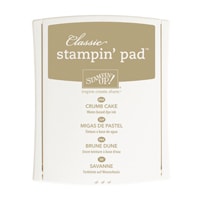
- Take a piece of watercolor paper that is at least 2½" square, and stamp the strawberry image and your chosen sentiment in a waterproof ink. Our Archival Basic Black is fantastic by the way! Bold black and waterproof. Color in with an Aquapainter and ink squeezed onto the lids of Wild Wasabi, Garden Green, Cherry Cobbler, and Crumb Cake inkpads. Fussy cut, or die cut with the Dies by Dave matching dies.
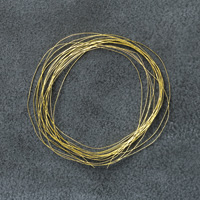
- Stick a bunch of dimensionals on the back of the strawberries and peel the backing off, then set aside. Create a tangle of Gold thread adn stick to the exposed dimensionals, arranging as you want them. Then stick this whole thing to the banner.
- Inside the card, stamp the strawberries in the corner of the panel in Crumb Cake.
- For the envelope, take a piece of Blushing Bride DSP and cut to the correct size and follow the directions on the Envelope punch board. I have been using retired DSP to make all kinds of envelopes, helping to destash those too!
- All done!
And be sure to check the box letting me contact you, as I can't send you a thank you card if I can't see your address :) I promise, I will only send you happy mail, no junk mail!
Product List


1 comment:
Very pretty card. Cool brick embossing too. :o)
Post a Comment