This is a 5"x7" card that I created as homework for the watercolor class I am taking. Before I added all the do-dads, I showed it to my hubby. I can always rely on him for candid comments, lol. He thought it looked all blobby and run together. I told hime I was kinda of going for that effect, but that I liked it. He did not. So, I went back to the craft area and finished adding the touches that I had already planned, and brought it back to him to look at again. He likes it now :)
How did I make this, you ask? Well, here are the steps I took:
- Tape down a 4½"x6¼" piece of Arches 140lb cold press watercolor paper to a board with painters tape.
- Using a medium sized round paintbrush, or an Aqua-painter, wet the heart stamp from Perfect Pennants and stamp just above the center of the card. Add a little more water to the impression with paintbrush, then drop in some diluted Calypso Coral and Cherry Cobbler Reinkers. Allow to blend, tilting the board to encourage the blending. (I had 3 paint brushes in my left hand throughout this process, 1 each for water, Calypso Coral, and Cherry Cobbler). Repeat this to cover the entire panel. Allow to air dry.
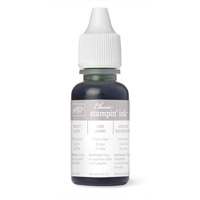
- After the hearts dry, dilute some Smoky Slate ink in the lid of the inkpad (did this with the other 2 colors also), and start carefully filling in the background. Sometimes I wet the paper with clean water first, other times I did not. Allow this to dry, or assist it with the heat tool.
- Add more Smoky Slate around some of the edges the bleed out with more water, creating some hard edges on some parts of some of the hearts. Do the same with Calypso Coral. Allow to dry.
- Add some shimmer to some of the hearts. You could use Clear Wink of Stella, but I used the Silver Gansai Tambi watercolor pan. Allow to dry.
- Carefully remove the painters tape and admire your work even if your husband does not :)
- Take a piece of vellum that is at least 4" square and swipe with an antistatic tool such as the Embossing Buddy.
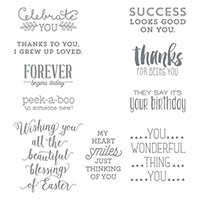
- Lay a heart framelit on the vellum as a guide to stamp your sentiment, then stamp it with your favorite black ink. I used Versafine Onyx Black, but there are several that would work.
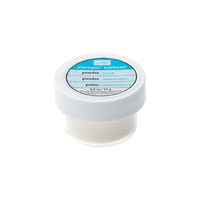
- Sprinkle the black ink with Clear embossing powder and heat with the heat tool until the powder melts.
- Die cut with the heart framelit.
- Lay the heart on the watercolor panel and find your placement, then stitch down with sewing machine.
- Add sequins with Fine-Tip Glue Pen.
- Apply lots of dimensionals or foam tape to the back of the panel and adhere to the 5"x7" Thick Whisper White card base. I know, the borders above and below the watercolor panel are a little bigger, but there is a method to my madness, I promise!
- Inside the card, you will want a little something to tie it in to the card front. Take the heart stamp and ink it up with Calypso Coral, then tap the brush tip of the Cherry Cobbler marker all over the inked heart stamp. Then, holding several inches away, lightly spritz the stamp with a water-filled Spritzer. Rotate the stamp a bit to encourage mixing of color. Now stamp this in the center of the panel.
Look at those sequins shine! And the variation and depth of the background. My blobby blobs look pretty good now, right?!
And how about the thumped and spritzed stamp? Liking that, are ya? I know I am :)
And how about we put it in a 5"x7" shadow bow picture frame! How stinkin' cute is that?!! I just happened to have this frame laying around waiting to be filled. I found it at TJ Maxx several months ago. That is going to decorate my kitchen wall this month :) I adore this saying, and I can think of a few people in my life that it applies to.
One more shot of the "art work" in the frame. Just cuz I can :) I did remove the glass from the frame as I did not want any glare when taking pictures. And you know what? I think I am going to leave it out. Until it is time to take this card out of the frame and send it to someone :) Talk about multitasking!
Have you been inspired to create any Valentine's projects yourself? I wanna see! Post a link in your comments below and I will be sure to go check it out!
If you would like to purchase some of the items I used today, here are some convenient links to help you out :) And if your order is less than $150, please use this month's Host Code: PCUN2KHD
Product List


No comments:
Post a Comment